


Baking Bread: From Sourdough to Banana Loaf
 August 10, 2025
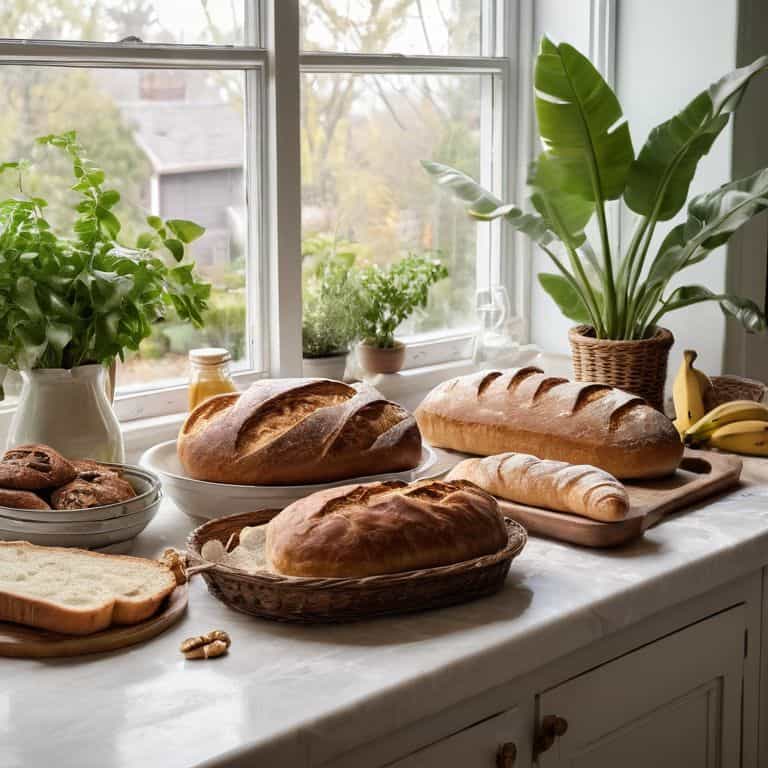
As I stand in my kitchen, surrounded by the worn wooden spoons and vintage utensils that have been passed down through generations, I am reminded of the magic of baking bread at home. It’s a process that has been shrouded in mystery, with many believing it to be a tedious and complicated task, but I’m here to tell you that it’s quite the opposite. With a few simple ingredients and some patience, you can create a delicious, crusty loaf that rivals any bakery. I recall my nonna’s kitchen, where the smell of freshly baked bread wafted through the air, enticing everyone to gather around the table.
In this article, I promise to share my honest, no-hype advice on how to make baking bread at home a breeze. You’ll learn the essentials of creating a delicious loaf, from selecting the right ingredients to mastering the perfect rise. I’ll guide you through the process, sharing my own experiences and tips gathered from years of experimenting with different recipes and techniques. By the end of this journey, you’ll be equipped with the knowledge and confidence to create your own mouthwatering bread, just like nonna used to make. So, let’s get started and uncover the secrets of baking bread at home, together!
Table of Contents
Guide Overview: What You'll Need
Total Time: 2 hours 30 minutes
Estimated Cost: $10 – $20
Difficulty Level: Easy
Tools Required
- Mixing Bowl (large, stainless steel or glass)
- Measuring Cups (dry and liquid)
- Measuring Spoons
- Electric Mixer (stand or handheld)
- Dutch Oven or Bread Stone (for baking)
- Oven Thermometer
Supplies & Materials
- Bread Flour (2 pounds)
- Salt (1 teaspoon)
- Sugar (1 teaspoon)
- Active Dry Yeast (1 packet)
- Water (1 cup, warm)
- Butter or Oil (1 tablespoon, melted)
Step-by-Step Instructions
- 1. To start our journey into the world of homemade bread, begin by activating your yeast. This ancient ingredient, which I remember my nonna handling with such care, is the heart of bread making. In a large mixing bowl, combine 1 cup of warm water (not hot, as this can kill the yeast) with 2 teaspoons of sugar and 1 teaspoon of active dry yeast. Let it sit for about 10 minutes, or until the mixture becomes frothy, indicating that the yeast is alive and well.
- 2. Next, add the dry ingredients to the bowl, including 3 cups of all-purpose flour, 1 teaspoon of salt, and any other optional ingredients you might like, such as dried herbs or spices. My nonna used to say that the quality of the flour is what makes the bread, so choose a good one. Mix these ingredients together until they form a cohesive dough, which will be the foundation of your bread.
- 3. Now, it’s time to get your hands dirty and start kneading the dough. This is a therapeutic process that requires some elbow grease but is incredibly rewarding. On a floured surface, knead the dough for about 10 minutes, until it becomes smooth and elastic. You can also use a stand mixer with a dough hook attachment if you prefer, but I find that doing it by hand helps connect me with the tradition of bread making.
- 4. After kneading, place the dough in a lightly oiled bowl, cover it with plastic wrap or a damp towel, and let it rise in a warm, draft-free place for about an hour, or until it has doubled in size. This first rise is crucial, as it allows the yeast to ferment the sugars in the dough, giving the bread its light and airy texture.
- 5. Once the dough has risen, punch it down to release any air bubbles that may have formed. This is a crucial step in developing the gluten in the dough, which will give your bread its structure. Then, shape the dough into your desired form, whether it’s a round, oblong, or long loaf. My nonna used to make these beautiful, braided loaves that were almost too pretty to eat.
- 6. Place your shaped dough onto a baking sheet or into a bread basket lined with parchment paper, cover it again, and let it rise for another 30-45 minutes, or until it has puffed up slightly. This second rise is shorter but still important for giving the bread its final boost of flavor and texture.
- 7. Preheat your oven to 425°F (220°C). Just before baking, slash the top of the loaf with a sharp knife or razor blade to allow steam to escape and to create a beautiful, crispy crust. Then, place the loaf in the oven and bake for 25-40 minutes, depending on the size and shape of your bread, or until it’s golden brown and sounds hollow when tapped on the bottom.
- 8. Finally, remove the bread from the oven and let it cool on a wire rack for at least 10-15 minutes before slicing. This cooling period is essential, as it allows the bread to set and makes it easier to slice. And then, the moment of truth: slicing into your freshly baked loaf and taking that first bite, surrounded by the aroma of freshly baked bread, just like nonna used to make.
Baking Bread at Home
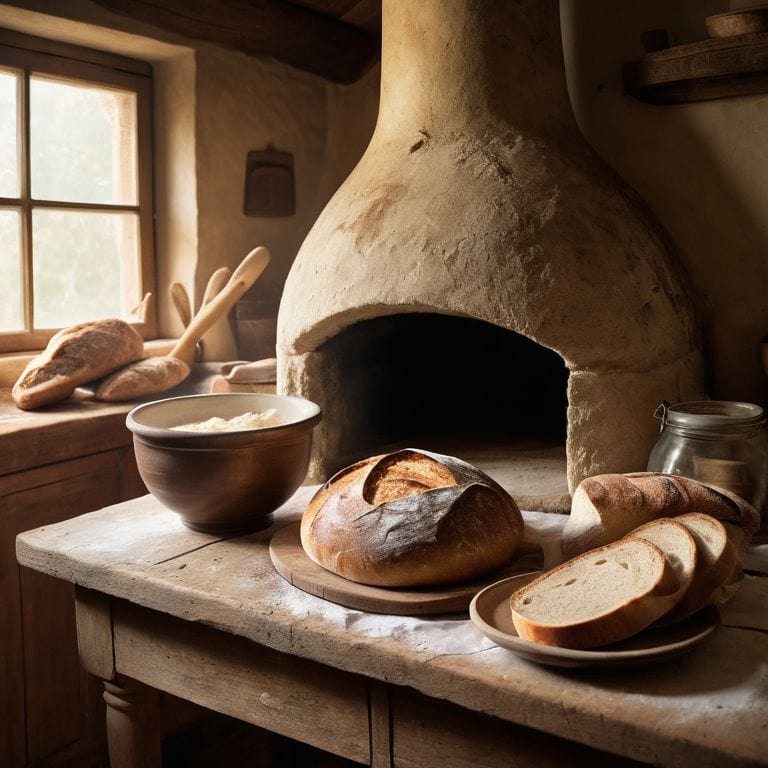
As I delve deeper into the world of bread making, I find myself fascinated by the art of creating the perfect crust. It’s a delicate balance of temperature, timing, and technique. For instance, when working with a sourdough starter, it’s essential to understand the nuances of home bread oven temperature to achieve that perfect golden brown. I recall my nonna’s old wooden oven, where she would meticulously adjust the heat to coax out the unique flavors of her artisanal breads.
When it comes to selecting the right ingredients, I always emphasize the importance of using high-quality flour. The best flour for sourdough can make all the difference in the texture and flavor of your final product. I prefer to use a combination of whole wheat and all-purpose flour to create a rich, nutty flavor profile. Additionally, kneading techniques for beginners can be a bit daunting, but with practice, you’ll develop a sense of how the dough should feel and respond to your touch.
As you continue on your bread-making journey, remember to pay attention to bread rising tips and tricks. A warm, draft-free environment can work wonders for your dough, allowing it to rise to its full potential. And when you finally slice into that freshly baked loaf, you’ll be rewarded with a sense of pride and accomplishment, knowing you’ve created something truly special – and nutritious, thanks to the whole wheat bread nutrition benefits.
Mastering Home Bread Oven Temperature Tricks
As I recall my nonna’s kitchen, I remember the way she’d carefully adjust the oven temperature to coax the perfect crust from her bread. It was almost an intuitive dance, a delicate balance of heat and time that resulted in a loaf that was both crispy and tender. To master this art, I’ve found that a good starting point is to invest in a reliable oven thermometer – it’s astonishing how often the built-in temperature gauge can be off. By ensuring your oven is at the correct temperature, you’ll be able to achieve a beautiful, evenly baked crust that’s sure to impress.
With practice, you’ll develop a sense of how your oven behaves, and be able to make subtle adjustments to get the best out of your bread. Whether you’re aiming for a classic Italian ciabatta or a hearty whole grain loaf, the key is to be gentle, yet firm, in your temperature control.
Unlocking Artesian Bread Recipe Secrets
As I delve into the world of artisanal bread, I’m reminded of Nonna’s patient hands, kneading dough with a gentle love that only comes from years of tradition. The secrets to a perfect crust and a fluffy interior lie in the subtle balance of ingredients and technique. I recall the countless afternoons spent watching her mix and knead, the dough transforming under her touch like a work of art. With each loaf, a story unfolded – of family, of culture, and of the simple joys that bring us together.
In my own kitchen, I’ve experimented with various artisanal recipes, from the classic Ciabatta to the hearty Grissini. The key, I’ve found, is in the quality of the ingredients and the attention to detail – the right type of flour, the perfect temperature for proofing, and the gentle scoring that allows the bread to bloom. With each successful loaf, I feel a sense of connection to my heritage and the generations of bakers who came before me.
Whispers from Nonna's Kitchen: 5 Timeless Tips for Baking Bread at Home
- Let the Dough Rest: Just like Nonna taught me, giving the dough ample time to rest allows the yeast to work its magic, resulting in a lighter, airier crumb
- Respect the Temperature: A precise oven temperature is crucial – invest in a good thermometer to ensure your bread bakes to perfection, just like the crusty loaves from our village bakery
- Choose Your Flour Wisely: Different types of flour yield different results – experiment with heritage grains and Italian ’00’ flour for a truly authentic taste
- Don’t Overmix: Mix your ingredients just until they come together in a shaggy mass, then let the dough develop its own character – overmixing leads to tough, dense bread
- Keep it Simple, Keep it Fresh: Don’t be afraid to keep your recipes simple and uncluttered – the beauty of homemade bread lies in its ability to showcase a few, high-quality ingredients in all their glory
Whispers from Nonna's Kitchen: 3 Timeless Takeaways
As I reflect on the art of baking bread at home, I’m reminded that the most essential ingredient is love – the kind that’s kneaded into every loaf, just as Nonna used to make
Mastering the perfect crust is a journey, not a destination – it’s about understanding the harmony between yeast, flour, and temperature, and how each element whispers its secrets to the dough
The true magic of homemade bread lies not just in the recipe, but in the stories it tells – of tradition, of family, of the hands that shaped it, and the hearts it nourishes, one warm, fragrant loaf at a time
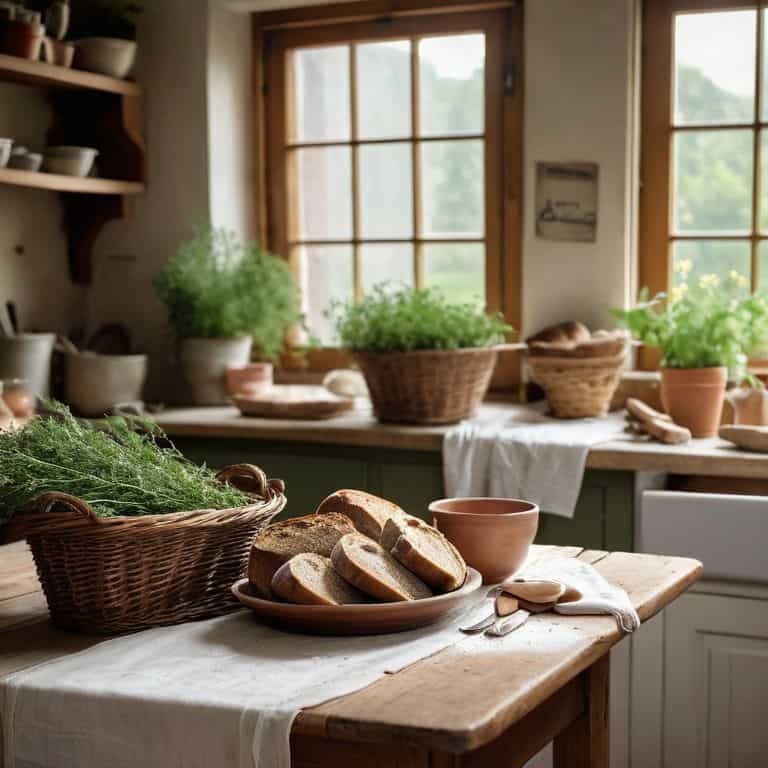
The Heart of Homemade Bread
Baking bread at home is not just about mixing flour, yeast, and water – it’s about weaving a tale of tradition, love, and warmth into every crusty loaf, just as Nonna taught me, where every bite transports you back to a place of comfort and belonging.
Marco Bianchi
Embracing the Art of Homemade Bread
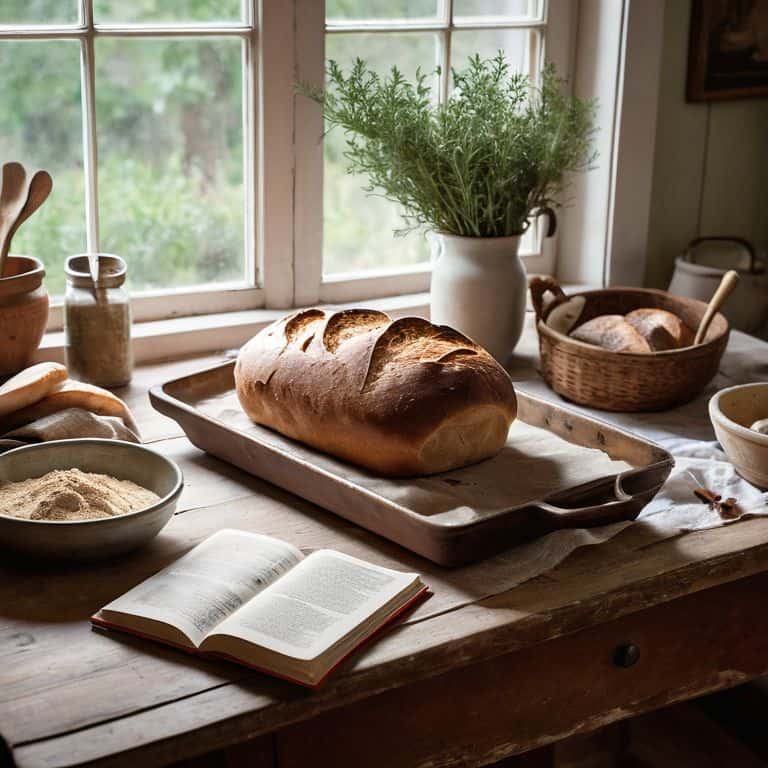
As I reflect on our journey through the world of baking bread at home, I’m reminded of the simple joys that come with creating something from scratch. From the initial mixing of ingredients to the final, satisfying slice, the process is a testament to the power of tradition and innovation. We’ve uncovered the secrets of artesian bread recipes, mastered the tricks of home oven temperature control, and delved into the stories behind each crusty loaf. Through it all, I hope you’ve come to realize that baking bread at home is not just about following a recipe, but about weaving a narrative that connects us to our past, our culture, and our loved ones.
As you continue on your own bread-baking journey, I encourage you to experiment and innovate, to push the boundaries of what’s possible with this ancient craft. Remember, the true magic lies not in the destination, but in the journey itself – the trials, the errors, and the triumphant moments when a perfectly baked loaf emerges from your oven. So go ahead, get your hands flour-covered, and let the aroma of freshly baked bread transport you to a world of wonder and discovery, where every slice tells a story waiting to be shared.
Frequently Asked Questions
What are some common mistakes to avoid when baking bread at home to ensure a perfect crust?
To achieve that perfect crust, I’ve learned to avoid overmixing the dough, which can lead to a dense, tough bread. Also, don’t overproof the dough, as it can collapse in the oven. And, of course, keep an eye on the temperature – a hot oven is key to a beautifully golden crust, just like Nonna used to make.
How can I create a homemade bread recipe that combines traditional Italian flavors with modern twists?
To craft a homemade bread recipe that blends traditional Italian flavors with modern twists, I recommend starting with a classic Italian bread foundation, such as Ciabatta or Focaccia, and then experimenting with innovative ingredients like truffle oil, sun-dried tomatoes, or fresh basil to add a contemporary touch.
What are the best types of flour to use for baking bread at home, and how do they affect the final texture and taste?
The heart of bread-making: flour! I swear by Caputo for its gentle texture, while Kamut adds a nutty depth. Nonna’s secret? A mix of ’00’ and whole wheat for that perfect balance of crumb and chew. The type of flour you choose will dance on your taste buds, so feel free to experiment and find your own rhythm.