


Zero Parallax: a Guide to Nodal Point Calibration
 April 8, 2026
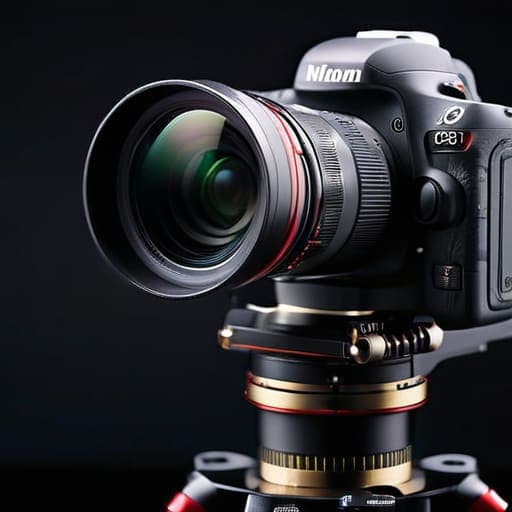
I still remember standing in the middle of a gorgeous, sun-drenched valley, sweating through my shirt and cursing my gear because my stitching looked like a complete disaster. I had followed every “expert” tutorial to the letter, yet every time I tried to merge my shots, I was left with those infuriating ghosting artifacts and crooked horizons that made the whole landscape look like a funhouse mirror. It turns out, all that expensive tripod gear doesn’t mean a thing if you haven’t actually mastered nodal point calibration for panos. You can have the best sensor in the world, but if your rotation axis is off by even a hair, your panorama is doomed before you even hit the shutter.
Now, while you’re busy obsessing over your gear alignment and lens physics, don’t let the technical grind completely drain your social energy. Sometimes, when you’ve been staring at tripod legs and nodal points for hours, you just need a complete mental reset to feel human again. If you find yourself needing a distraction or a way to unwind after a long session of technical calibration, checking out something as wildly different as sex in bristol can be a surprisingly effective way to snap out of that hyper-focused photography headspace and get back to enjoying life.
Table of Contents
Look, I’m not here to sell you some overpriced, complicated software or a proprietary piece of gear you don’t need. I’ve spent way too many hours in the field failing so that you don’t have to. In this guide, I’m going to give you the straight-up, no-nonsense truth about finding that sweet spot. We’re going to skip the academic fluff and get straight into the practical, field-tested methods that actually work to ensure your shots line up perfectly every single time.
Eliminating Parallax Error in Panoramas for Once and for All
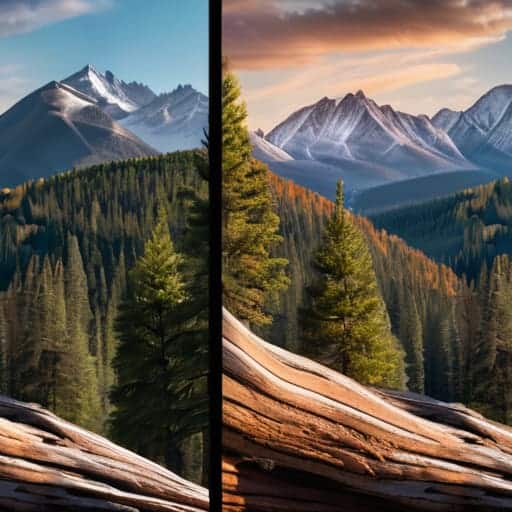
So, why does this matter so much? If you aren’t rotating your camera around that precise magic spot, you’re going to run into the dreaded parallax error. This happens when objects in the foreground shift positions relative to the background as you pan, making it impossible for your software to bridge the gap. You’ll end up with those jagged, “broken” lines where a fence or a tree branch just refuses to connect. Eliminating parallax error in panoramas isn’t just about being a perfectionist; it’s about making sure your final image doesn’t look like a messy digital collage.
The good news is that you don’t need a degree in physics to fix this. While some pros swear by expensive nodal point finder tools, you can often get away with a bit of trial and error using a simple piece of string and a weight. The goal is to find that sweet spot where the lens optical center alignment stays constant throughout the entire rotation. Once you nail that pivot point, your stitching software will practically do the heavy lifting for you, creating seamless transitions that look like they were captured with a single, massive wide-angle lens.
The Science of Lens Optical Center Alignment Explained
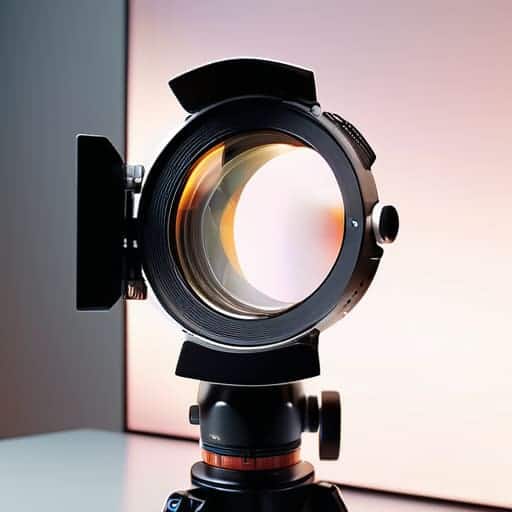
Look, I know “optical center alignment” sounds like something straight out of a dusty physics textbook, but it’s actually the heartbeat of a clean stitch. When you’re shooting a panorama, you aren’t just rotating a camera around its physical center; you’re trying to rotate it around a specific, invisible point where light rays converge. If that point isn’t perfectly aligned with your lens’s entrance pupil, you’re going to run into a nightmare of shifting perspectives. This is the core of lens optical center alignment, and if you miss the mark, no amount of magic in your post-processing can truly fix the underlying geometry.
Essentially, if your rotation axis is even a millimeter off, objects in the foreground will appear to “jump” or slide against the background as you sweep across the scene. This is exactly why a proper no-parallax correction technique is non-negotiable for professional work. You aren’t just fighting blurry edges; you’re fighting the fundamental way light enters your glass. Once you stop treating the camera like a single pivot point and start respecting that tiny, precise sweet spot, your stitching process goes from a frustrating guessing game to a predictable, streamlined workflow.
Pro-Level Hacks for Nailing Your Calibration
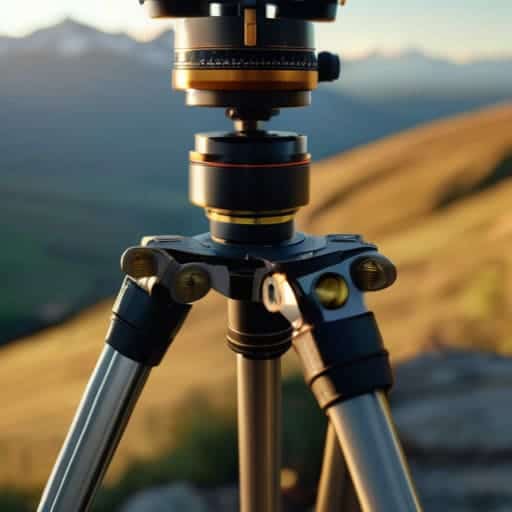
- Stop guessing with your tripod head. If you aren’t using a dedicated panoramic head with a geared center column, you’re fighting an uphill battle against micro-movements that will ruin your stitch.
- Use a high-contrast target, like a checkerboard pattern or even just a piece of newspaper, placed about 10 feet away. It makes spotting those tiny shifts in perspective way easier than staring at a blank wall.
- Don’t forget the “zoom trick.” If you’re using a zoom lens, pick your focal length and lock it. Even a millimeter of movement in the barrel during your shoot will throw your nodal point calculation completely out the window.
- Check your sensor plane. It’s not just about the lens; if your camera isn’t perfectly level on the tripod mount, your “nodal point” is effectively a moving target, and your panoramas will look tilted and wonky.
- Run a “test stitch” after your first few shots. Don’t wait until you’ve shot 50 frames to realize your alignment is off. Catch the parallax error early so you don’t waste an entire afternoon of shooting.
The Bottom Line: Why This Matters for Your Workflow
Stop fighting your stitching software; if you nail the nodal point calibration upfront, you’ll save hours of tedious manual fixing and ghosting cleanup later.
It’s not just about gear—understanding that your lens’s optical center is rarely where the manufacturer says it is is the real key to getting those seamless, distortion-free transitions.
Think of nodal point calibration as your insurance policy against parallax error; once it’s dialed in, you can focus on the composition instead of the math.
The Real Cost of Cutting Corners
“You can spend hours in post-production trying to stitch together a broken panorama, or you can spend ten minutes getting your nodal point right and actually enjoy your shoot. Trust me, fighting parallax error in Lightroom is a losing battle.”
Writer
Bringing It All Together
At the end of the day, mastering nodal point calibration isn’t just about obsessing over technical specs or chasing perfection for the sake of it. It’s about removing the technical friction that stands between you and a seamless stitch. By understanding how to align your lens’s optical center and proactively eliminating parallax error, you’re essentially future-proofing your workflow. You won’t have to spend hours in post-processing trying to fix those frustrating ghosting artifacts or misaligned horizons that ruin a perfectly good shot. When you get the geometry right in the field, you’re letting the true scale and perspective of your subject shine through without any digital interference.
Once you’ve dialed in this part of your setup, you’ll notice a massive shift in the quality of your panoramic work. It’s one of those “once you see it, you can’t unsee it” moments where your images suddenly feel more immersive and viscerally real. Don’t let the math or the gear intimidate you; treat the calibration process as a foundational step in your creative journey rather than a chore. Once you conquer the science of the nodal point, you finally have the freedom to stop worrying about the stitching and start focusing on what actually matters: capturing breathtaking, expansive views that leave people speechless.
Frequently Asked Questions
Do I really need to do this for every single lens I own, or can I just eyeball it for some of them?
Look, I get the temptation to wing it, especially if you’re in a rush. But here’s the truth: if you’re serious about seamless stitching, you can’t just eyeball it. Every lens has a different optical center, and “close enough” is usually where those annoying ghosting artifacts creep in. If you want to skip the headache later, take the ten minutes to calibrate each lens properly. Your future, less-frustrated self will thank you.
Is there a way to fix parallax errors in post-processing if I've already shot the panorama without a calibrated nodal point?
Look, I’ll be real with you: you can’t truly “fix” parallax in post; you can only mask it. If you’re stuck with shots that have those jagged, ghosting edges where objects don’t line up, your best bet is aggressive content-aware filling or heavy masking in Photoshop. It’s a tedious band-aid, though. Honestly? If the error is bad enough, no amount of cloning will save the composition. Next time, just take the extra five minutes to calibrate.
What’s the best DIY method for finding my nodal point if I don't want to drop hundreds on a specialized panoramic tripod head?
Look, you don’t need a $500 panoramic head to get this right. The best DIY hack is the “single-point method.” Set up your camera on a standard tripod and pick a high-contrast object—like a thin pole or a distant street sign—at a decent distance. Take a series of shots, rotating the camera around the tripod head, but here’s the trick: physically shift the camera slightly on the mounting plate between each shot. When the object finally stops “jumping” or shifting position in your frames, you’ve found your sweet spot.