


The Art of Preserving: Traditional Canning Techniques
 December 26, 2025
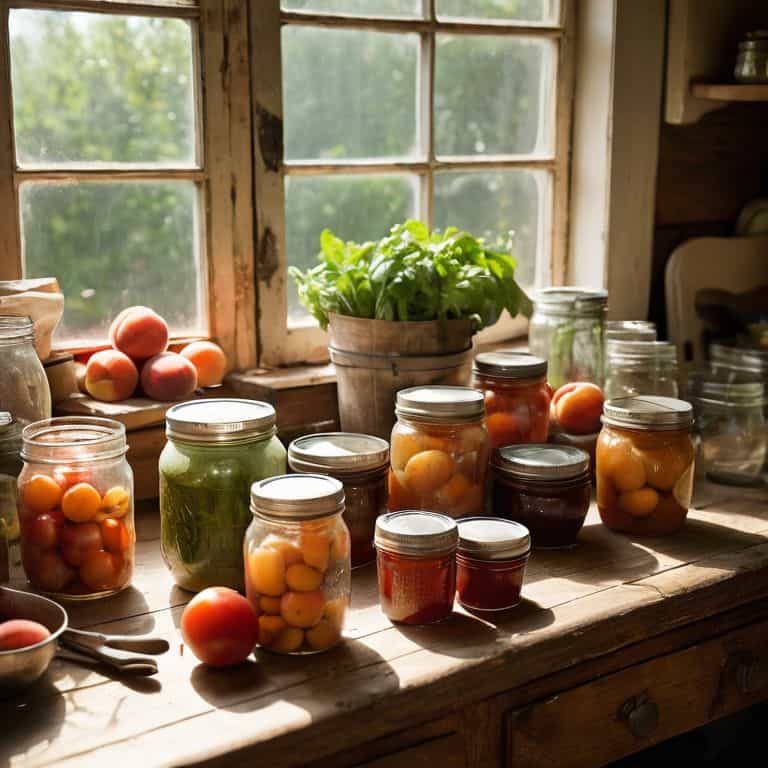
I still remember the summer afternoons spent in my nonna’s kitchen, watching her effortlessly preserve the season’s freshest produce using traditional canning techniques. It was an art form, really – the way she’d carefully select each ingredient, prepare the jars, and then, with a practiced hand, create these tiny, edible time capsules that would burst with flavor come winter. There’s a common myth that traditional canning techniques are tedious and time-consuming, but I’ve found that with a little practice, it’s quite the opposite – it’s a therapeutic process that connects us to our heritage and the land.
As we dive into the world of traditional canning techniques, I want to assure you that this guide is all about demystifying the process and making it accessible to everyone. You won’t find any overly complicated recipes or specialized equipment here – just honest, practical advice on how to get started and make the most of this timeless preservation method. Whether you’re a seasoned cook or a curious beginner, I invite you to join me on this journey into the heart of traditional canning, where flavor and tradition come together in perfect harmony. By the end of this guide, you’ll be equipped with the knowledge and confidence to create your own delicious, homemade preserves using traditional canning techniques.
Table of Contents
- Guide Overview: What You'll Need
- Step-by-Step Instructions
- Unveiling Traditional Canning Techniques
- Nonna's Wisdom: 5 Timeless Tips for Mastering Traditional Canning Techniques
- Timeless Wisdom in a Jar: 3 Key Takeaways
- A Timeless Tradition
- Preserving the Past, One Jar at a Time
- Frequently Asked Questions
Guide Overview: What You'll Need
Total Time: 2 hours 30 minutes
Estimated Cost: $50 – $100
Difficulty Level: Intermediate
Tools Required
- Large Pot (at least 3 inches deep)
- Canning Funnel
- Jar Lifter
- Acid Tester (for checking acidity levels)
- Kitchen Scale (for measuring ingredients)
- Timer
Supplies & Materials
- Mason Jars (sterilized)
- Lids and Bands (new)
- Canning Salt
- Fresh Produce (e.g., fruits, vegetables)
- Sugar or Honey (optional)
- Lemon Juice or Vinegar (for acidification)
- Water (for filling jars)
- Jar Labels (for labeling and dating jars)
Step-by-Step Instructions
- 1. First, let’s start with the basics: sterilizing our equipment is crucial to ensure that our cans are free from any bacteria or contaminants. I like to think of this step as setting the stage for a perfect canning experience, just like Nonna used to do. To sterilize, simply wash all your utensils, jars, and lids in hot soapy water, and then rinse them thoroughly with clean water. After that, place them in a large pot of boiling water for about 10-15 minutes to kill off any remaining germs.
- 2. Next, we need to prepare our ingredients, which includes washing, peeling, and chopping the fruits or vegetables we want to can. This is the part where I get to connect with the food on a deeper level, just like I did when I was a kid helping Nonna in the kitchen. Make sure to remove any stems, leaves, or blemishes, and chop the ingredients into uniform sizes so that they cook evenly. For example, if we’re canning tomatoes, we want to remove the skins and chop them into small pieces.
- 3. Now it’s time to create our brine, which is essentially a salty water solution that helps to preserve the food and add flavor. I love experimenting with different spices and herbs to create unique flavor profiles, but for a classic canning recipe, we’ll stick to the basics. To make the brine, simply combine water, salt, and any other desired spices or herbs in a large pot, and bring the mixture to a boil. Then, reduce the heat and let it simmer for about 10-15 minutes, or until the flavors have melded together.
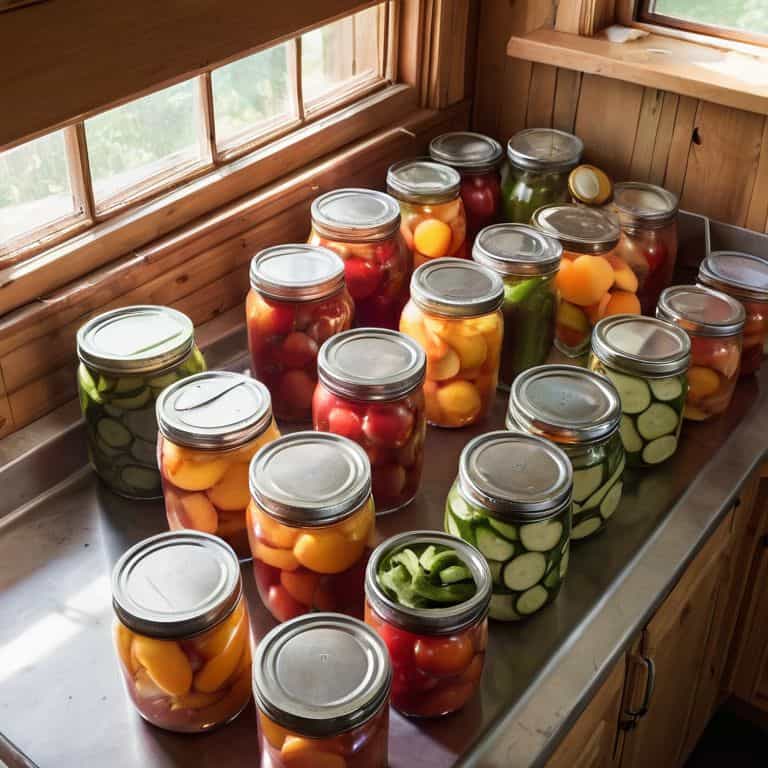
- 4. With our ingredients and brine ready, it’s time to fill our jars. This is the part where we get to be creative and add our own personal touch to the canning process. Using a clean ladle, fill the hot, sterilized jars with the prepared ingredients, leaving about 1/2 inch of headspace at the top. Then, pour the hot brine over the ingredients, making sure to leave the same amount of headspace. Use a non-metallic utensil, like a plastic spatula, to remove any air bubbles that may have formed.
- 5. Next, we need to seal our jars to create a vacuum that will prevent any air from entering the jar and spoiling the food. I remember Nonna teaching me how to do this when I was just a kid, and it’s still one of my favorite parts of the canning process. To seal the jars, place the sterilized lids and rings on top of the jars, and tighten them until they’re just finger-tight. Then, use a jar lifter to carefully place the jars into a large pot of boiling water, making sure that they’re covered by at least 1 inch of water.
- 6. Now, we process the jars in the boiling water bath for a specified amount of time, which depends on the type of food we’re canning and the altitude of our location. This is the part where patience comes into play, as we wait for the magic to happen. For example, if we’re canning high-acid foods like tomatoes or fruits, we’ll process the jars for 10-15 minutes. However, if we’re canning low-acid foods like meats or vegetables, we’ll need to process them for 30-60 minutes.
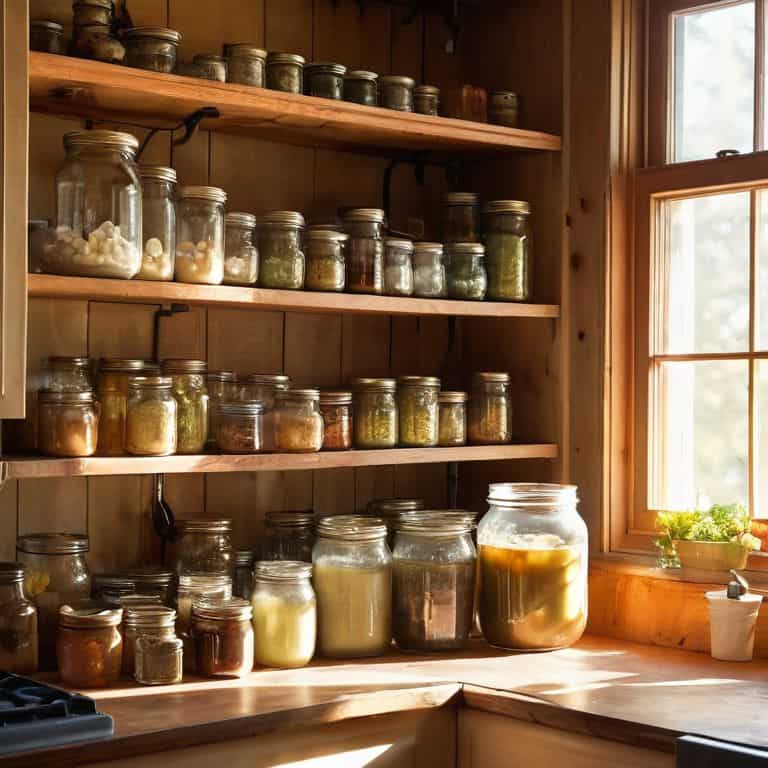
- 7. Finally, after the jars have been processed, it’s time to let them cool and check the seals. This is the moment of truth, when we get to see if our hard work has paid off. Remove the jars from the water bath, and let them cool to room temperature, undisturbed, for at least 12 hours. Then, check the seals by pressing on the top of each lid. If the lid doesn’t move and the seal is tight, we’ve done it! Our cans are now ready to be stored in a cool, dark place, where they’ll keep for months to come.
Unveiling Traditional Canning Techniques
As I delve into the world of preserving, I’m reminded of my nonna’s wisdom in the kitchen. She’d always say that canning jar seal techniques are just as important as the ingredients themselves. A properly sealed jar can make all the difference in preserving the flavors and textures of seasonal produce. I’ve found that using a water bath canner is an excellent way to ensure a tight seal, especially for high-acid foods like jams and pickles.
When it comes to low acid food canning procedures, I’ve learned to rely on my trusty pressure canner. It’s a game-changer for preserving meats, soups, and vegetables. However, it’s essential to follow pressure canner safety tips to avoid any accidents. I always make sure to read the manufacturer’s instructions and follow the recommended guidelines for processing times and pressures.
As I continue to explore the art of canning, I’m excited to share more of my discoveries with you. From water bath canning for beginners to advanced techniques for preserving high acid food, I’m passionate about uncovering the secrets of traditional preservation methods. By embracing these time-honored techniques, we can enjoy the flavors of each season all year round, just like my nonna used to do.
Nonnas Secrets in a Jar Water Bath Canning
As I delve into the world of water bath canning, I’m reminded of Nonna’s patient hands, carefully sterilizing jars and preparing them for the gentle dance of steam and water. This traditional method, passed down through generations, is an art form that requires attention to detail and a deep understanding of the preserving process. With each jar, I feel like I’m capturing a slice of summer, suspending time in a delicate balance of flavors and textures.
I recall the first time I helped Nonna with water bath canning, the way she’d meticulously pack the jars, leaving just the right amount of headspace, before lowering them into the warm bath. The soft bubbling of the water, the sweet aroma of sterilization, it all comes flooding back. As I continue to explore the nuances of this technique, I’m struck by the simplicity and elegance of preserving food in this way, a true testament to the resourcefulness and love of our ancestors.
Pressure Canner Safety Tips for Beginners
As I delve into the world of pressure canning, I’m reminded of my nonna’s wise words: “La sicurezza prima di tutto” – safety first. When working with a pressure canner, it’s essential to respect its power. Always follow the manufacturer’s instructions, and never leave the canner unattended. I also make sure to regularly inspect the gasket and valve for any signs of wear, as a faulty seal can lead to a world of trouble. By taking these simple precautions, you’ll be well on your way to creating delicious, shelf-stable dishes that will become family favorites.
For beginners, I recommend starting with small batches and gradually increasing the size as you gain confidence in your skills. This will help you get a feel for the canner’s rhythm and allow you to troubleshoot any issues that may arise. Remember, practice makes perfect, and with patience and attention to detail, you’ll be pressure canning like a pro in no time.
Nonna's Wisdom: 5 Timeless Tips for Mastering Traditional Canning Techniques
- Always sterilize your jars and utensils before filling to ensure a clean and safe canning process, just like Nonna taught me
- Use the freshest ingredients possible to preserve the true flavors of the season, and don’t be afraid to get creative with your recipes
- Acidity is key: make sure to balance the pH levels in your jars to prevent spoilage and ensure a long shelf life for your canned goods
- Never overfill your jars, as this can lead to a buildup of pressure and potentially cause the jars to burst during the canning process
- Let your canned creations rest for at least 24 hours before storing them, allowing the flavors to meld together and the seals to set properly, just like Nonna’s famous homemade sauce
Timeless Wisdom in a Jar: 3 Key Takeaways
Embracing traditional canning techniques is not just about preserving food, it’s about capturing the essence of a season and the love that goes into preparing each jar, just like Nonna used to do
Mastering the art of water bath canning and pressure canning requires patience, practice, and a deep respect for the techniques that have been passed down through generations, ensuring that every jar is filled with not just food, but stories and traditions
By uncovering and sharing the secrets of traditional canning, we not only preserve the past but also pave the way for a future where homemade, locally sourced, and lovingly prepared food continues to bring people together, one delicious and carefully crafted jar at a time
A Timeless Tradition
Traditional canning techniques are more than just a method of preservation – they’re a way of bottling memories, of capturing the essence of a season, and of sharing love and tradition with the ones we cherish, just as Nonna used to do.
Marco Bianchi
Preserving the Past, One Jar at a Time
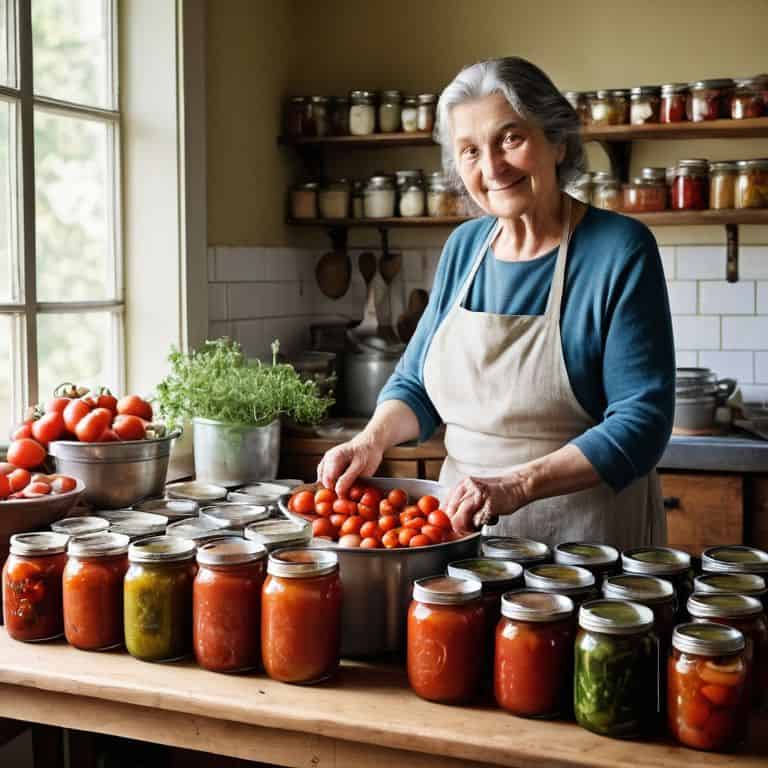
As I reflect on the traditional canning techniques that have been passed down through generations, I’m reminded of the importance of preserving not just food, but also the stories and memories that come with it. From Nonna’s secrets in water bath canning to the essential safety tips for pressure canning, each step in the process is a testament to the love and care that goes into creating something that will be enjoyed for months to come. Whether you’re a seasoned canner or just starting out, the key to success lies in the attention to detail and the willingness to experiment with new flavors and techniques.
As you embark on your own canning journey, I encourage you to think beyond the recipe and consider the cultural significance of this timeless tradition. By embracing traditional canning techniques, you’re not only preserving food, but also honoring the past and creating a sense of connection to the people and places that have shaped our culinary heritage. So go ahead, fill those jars with love, and watch as the simple act of canning becomes a powerful way to bring people together and create memories that will last a lifetime.
Frequently Asked Questions
What are the most common mistakes to avoid when using traditional canning techniques to ensure the food is properly sterilized and sealed?
Ah, the pitfalls of traditional canning! I’ve seen Nonna’s students struggle with improper lid fitting, insufficient acidity, and rushed processing times. These mistakes can lead to spoilage or worse. To avoid them, always follow tested recipes, ensure precise acidity levels, and never rush the processing time – your taste buds and health will thank you!
How do I know if the jars are properly sealed after using a water bath canner, and what are the signs of a failed seal?
The moment of truth! After a water bath canner session, I always check the seals by pressing on the top of each jar – if it doesn’t move and the lid is concave, it’s a good sign. Also, listen for that satisfying ‘pop’ when you open it, and inspect the lid for any gaps or wrinkles, just like Nonna taught me.
Can I use a pressure canner for all types of food, or are there certain foods that are better suited for water bath canning or other preservation methods?
While a pressure canner is incredibly versatile, some foods are better suited for water bath canning or other methods. Delicate fish and soft fruits, for instance, may become overcooked in a pressure canner, making water bath canning a gentler option.