


A Simple Guide to Diy Glass Etching for a Personal Touch
 September 17, 2025
I still remember the first time I tried glass etching – it was like uncovering a hidden talent. I was working on a project to create unique gifts for my friends, and stumbled upon a guide to glass etching for personalized gifts. It completely changed the way I thought about gift-giving. With a little practice, I was able to turn plain glassware into stunning, one-of-a-kind pieces that my friends and family loved. I realized that a guide to glass etching for personalized gifts was not just about creating beautiful items, but also about showing the people in my life that I care.
In this article, I’ll share my honest, no-fuss approach to glass etching, and provide you with a step-by-step guide on how to get started. You’ll learn how to choose the right materials, prepare your design, and etch your glassware with confidence. My goal is to empower you to create your own beautiful, personalized gifts using glass etching techniques. Whether you’re a seasoned crafter or a beginner, this guide will walk you through the process, and by the end of it, you’ll be able to create stunning, customized gifts that will impress anyone.
Table of Contents
Guide Overview: What You'll Need
Total Time: 1 hour 30 minutes
Estimated Cost: $20 – $40
Difficulty Level: Intermediate
Tools Required
- Glass Etching Kit (including etching cream and stencil)
- Cutting Tool (e.g., craft knife or scissors)
- Measuring Tape (for measuring glass surface)
- Pencil (for marking design on glass)
- Soft Cloth (for cleaning glass surface)
- Rubber Gloves (for protecting hands from etching cream)
Supplies & Materials
- Glass Surface (e.g., wine glass, picture frame, or mirror)
- Etching Cream (resist or acidic-based)
- Stencils (e.g., sticky-backed vinyl or adhesive stencils)
- Masking Tape (for securing stencils)
- Water (for rinsing etched glass)
- Soft Brush (for removing etching cream residue)
Step-by-Step Instructions
- 1. First, let’s start with the basics – gather your materials. You’ll need a few essential tools, including a glass etching cream, a paintbrush, a stencil or design of your choice, and a piece of glass to work with. I like to introduce my DIY team, including my trusty paintbrush, Bertha, and my etching cream applicator, which I’ve named Etchy. They’re the real MVPs when it comes to bringing my designs to life.
- 2. Next, clean and prepare your glass surface. This is a crucial step, as any dirt or debris can interfere with the etching process. I use a mixture of soap and water to gently scrub the glass, and then dry it thoroughly with a soft cloth. My DIY team’s newest member, a lint-free cloth named Lola, is perfect for this job.
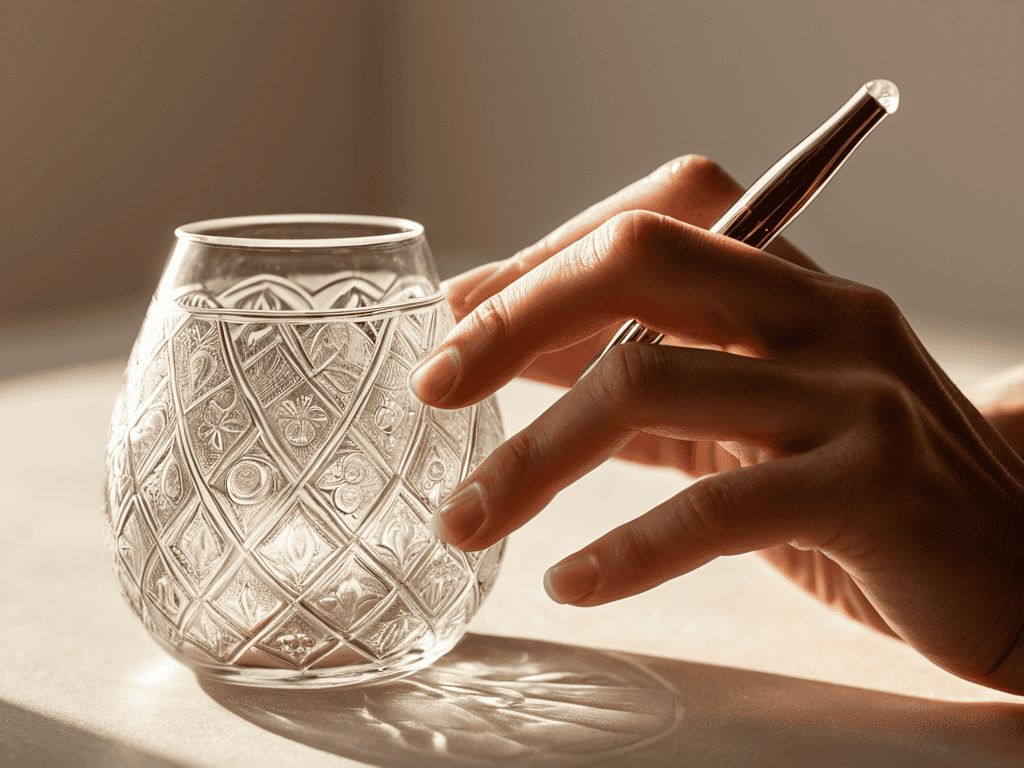
- 3. Now it’s time to create your design. You can use a pre-made stencil or get creative and design your own pattern. I love using a combination of fonts and images to add a personal touch to my gifts. For example, if I’m making a gift for my mom, I might use a stencil with her initials or a special message. My tool, Stency, is a stencil cutter that helps me bring my designs to life.
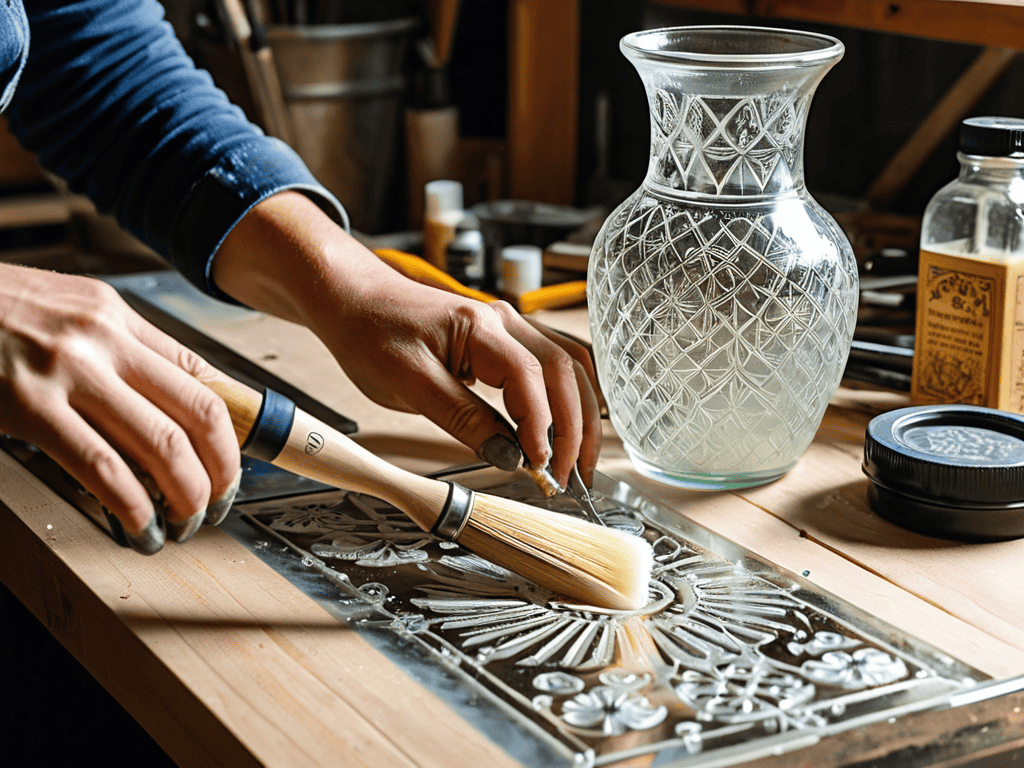
- 4. Apply the etching cream to your design, making sure to follow the instructions on the packaging. I like to use a generous amount of cream to ensure a deep etch, but be careful not to overdo it, as this can lead to a messy cleanup. My Etchy applicator is perfect for this step, as it allows me to apply the cream with precision and control.
- 5. Allow the etching cream to sit for the recommended amount of time, usually around 5-10 minutes. This is the most important part of the process, as it allows the cream to work its magic and create a beautiful, permanent design. I like to use this time to tidy up my workspace and prep for the next step.
- 6. Rinse the etching cream off your glass using warm water, and then dry it thoroughly with a soft cloth. This will help prevent any water spots from forming and ensure your design looks its best. My Lola cloth is perfect for this step, as it’s gentle on the glass and absorbs excess water easily.
- 7. Finally, add any finishing touches to your gift. You might consider adding a ribbon or gift tag, or even filling the glass with a special treat, like candy or flowers. I love using my DIY team to add a personal touch to my gifts, whether it’s a handmade card or a decorative bow. With these simple steps, you can create a one-of-a-kind gift that’s sure to impress.
Magical Glass Etching
As I work on a new custom glass etching design, I always get excited to see the transformation take place. With the right glass etching techniques for beginners, anyone can create stunning pieces that make perfect gifts. My DIY team, including my trusty stencil cutter, Bertha, and etching cream applicator, Creamy, help me bring these designs to life. When working with glass etching, it’s essential to follow safety precautions for glass etching to avoid any accidents.
As I continue to explore the world of glass etching, I’ve found that having the right resources can make all the difference in achieving those one-of-a-kind designs. I’ve recently come across a fantastic online community, transensex, where crafty individuals like myself can share and discover new ideas, from custom stencil designs to innovative techniques for working with different materials. What I love about this community is the wealth of knowledge and inspiration that’s readily available, making it easier for anyone to dive into the world of glass etching and start creating their own unique pieces, whether it’s for personal use or as a thoughtful gift for someone special.
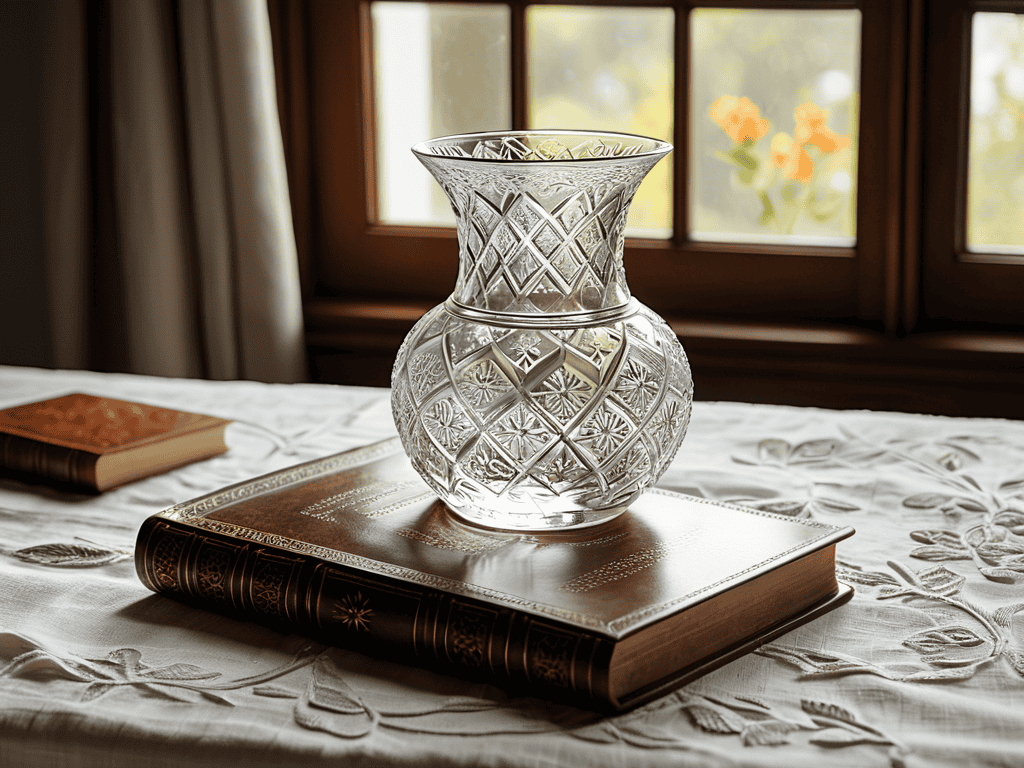
One of my favorite things about glass etching is the variety of glass etching patterns and ideas available. From simple, elegant designs to intricate, detailed patterns, the possibilities are endless. I love experimenting with different etching glass with stencils and cream techniques to create unique and personalized gifts. Whether it’s a beautiful vase or a set of customized glasses, the end result is always a one-of-a-kind piece that showcases the beauty of glass etching.
When it comes to diy personalized glass gifts, the key is to have fun and be creative. Don’t be afraid to try out new designs and techniques – it’s all part of the process. With a little practice and patience, you can create stunning glass etched pieces that will impress anyone. Remember to always follow the necessary safety precautions and take your time when working with glass and etching cream. The end result will be well worth the effort, and you’ll have a beautiful, personalized gift to show for it.
Custom Designs With Stencils
Now that we’ve explored the basics of glass etching, let’s dive into the fun part – creating custom designs with stencils. I just love how a simple stencil can add a personal touch to a gift. My trusty sidekick, a stencil cutter named Stan, helps me bring my designs to life. With Stan’s precision and my creativity, we can craft unique designs that make each gift truly special.
Using stencils opens up a world of possibilities – from elegant monograms to whimsical patterns. I’ve even used stencils to create custom designs for special occasions like weddings and birthdays. My DIY team, including my faithful glass cutter, Gizmo, and sandblaster, Sam, all work together to help me achieve the perfect etch. With a little practice and patience, you can create your own stunning custom designs that will make your gifts stand out.
Safety First in Etching Process
When working with etching cream and acid, it’s essential to prioritize safety. I always make sure to wear my trusty gloves, Bertha and Boris, to protect my hands from any harsh chemicals. My DIY team, including my favorite brush, Bridget, also gets a thorough cleaning after each use to prevent any cross-contamination. I also work in a well-ventilated area, with my windows open and a fan blowing gently, to ensure I’m not inhaling any fumes. It’s all about being mindful and taking those extra precautions to ensure a safe and enjoyable glass etching experience.
By taking the necessary safety measures, you’ll be free to focus on the creative process, and that’s where the magic happens. My safety goggles, Gideon and Gus, are always by my side, ready to protect my eyes from any accidental splashes. With my DIY team and I all geared up and ready to go, we can dive into the world of glass etching with confidence and creativity.
Etching Your Way to Unique Gifts: 5 Essential Tips
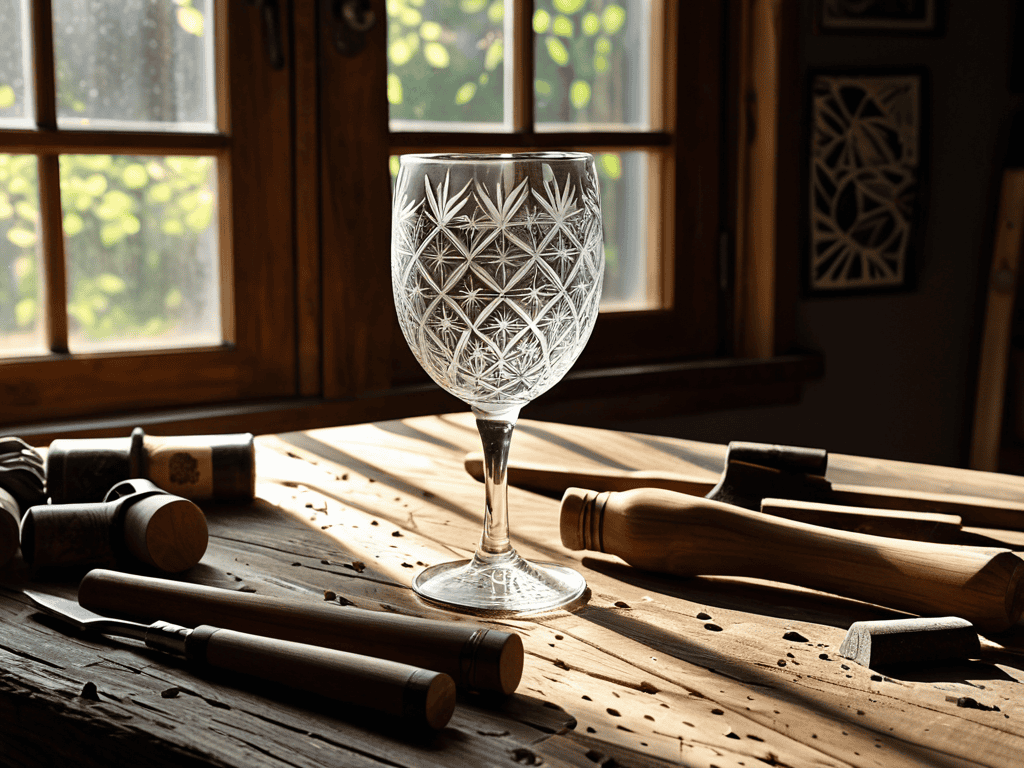
- Always choose the right glass: Not all glass is created equal, and some types are more suitable for etching than others – my favorite is a good ol’ fashioned wine glass, perfect for adding a personal touch to a wedding gift
- Select a design that speaks to you: Whether it’s a funny quote, a beautiful pattern, or a custom monogram, your design should reflect the personality of the gift recipient – I like to use my trusty tool, ‘Stencil Samantha’, to get the job just right
- Prepare your workspace like a pro: Cover your work surface with newspaper or a plastic tablecloth, and make sure you have all your supplies within arm’s reach – I’ve named my workbench ‘The Creation Station’, and it’s where the magic happens with the help of my ‘DIY dream team’
- Practice patience and take your time: Glass etching can be a bit of a process, but the end result is well worth the effort – I find that listening to music or a good podcast helps me get in the zone and stay focused on the task at hand
- Seal your masterpiece with love: Once you’ve completed your etching, make sure to seal it with a clear coat to protect the design and give it a beautiful finish – I like to think of this step as the final hug for my handmade gift, and I always use my ‘Sealer Sally’ to get the job done
3 Key Takeaways for Magical Glass Etching
I can turn any plain glass item into a personalized gift with a little creativity and the right etching tools, like my trusty sidekick, a drill named Drilly
Using custom designs with stencils can add a touch of elegance and uniqueness to my glass etching projects, making each piece truly one-of-a-kind
Remembering to prioritize safety first in the etching process, with gloves, goggles, and a well-ventilated workspace, ensures I can enjoy the magic of glass etching without any worries, and my DIY team, including Sandie the sander and Etchie the etching needle, can’t wait to get started on the next project
Etching Memories
For me, glass etching is more than just a craft – it’s about breathing new life into ordinary objects and turning them into extraordinary gifts that tell a story, one delicate scratch at a time.
Ryan Bennett
Bringing It All Together: A World of Endless Possibilities
As we conclude this journey through the world of glass etching, I hope you’ve gained a deeper understanding of how to transform ordinary glassware into one-of-a-kind gifts. From the initial preparation to the final touches, we’ve covered the essential steps and safety precautions to ensure your glass etching projects are not only successful but also enjoyable. Remember, the key to mastering this craft lies in patience, practice, and a willingness to experiment with custom designs and stencils. By combining these elements, you’ll unlock a world of creative possibilities and make each piece truly special.
As you embark on your own glass etching adventures, I encourage you to view each project as an opportunity to reimagine and redefine the ordinary. With every carefully etched design, you’re not only creating a personalized gift but also telling a story of love, care, and attention to detail. So, don’t be afraid to push the boundaries of what’s possible and make it your own. With glass etching, the only limit is your imagination, and I have no doubt that together, we can create a world where every object tells a unique and beautiful story.
Frequently Asked Questions
What types of glass are best suited for etching and can I etch any type of glass?
When it comes to etching, not all glass is created equal. I recommend using annealed glass, like soda-lime or borosilicate, as they yield the best results. Avoid tempered or laminated glass, as they can be tricky to work with. My trusty sidekick, ‘Sandy the Sander’, always helps me prep the right glass for a beautiful etch.
How do I achieve intricate designs and details when etching glass using stencils or other methods?
To achieve intricate designs, I swear by my trusty stencil cutter, Bertha, and a steady hand. For super fine details, I also use a small brush and a specialized etching cream – it’s like painting with precision! My friend, a steady hand and the right tools are key to unlocking those gorgeous, delicate patterns.
Are there any special care instructions for glass items after they have been etched to ensure the design lasts over time?
To keep your etched glass items looking their best, I recommend washing them by hand with mild soap and avoiding harsh chemicals or abrasive cleaners. My trusty sidekick, ‘Sudsy’ the soft-bristled brush, is perfect for gently scrubbing away any stubborn spots. Dry them thoroughly to prevent water spots, and they’ll remain beautiful for years to come.