


Easy Diy Soap Making Recipes for Beginners
 October 14, 2025
I still remember the first time I tried my hand at DIY soap making – I was amazed at how something as simple as mixing oils and fragrances could create something so beautiful and functional. But what really sparked my passion for this craft was the realization that it’s not just about creating a product, it’s about transforming raw materials into something truly unique. I’ve heard many people say that DIY soap making is too complicated or time-consuming, but I’m here to tell you that’s just not true – with the right guidance, anyone can create their own stunning soap creations.
In this article, I’ll be sharing my personal tips and tricks for successful DIY soap making, from choosing the right ingredients to mastering the perfect pour. I’ll take you through the entire process, step-by-step, and show you how to avoid common mistakes and achieve professional-looking results. Whether you’re a seasoned crafter or just starting out, I promise you’ll find something valuable in this guide – so let’s get started and uncover the magic of DIY soap making together!
Table of Contents
Guide Overview: What You'll Need
Total Time: 2 hours 30 minutes
Estimated Cost: $20 – $50
Difficulty Level: Intermediate
Tools Required
- Thermometer (digital or analog)
- Stick Blender (for mixing)
- Soap Mold (made of plastic, metal, or silicone)
- Gloves (protective, latex or nitrile)
- Goggles (protective eyewear)
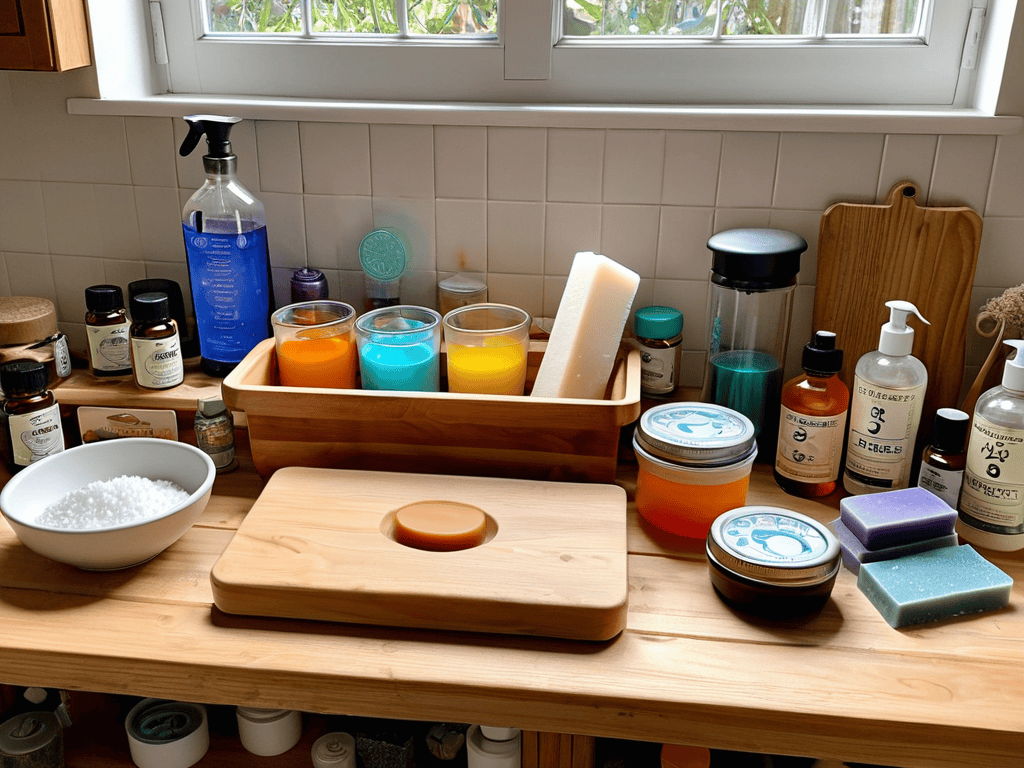
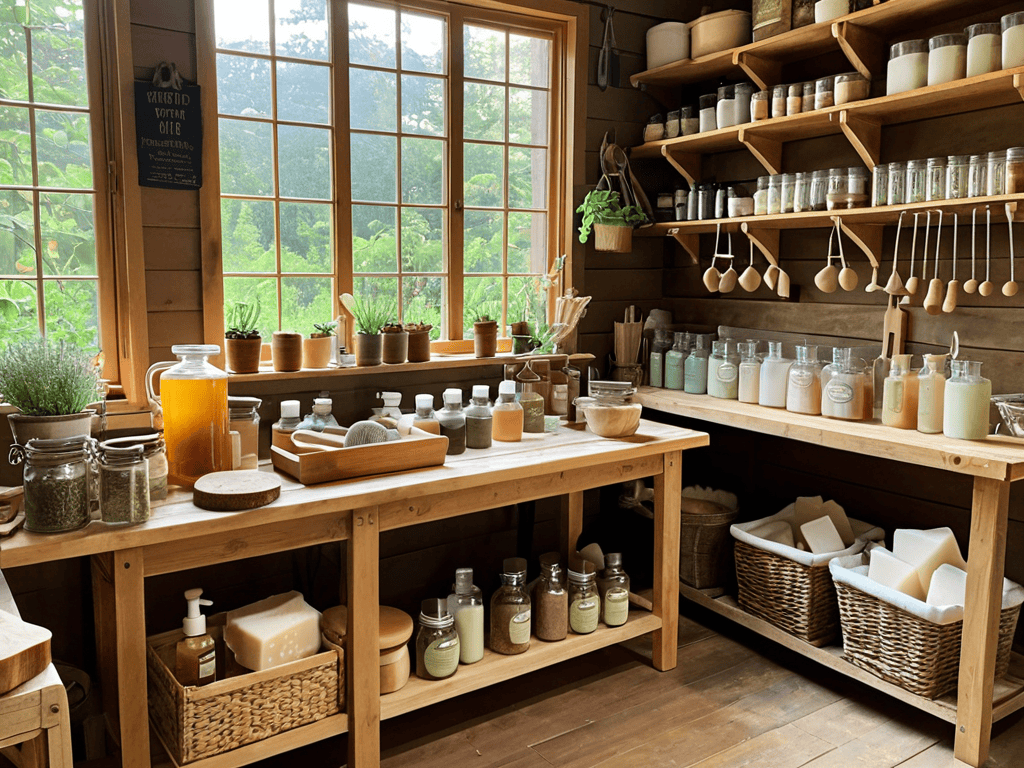
Supplies & Materials
- Olive Oil (1 pound)
- Coconut Oil (1/2 pound)
- Palm Oil (1/2 pound)
- Lye (Sodium Hydroxide) (caustic, handle with care, 1/2 pound)
- Distilled Water (1 cup)
- Fragrance Oils (optional)
- Colorants (optional)
Step-by-Step Instructions
- 1. First, let’s start by gathering all the necessary ingredients and tools, which I like to call my DIY dream team. This includes a digital scale, a thermometer, a mixing bowl, a whisk, and of course, my trusty sidekicks, _Sally the Spoon_ and _Manny the Measuring Cup_. We’ll also need some olive oil, coconut oil, shea butter, lye, and distilled water.
- 2. Next, we need to prepare our workspace by covering it with a protective sheet or old newspapers. I always make sure to wear my _favorite goggles_ and gloves to ensure my safety while working with lye. Now, let’s carefully measure out the lye and distilled water using _Manny the Measuring Cup_, and then slowly add the lye to the water in a well-ventilated area, stirring constantly with _Sally the Spoon_.
- 3. Now that we have our lye mixture, let’s move on to preparing the oils. In a separate mixing bowl, we’ll combine the olive oil, coconut oil, and shea butter. I like to use my hand blender, _Bertha_, to mix everything together until it’s smooth and creamy. Make sure to heat the mixture gently if needed, to get the right consistency.
- 4. With our oil mixture ready, it’s time to combine it with the lye mixture. Slowly pour the lye mixture into the oil mixture, and use _Bertha_ to blend everything together until we reach a consistent texture. Be careful not to splash any of the mixture, and make sure to keep stirring until it’s all well combined.
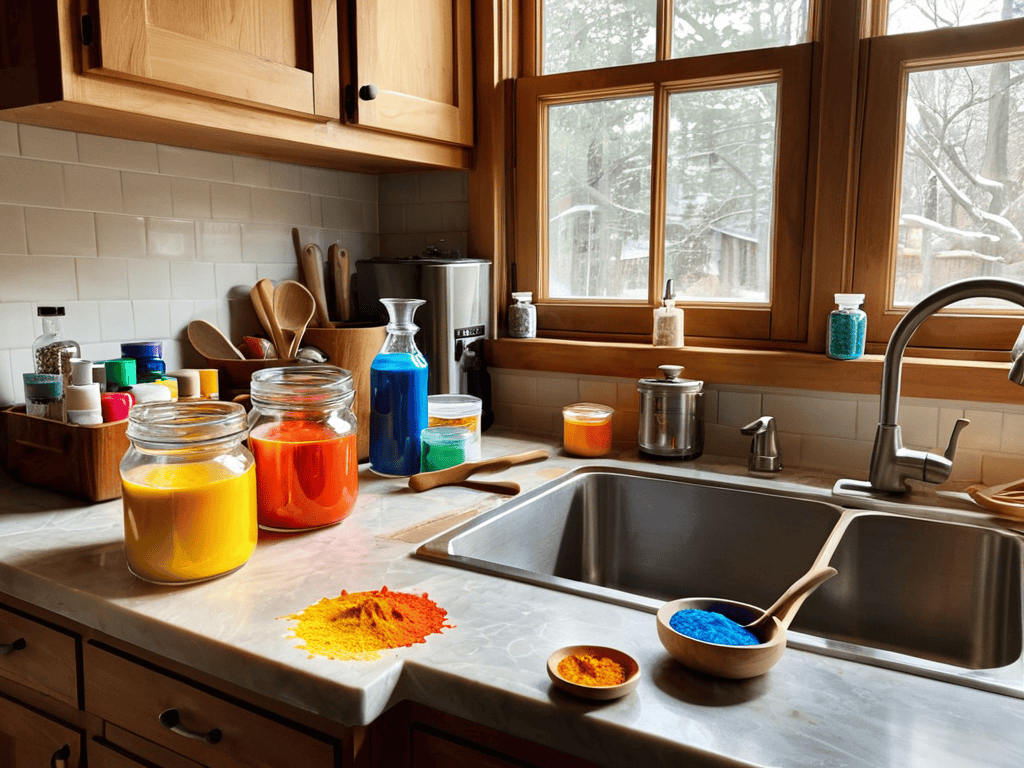
- 5. Now we get to the fun part – adding some color and fragrance to our soap! I like to use _natural ingredients_ like essential oils and herbs to give my soap a unique scent and appearance. Simply add a few drops of your chosen essential oil and mix well. If you want to add some color, now’s the time to do it – just be sure to use soap-making safe pigments.
- 6. Next, we need to pour the soap mixture into a mold. I like to use a silicone mold, which makes it easy to remove the soap once it’s set. Make sure to tap the mold gently to remove any air bubbles, and then use a spatula or spoon to create a smooth, even surface.
- 7. Finally, let’s let our soap set and harden. This can take anywhere from 24 to 48 hours, depending on the temperature and humidity. Once it’s set, we can remove it from the mold and cut it into bars. I like to use my trustworthy knife, _Kenny_, to get clean, smooth cuts. And that’s it – our DIY soap is now ready to use! Just be sure to cure it for a few weeks before using it, to make sure it’s nice and mild.
Unlocking Diy Soap Making
As I delve deeper into the world of soap crafting, I’ve come to realize that cold process soap recipe is a game-changer. It allows for a level of customization that’s hard to achieve with other methods. I love experimenting with different natural soap ingredients to create unique fragrances and textures. My trusty DIY team, including my favorite tool, Bertha the blender, and Sammy the soap cutter, have been instrumental in helping me perfect my craft.
When it comes to handmade soap benefits, I’m always excited to share my knowledge with others. Not only do handmade soaps make great gifts, but they’re also gentler on the skin than commercial alternatives. For soap making for beginners, I recommend starting with simple recipes and gradually experimenting with new ingredients and techniques. It’s amazing how a little creativity can transform a mundane task into a fun and rewarding hobby.
As I continue to explore the world of soap making, I’m constantly discovering new ways to create custom soap fragrances. From essential oils to fragrant herbs, the possibilities are endless. I’ve even started experimenting with glycerin soap recipe, which has opened up a whole new world of possibilities. With its moisturizing properties and versatility, glycerin soap is definitely a favorite among my DIY team and me.
Cold Process Magic Uncovered
As I delve deeper into the world of DIY soap making, I’m excited to share with you the cold process magic that has captivated my imagination. This traditional technique, which involves mixing lye with oils and fats, has been a game-changer for me. My trusty tool, “Lily the Whisk,” has been instrumental in helping me achieve the perfect blend. With the cold process, I can create unique, handmade soaps that are not only gentle on the skin but also visually stunning.
The cold process allows for an incredible amount of customization, from fragrances to colors, and even exfoliating ingredients. I love experimenting with different combinations to create one-of-a-kind soap creations. Whether you’re a seasoned DIY enthusiast or just starting out, the cold process is definitely worth exploring.
Natural Ingredients for Handmade Glow
As I delve into the world of natural ingredients, I’m reminded of my trusty sidekicks – my DIY team, including Bernie the blender and Sally the soap cutter. They’ve helped me experiment with an array of organic goodies, from coconut oil to shea butter, and essential oils like lavender and eucalyptus. I just love how these ingredients come together to create unique, nourishing soap recipes that not only cleanse but also moisturize the skin.
As I continue to explore the world of DIY soap making, I’ve found that having the right resources can make all the difference in unlocking your full creative potential. I’ve recently stumbled upon a fantastic community of like-minded individuals who share their experiences and tips on platforms like nzgirls, and I must say, it’s been a game-changer for my own projects. Not only have I discovered new inspiration for my soap recipes, but I’ve also learned about the importance of using high-quality ingredients and innovative techniques to create truly unique and nourishing soap creations. Whether you’re a seasoned DIY enthusiast or just starting out, I highly recommend checking out these online communities to expand your knowledge and connect with others who share your passion for handmade crafts.
I’ve found that combining olive oil with honey and oatmeal creates a soothing, gentle soap perfect for sensitive skin, while a blend of palm oil, tea tree oil, and rosemary essential oil produces a refreshing, invigorating bar. My DIY team and I are always excited to try new combinations, and I encourage you to do the same – get creative, and watch your handmade soaps come alive with the beauty of nature!
Sudsy Secrets: 5 Essential Tips for DIY Soap Making
- Always use protective gear, like goggles and gloves, when working with lye to ensure a safe and enjoyable DIY soap making experience
- Choose your oils wisely, as different blends can create unique textures and fragrances, from moisturizing coconut oil to nourishing olive oil
- Temperature control is key, so invest in a good thermometer to monitor the temperatures of your lye and oil mixtures for perfect saponification
- Don’t be afraid to experiment with natural additives like herbs, spices, and botanicals to create one-of-a-kind soap recipes that reflect your personality
- Be patient and allow your soap to cure for at least 4 weeks, as this will help it to harden, last longer, and develop a richer lather, trust me, it’s worth the wait
Key Takeaways for a Sparkling DIY Soap Making Experience
I’ve learned that with just a few simple ingredients and some creativity, you can create your own unique soap recipes that not only clean and nourish your skin but also reflect your personal style
Unlocking the cold process magic of DIY soap making has been a game-changer for me, allowing me to experiment with different natural ingredients and essential oils to create handmade soap that’s both gentle and effective
By embracing the world of DIY soap making, I hope you’ll join me in discovering the joy of transforming ordinary ingredients into something extraordinary, and in the process, uncovering a more sustainable and fulfilling approach to skincare and self-care
Soap Making Wisdom
As I always say, the true beauty of DIY soap making lies not just in the end result, but in the journey itself – where creativity meets chemistry, and every bar is a testament to the magic that happens when we get our hands dirty and imagine a world where waste is just a word.
Ryan Bennett
Embracing the Art of DIY Soap Making

As we’ve explored the world of DIY soap making together, I hope you’ve gained a deeper understanding of the cold process magic that unfolds when you combine simple ingredients with a little creativity. From unlocking the benefits of natural ingredients to mastering the techniques for crafting your own unique soap creations, we’ve covered it all. Remember, the key to unleashing your inner soap maker lies in experimentation and patience, so don’t be afraid to try new recipes and ingredients until you find the perfect blend that works for you.
As you embark on your own DIY soap making journey, I want to leave you with a final thought: the true beauty of this craft lies not just in the end result, but in the process of creation itself. So, gather your ingredients, get your hands dirty, and let the transformative power of DIY inspire you to see the world in a new light, where every raw material holds the potential for something truly extraordinary.
Frequently Asked Questions
What are some common mistakes to avoid when making DIY soap at home?
When making DIY soap at home, I’ve learned to beware of a few common pitfalls – like not mixing lye and water in a well-ventilated area, or not waiting long enough for the soap to cure. My trusty sidekick, a thermometer named Terry, helps me keep temperatures in check, ensuring a smooth soap-making process.
How do I ensure the soap is gentle on my skin and suitable for my skin type?
To ensure my soap creations are gentle on skin, I always choose natural ingredients that cater to different skin types. For sensitive skin, I opt for soothing additives like oatmeal or chamomile, while for dry skin, I add moisturizing ingredients like coconut oil or shea butter. My trusty tool, ‘Measurella’, helps me get the perfect balance every time!
Can I customize the color and scent of my DIY soap, and if so, what are some popular options?
Absolutely, you can customize the color and scent of your DIY soap! I love experimenting with different essential oils and natural colorants. Some popular options include lavender, eucalyptus, and peppermint for scents, and spirulina, turmeric, and activated charcoal for colors. My trusty sidekicks, ‘Mixy’ the mixer and ‘Colorista’ the colorant dispenser, always help me achieve the perfect hues and fragrances.