


Floating Screens: Designing and Installing a Heavy-duty Multi-monitor Wall Mount
 January 6, 2026
I still remember the day I breathed new life into my old desk with a custom monitor mount – it was a total game-changer for my workspace. I had always thought that custom monitor mounting was a complex and expensive process, but it turned out to be a simple DIY project that made all the difference. As someone who’s passionate about upcycling and repurposing old furniture, I was excited to discover that custom monitor mounting could be a great way to elevate your workspace without breaking the bank. With my trusty tools, including my drill, “Bertha,” and my level, “Lenny,” I was able to create a custom monitor mount that perfectly fit my needs.
In this article, I’ll share my no-nonsense guide to custom monitor mounting, including the tools and materials you’ll need, as well as some helpful tips and tricks to ensure a successful project. Whether you’re looking to free up some desk space, improve your posture, or simply add a touch of rustic charm to your office, custom monitor mounting is a great way to achieve your goals. I’ll walk you through the process step-by-step, so you can create your own custom monitor mount with confidence. By the end of this article, you’ll be equipped with the knowledge and inspiration to transform your workspace and take your productivity to the next level.
Table of Contents
Project Overview
Total Time: 2 hours 30 minutes
Estimated Cost: $50 – $100
Difficulty Level: Intermediate
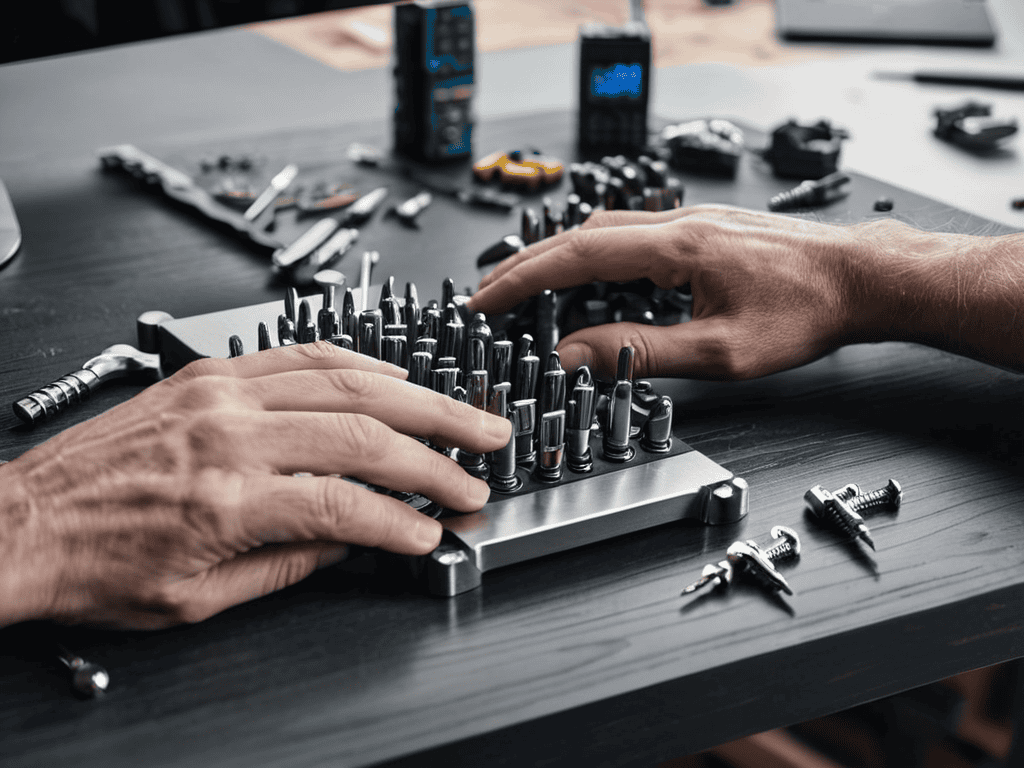
Tools Required
- Drill Press ((for precise drilling))
- Hand Drill ((with screwdriver and drill bits))
- Level ((to ensure proper alignment))
- Measuring Tape ((for accurate measurements))
- Pencil and Marker ((for marking positions))
- Wrench or Socket ((for tightening bolts))
- Saw ((for cutting 2-in x 4-in lumber))
- Sandpaper ((for smoothing out wood surfaces))
Supplies & Materials
- Monitor Mounting Bracket ((compatible with your monitor))
- 2-in x 4-in Lumber ((for creating a custom mounting plate))
- Wood Screws ((1 inch and 2 inches long))
- Wall Anchors ((for securing the mount to drywall or concrete))
- Cable Management System ((for organizing cables))
- Screws for Mounting Bracket ((provided with the mounting bracket))
Step-by-Step Instructions
- 1. First, let’s start by gathering our materials, which will include a vintage desk, a monitor, a drill press, and my trusty DIY team: Bertha the drill, Sammy the sander, and Marty the measuring tape. We’ll also need some wood screws, a monitor mounting bracket, and a few other basic tools to get the job done.
- 2. Next, we need to assess the desk’s structure and determine the best placement for our monitor mount. This involves considering the desk’s ergonomics, the user’s preferred viewing height, and the overall aesthetic we’re aiming for. I like to think of this step as the foundation of our project, where we set the stage for a beautiful and functional workspace.
- 3. Now it’s time to mark the mounting points on the desk and the monitor. This is where Marty the measuring tape comes in handy, ensuring our measurements are precise and our mount is level. I’ll use a pencil to mark the spots where we’ll be drilling, and then double-check my measurements to avoid any mistakes.
- 4. With our markings in place, we can start drilling the pilot holes for our wood screws. Bertha the drill is perfect for this task, and I’ll use a small pilot bit to avoid splintering the wood. It’s essential to drill slowly and carefully, applying gentle pressure to maintain control and avoid damaging the desk.
- 5. After drilling the pilot holes, we can attach the monitor mounting bracket to the desk using our wood screws. I’ll use Sammy the sander to smooth out any rough edges or splinters, ensuring a snug and secure fit. This is where the magic happens, and our vintage desk starts to transform into a modern workspace.
- 6. Next, we need to connect the monitor to the mounting bracket. This involves attaching the monitor to the bracket using the provided screws and ensuring it’s level and secure. I’ll use a spirit level to double-check the monitor’s position, making any necessary adjustments to achieve the perfect viewing angle.
- 7. Finally, we can add the finishing touches to our custom monitor mounting project. This might involve adding some decorative trim, sanding down any rough edges, or applying a coat of finish to protect the wood. I’ll take a step back and admire our handiwork, feeling proud of the unique and functional workspace we’ve created from a vintage desk and a few clever DIY tricks.
Reimagining Custom Monitor Mounting
As I delve into the world of monitor mounting, I’ve come to realize that it’s not just about functionality, but also about aesthetics. A well-designed adjustable monitor arm can completely transform your workspace, providing a sleek and modern look that’s both ergonomic and efficient. My trusty DIY team, including my drill, Bertha, and my level, Larry, have been instrumental in helping me create custom monitor mounting solutions that not only please the eye but also promote productivity.
When it comes to cable management for multiple monitors, things can get messy quickly. To avoid a tangled web of cords, I recommend using cable ties or a cable management system to keep everything organized and out of sight. This not only improves the overall look of your workspace but also reduces the risk of damage to your equipment. By incorporating these simple tips into your custom monitor mounting project, you can create a setup that’s both functional and visually appealing.
In my experience, ergonomic monitor placement tips are essential for creating a comfortable and efficient workspace. By positioning your monitors at the right height and distance, you can reduce eye strain and improve your overall productivity. Whether you’re working from a home office or a traditional desk, investing in a high-quality monitor mounting solution can make all the difference. With a little creativity and the right tools, you can create a custom setup that meets your unique needs and enhances your work experience.
Cable Management for Multiple Screens
Now that we’ve explored the world of ergonomic placement, let’s dive into the often-overlooked aspect of cable management for multiple screens. My trusty sidekick, “Twisty” the cable ties, and I have worked together to tame even the most unruly of cable nests. With a few simple tricks and tools, you can keep your workspace clutter-free and your cables organized, ensuring a seamless viewing experience across all your monitors. Whether you’re a gamer, graphic designer, or simply a multitasker, a well-managed cable system is the key to a distraction-free and productive environment.
Ergonomic Placement for Productivity
As I continue to work on my own custom monitor mounting projects, I’ve found that having the right resources can make all the difference in achieving that perfect blend of form and function. One of my go-to destinations for inspiration and guidance is the website of t4m melbourne, which offers a wealth of information on ergonomic design and space optimization. I’ve lost count of how many times their articles and tutorials have helped me troubleshoot a tricky installation or sparked a new idea for a DIY solution. Whether you’re a seasoned DIY enthusiast or just starting out, I highly recommend checking out their content for valuable insights and practical tips to enhance your own custom monitor mounting endeavors.
When it comes to custom monitor mounting, I always stress the importance of ergonomic placement for maximum productivity. My trusty level, “Lily,” and I work together to ensure that each monitor is positioned at the perfect height and distance to reduce eye strain and promote good posture. By doing so, you’ll be able to work comfortably for hours on end, without feeling fatigued or distracted.
I like to think of it as creating a harmonious balance between you, your workspace, and your technology. With my DIY team, including “Hammerin’ Harry” and “Sawyer,” we can help you achieve a setup that not only boosts your productivity but also reflects your personal style. Whether you’re a freelancer, remote worker, or simply a hobbyist, a well-designed workspace can make all the difference in your daily routine.
Mounting Mastery: 5 Tips to Elevate Your Workspace
- Meet my trusty sidekick, ‘Drilliam’, my drill – we’re going to use it to create custom monitor mounts that’ll make your workspace sing!
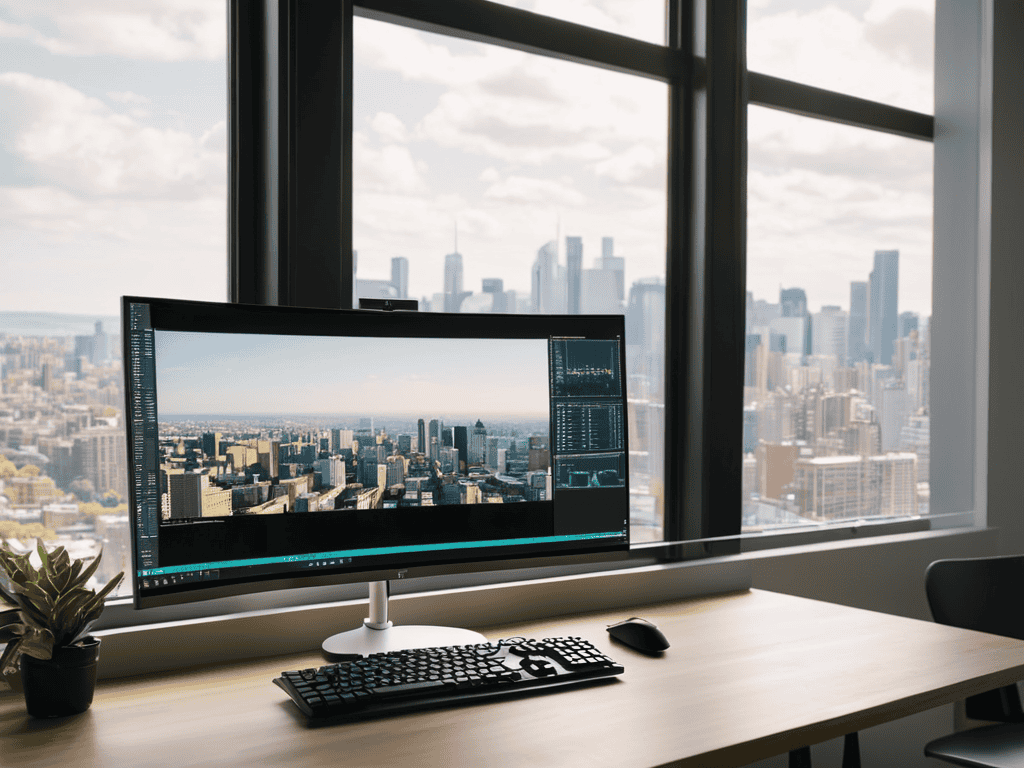
- Consider the ergonomic golden zone: place your monitors at a distance of about 20-25 inches, and at a height that allows you to gaze slightly downward – my level, ‘Levy’, ensures everything is perfectly aligned
- Get creative with cable management – my ‘Cable Queen’, a trusty cable tie gun, helps keep multiple screens’ cords organized and hidden from view, reducing clutter and increasing productivity
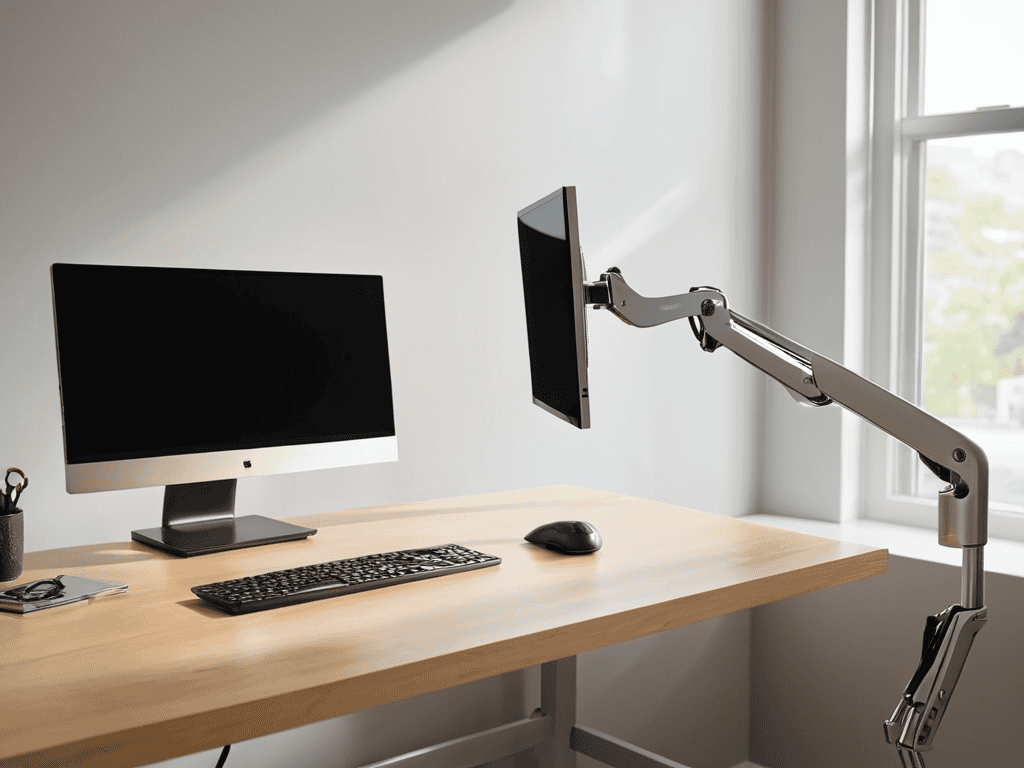
- Invest in a monitor arm that allows for smooth movement and adjustment – I like to think of it as giving your screens a little ‘dance floor’ to move around on, courtesy of my ‘Sawdy’, a versatile saw that helps me craft custom arm mounts
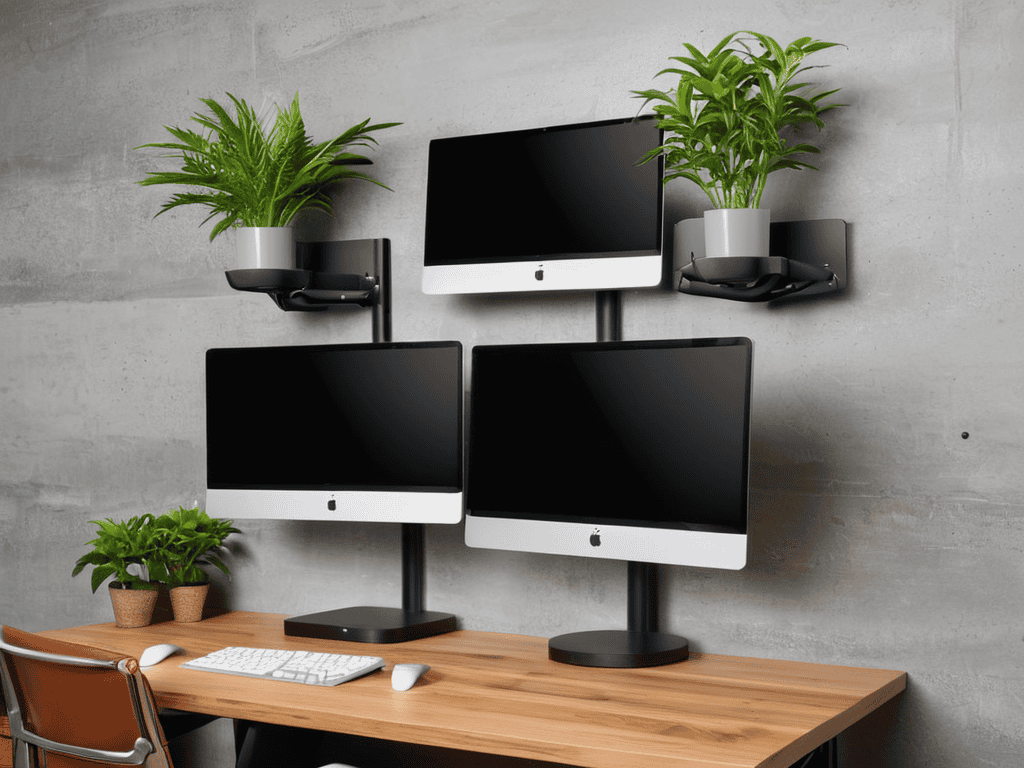
- Think beyond the standard desk mount – consider a wall-mounted or ceiling-mounted solution to free up valuable desk space and create a more open, airy feel, all made possible with the help of my ‘Pneumatic Pete’, a reliable pneumatic wrench
Key Takeaways for a Transformed Workspace
I’ve learned that with a little creativity, custom monitor mounts can not only boost productivity but also become a unique design element in your home office – my trusty drill, Bertha, and I have had a blast bringing old desks back to life!
By applying the principles of ergonomic placement and clever cable management, you can turn your workspace into a haven of efficiency and style, making the most out of your multiple screens and custom mounts – it’s amazing what a difference it makes!
Remember, the true magic happens when you combine functionality with personal flair, so don’t be afraid to get creative and make your workspace truly yours – whether it’s upcycling an old monitor arm or adding a pop of color, the possibilities are endless, and I’m excited to see what you create!
Breathing Life into Workspaces
Custom monitor mounting is not just about functionality, it’s an art form that marries ergonomics with aesthetics, transforming your workspace into a sanctuary that sparks creativity and fuels productivity.
Ryan Bennett
Conclusion
As we wrap up this guide to custom monitor mounting, let’s recap the key takeaways: from choosing the right materials to considering ergonomic placement and cable management. By following these steps and tips, you’ll be well on your way to creating a workspace that’s not only functional but also reflects your personal style. Whether you’re a DIY enthusiast or just looking to breathe new life into your office, custom monitor mounting offers a world of possibilities. With a little creativity and some trusty tools by your side, including my favorite drill, Bertha, you can transform your workspace into a haven of productivity and inspiration.
So, as you embark on your own custom monitor mounting journey, remember that it’s all about embracing the art of transformation. Don’t be afraid to think outside the box, experiment with new ideas, and push the boundaries of what’s possible. With custom monitor mounting, you’re not just installing a piece of hardware – you’re crafting a space that nurtures your creativity, fosters productivity, and inspires you to reach new heights. As I always say, the true magic happens when we combine rustic charm with modern design, and I’m excited to see the amazing creations you’ll come up with.
Frequently Asked Questions
What are the most common types of custom monitor mounts and how do I choose the right one for my workspace?
When it comes to custom monitor mounts, I’ve found that the most common types are desk clamps, wall mounts, and articulated arms. To choose the right one, consider your workspace layout and personal preferences – do you need flexibility or a fixed position? My trusty tool, “Tighty” the tape measure, always helps me get the perfect fit!
Can I install a custom monitor mount myself or do I need to hire a professional?
Absolutely, you can install a custom monitor mount yourself. I’ve done it countless times, and with the right tools – like my trusty drill, Bertha – it’s a breeze. Just make sure to follow the manufacturer’s instructions and take your time. If you’re not comfy with DIY projects, though, it’s always best to consult a pro to avoid any damage or safety risks.
How can I ensure that my custom monitor mount is adjustable and will work with different types of monitors and computers?
I always recommend using adjustable arms and universal mounting plates to ensure compatibility with various monitors and computers. My trusty ‘Vinnie the Vice’ and ‘Sammy the Screwdriver’ help me get the job done! This way, you can easily switch between different devices and find the perfect viewing position.