


Diy Fireplace Makeover: Transforming Your Living Space
 July 10, 2025
I still remember the first time I tackled a DIY fireplace makeover project – it was a rustic, old stone fireplace that had been collecting dust in my parents’ workshop for years. As I began to strip away the old, worn-out finish, I realized that breathing new life into this forgotten piece was not only possible, but also incredibly rewarding. The process of transforming it into a modern, cozy focal point was a true game-changer, and it’s a feeling I want to share with everyone. That’s why I’m excited to dive into the world of DIY fireplace makeover, where with a little creativity and some trusty tools – like my favorite sanding block, Bertha – you can turn a dull, outdated fireplace into a stunning centerpiece.
In this article, I’ll be sharing my honest, no-nonsense advice on how to give your fireplace a stunning makeover, from rustic stone to modern mantels. You’ll learn how to assess your fireplace’s potential, choose the right materials, and bring your vision to life with some elbow grease and patience. Whether you’re a seasoned DIY enthusiast or a beginner looking to try your hand at something new, I’ll walk you through the process step-by-step, so you can create a beautiful, one-of-a-kind fireplace that reflects your personal style and adds warmth to your home.
Table of Contents
Guide Overview: What You'll Need
Total Time: 4 hours 30 minutes
Estimated Cost: $100 – $300
Difficulty Level: Intermediate
Tools Required
- Utility Knife (with extra blades)
- Drill (with screwdriver and drill bits)
- Sander (optional, for smoothing out surfaces)
- Trowel (for applying mortar or adhesive)
- Level (for ensuring even installation)
- Pencil and marker (for marking measurements and designs)
- Putty knife (for filling gaps and holes)
- Wire brush (for cleaning the fireplace surface)
Supplies & Materials
- Fireplace surround kit (available in various materials and designs)
- Tile or stone (for facing the fireplace)
- Mortar or adhesive (for securing tile or stone)
- Grout (for filling gaps between tiles or stones)
- Paint or stain (for finishing and protecting the surround)
- 2-in x 4-in lumber (for building a custom surround or mantel)
- Decorative molding (for adding trim and detail)
- Fireproof insulation (for ensuring safety and efficiency)
- Caulk (for sealing gaps and joints)
Step-by-Step Instructions
- 1. First, let’s start by assessing the current state of our fireplace and brainstorming ideas for the makeover. I like to gather inspiration from various sources, including design magazines, social media, and even nature. Take note of the materials, colors, and textures you’d like to incorporate into your design. My trusty sidekick, a vintage notebook named “Bertha,” is always by my side to jot down ideas and sketch out rough plans.
- 2. Next, it’s time to prep the area around the fireplace. This involves clearing the space of any furniture, rugs, or decorative items that could get in the way or be damaged during the makeover process. I introduce my DIY team, including “Sawyer” the saw and “Drilly” the drill, to help with the heavy lifting. Cover the floor and surrounding surfaces with drop cloths or plastic sheets to protect them from dust and debris.
- 3. Now, let’s focus on cleaning the fireplace itself. Use a wire brush and some elbow grease to remove any soot, dirt, or grime that may have accumulated over time. This will give us a clean slate to work with and help us assess the condition of the fireplace. My vintage vacuum, “Suzy,” is perfect for sucking up any debris and dust.
- 4. With the fireplace clean, it’s time to assess the structure and decide on any necessary repairs or modifications. Check for any cracks, damage, or instability in the fireplace or surrounding walls. If you’re not comfortable with this step, consider consulting a professional. I always consult my “DIY Bible,” a trusty old book filled with tips and tricks, to ensure I’m on the right track.
- 5. Once we’ve addressed any structural issues, we can start thinking about the aesthetic aspects of our makeover. Consider the style and materials you want to use, such as stone, brick, or wood. I love to get creative with reclaimed wood, using it to add a touch of warmth and character to the space. My “wood whisperer,” a trusty old plane named “Woody,” helps me to smooth out the wood and bring out its natural beauty.
- 6. Now it’s time to start demolishing the old and making way for the new. Use “Sawyer” and “Drilly” to carefully remove any outdated or damaged components, such as old mantels or surrounds. Be sure to wear protective gear, including gloves and safety glasses, to avoid injury. As we strip away the old, we can start to envision the new design taking shape.
- 7. With the old components removed, we can start building the new fireplace surround or mantel. Use your chosen materials and techniques to create a unique and functional design. I love to incorporate rustic elements, such as vintage metal or reclaimed wood, to add a touch of personality to the space. My “metal mangler,” a trusty old welder named “Weldy,” helps me to shape and mold the metal into the perfect design.
- 8. As we near the end of our makeover, it’s time to add the finishing touches. This may include installing new lighting, adding decorative trim or molding, or incorporating other design elements that reflect your personal style. I always say that the devil is in the details, and it’s these small touches that can make or break the overall look and feel of the space. My “detail diva,” a trusty old paintbrush named “Penny,” helps me to add those perfect finishing touches.
Diy Fireplace Makeover Magic
As I delve into the world of fireplace renovation on a budget, I’m reminded of the importance of creativity and resourcefulness. My trusty DIY team, including my favorite sanding block, Bertha, and my drill, Daisy, have been instrumental in helping me breathe new life into old fireplaces. When it comes to modern fireplace design ideas, I always look for ways to blend rustic charm with contemporary flair.
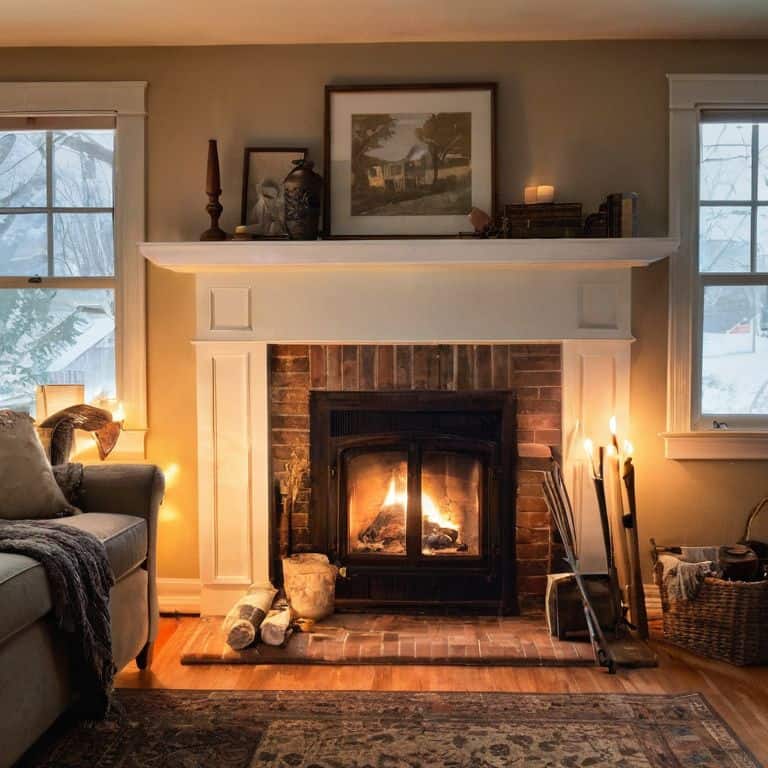
One of my favorite techniques for a brick fireplace makeover is to use a combination of paint and stencils to add a pop of color and pattern. This can be a great way to update the look of your fireplace without breaking the bank. I also love to get creative with fireplace surround decoration, using reclaimed wood or vintage decorative items to add a unique touch.
When it comes to installing a new mantel, I always recommend taking the time to properly measure and plan the installation. A DIY fireplace mantel installation can be a bit tricky, but with the right tools and a little patience, you can achieve a beautiful and professional-looking result. By following these tips and tricks, you can create a stunning and functional fireplace that’s perfect for cozying up on chilly evenings.
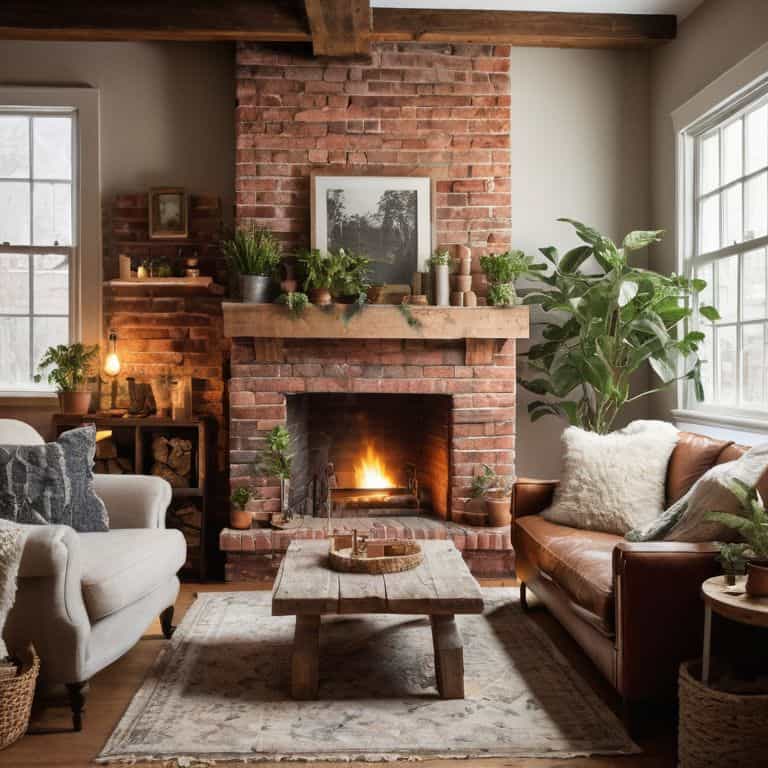
Brick Fireplace Makeover on Budget
I just love a good brick fireplace makeover, and the best part is, it doesn’t have to break the bank. With my trusty DIY team by my side, including my favorite paintbrush, Bertha, and my reliable scraper, Scrappy, I’ve transformed many a brick fireplace into a stunning focal point. By using a combination of paint, stencils, and clever decorating, you can give your brick fireplace a fresh new look without overspending. Plus, with a little creativity, you can upcycle old or thrifted materials to add a touch of personality to your design.
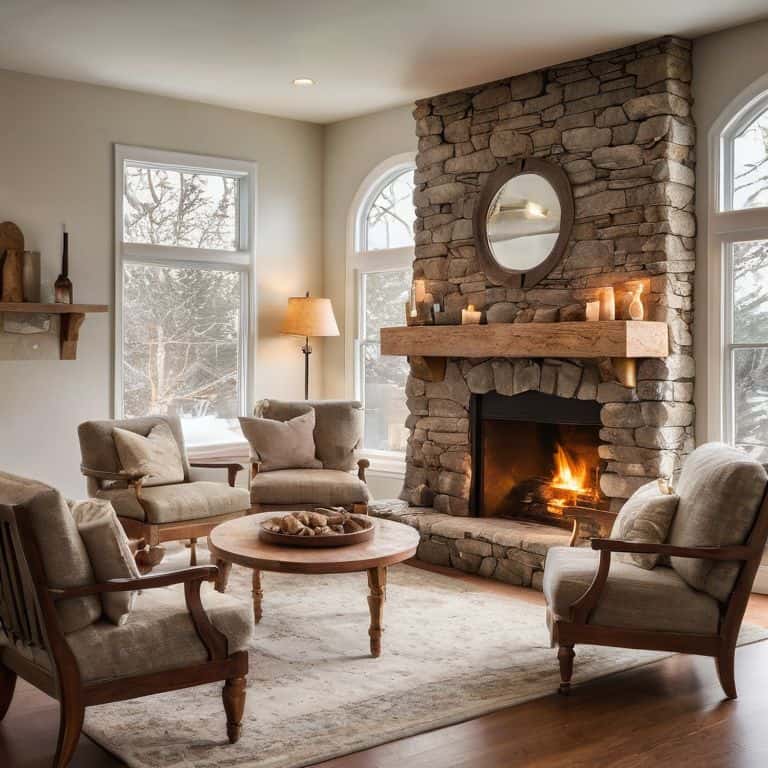
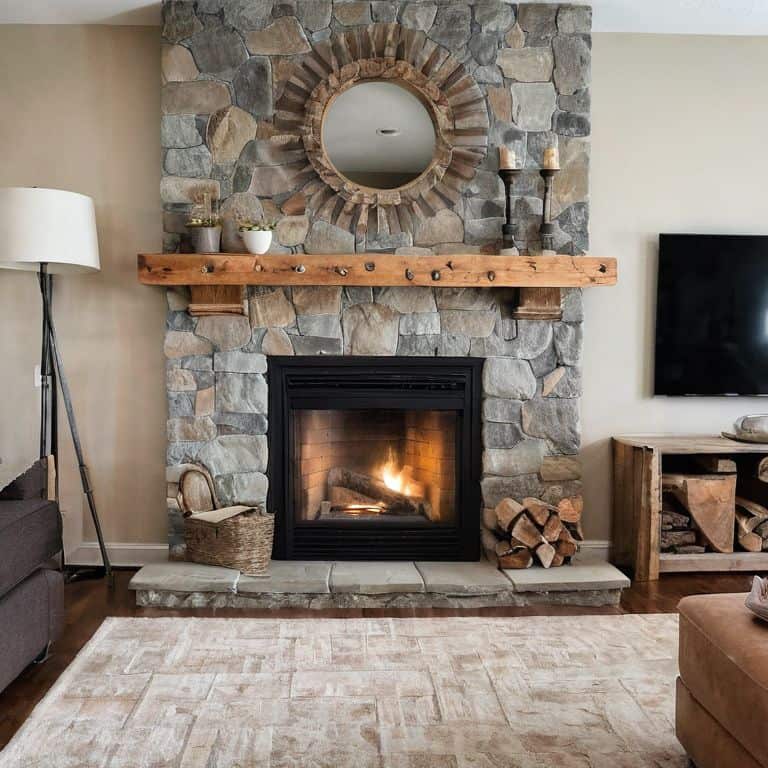
Modern Fireplace Surround Ideas
I love experimenting with modern fireplace surround ideas that blend seamlessly with my rustic upcycling style. My trusty DIY team, including my drill, Bertha, and my sander, Sammy, help me bring these visions to life. We’ve worked with reclaimed wood, metal, and even glass to create one-of-a-kind surrounds that add a touch of sophistication to any room.
From sleek, low-profile designs to statement pieces with intricate details, the possibilities are endless. I’ve seen amazing makeovers that incorporate LED lighting, built-in shelving, and other innovative features. By combining these modern elements with vintage or repurposed materials, you can create a truly unique fireplace surround that reflects your personal style and adds a cozy ambiance to your home.
5 Essential Tips to Ignite Your DIY Fireplace Makeover
- Embrace the power of paint: A fresh coat can instantly revive a dull fireplace, and don’t be afraid to get creative with colors and textures
- Mix and match materials: Combine rustic wood, sleek metal, and vintage decor to create a unique, modern fireplace surround that reflects your personality
- Light it up: Play with layered lighting, from warm candles to sleek sconces, to create ambiance and highlight your fireplace’s best features
- Get creative with surrounds: Upcycle old doors, windows, or even pallets to craft one-of-a-kind fireplace surrounds that add a touch of whimsy to your space
- Don’t forget the details: Add decorative trim, ornate tiles, or reclaimed wood accents to give your DIY fireplace makeover a polished, professional finish that’s sure to impress
Key Takeaways to Ignite Your DIY Fireplace Makeover
I’ve learned that with a little creativity and the right tools – including my trusty sidekicks, a hammer I’ve named Hank and a trowel I’ve dubbed Terry – you can transform your outdated fireplace into a stunning focal point that blends rustic charm with modern design
By repurposing or upcycling materials, such as reclaimed wood or vintage tiles, you can achieve a unique and personalized look for your fireplace makeover without breaking the bank, which is a principle I’ve seen work wonders in my own upcycling projects
Whether you’re opting for a brick fireplace makeover on a budget or aiming to create a sleek, modern fireplace surround, the most important thing is to have fun and let your imagination run wild, just as I do with every new DIY project I embark on with my DIY team by my side
A Spark of Transformation
By giving new life to an old fireplace, we’re not just renovating a space, we’re reigniting the heart of our home, where warmth, love, and laughter come together.
Ryan Bennett
Embracing the Warmth of a Transformed Space
As we’ve journeyed through the world of DIY fireplace makeovers, we’ve explored the magic of transforming a dull, outdated space into a cozy haven. From the brick fireplace makeover on a budget to the sleek lines of modern fireplace surround ideas, each project has shown us that with a little creativity and some hard work, we can turn our homes into reflections of our unique personalities. Whether you’re a seasoned DIY enthusiast or just starting out, remember that the key to a successful makeover lies in seeing the potential in discarded items and embracing the process of upcycling.
So, as you embark on your own DIY fireplace makeover adventure, I want to leave you with a final thought: your home is a canvas, waiting for you to add your personal touch and turn it into a masterpiece. Don’t be afraid to experiment, to try new things, and to push the boundaries of what’s possible. With every brushstroke of paint, every hammer swing, and every carefully placed decorative item, you’re not just renovating a space – you’re crafting a story that will be told for years to come.
Frequently Asked Questions
What are some common mistakes to avoid when doing a DIY fireplace makeover?
When tackling a DIY fireplace makeover, I’ve learned to steer clear of a few common pitfalls. Avoid using the wrong materials, like paint that’s not heat-resistant, and don’t forget to properly clean and prep the surface before starting. My trusty sidekick, “Sandy the Sander,” always reminds me to take my time and do it right!
How can I choose the right materials and colors to match my home's existing decor?
I love that question! When choosing materials and colors, I always say, ‘blend with intention.’ Consider the style and era of your home, and then introduce complementary elements. For example, if you have a rustic living room, reclaimed wood and earthy tones might be perfect. My trusty sidekick, ‘Sandy the Sandpaper,’ always helps me get the right finish!
Are there any specific safety precautions I should take when working with fireplaces and electrical components?
When working with fireplaces and electrical components, safety always comes first. I make sure to turn off the power to the area and use my trusty voltage tester, ‘Volty,’ to ensure there’s no electricity flowing. It’s also crucial to keep a fire extinguisher nearby and wear protective gear, like gloves and safety glasses, to avoid any accidents.