


Top 10 Diy Board Games for Family Game Night
 April 24, 2026
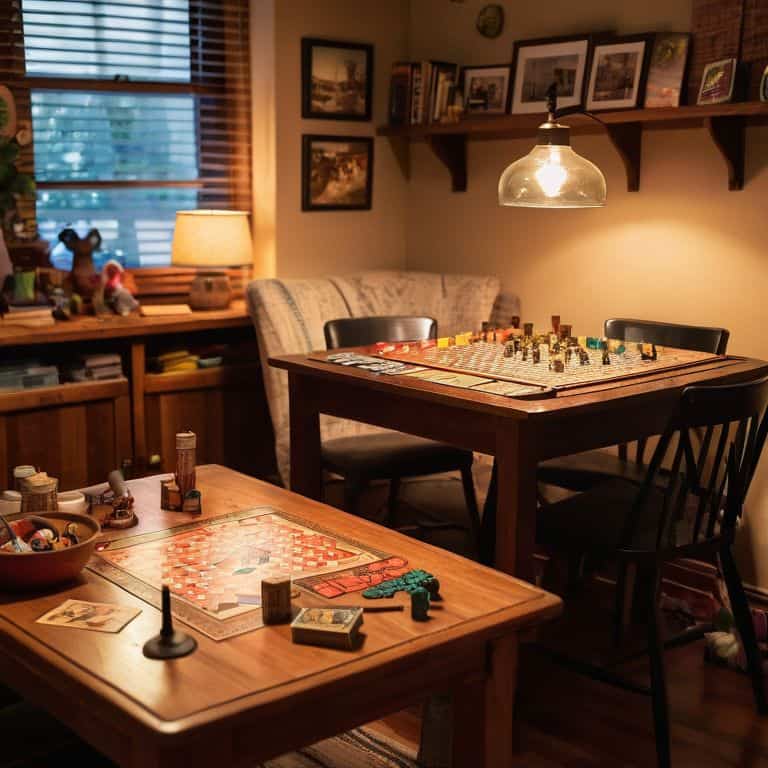
I still remember the day I stumbled upon an old, dusty board game in my parents’ workshop. It was love at first sight, and I knew I had to breathe new life into it. As a DIY enthusiast, I’ve always been fascinated by the world of DIY board games, where creativity knows no bounds. There’s a common myth that creating your own board games is a tedious, time-consuming process, but I’m here to tell you that it’s quite the opposite. With a little imagination and some basic materials, you can create your own unique DIY board games that are just as fun to play as they are to make.
In this article, I’ll share my personal experience and expertise on how to create your own DIY board games. You’ll learn how to transform everyday treasures into one-of-a-kind games that will impress your friends and family. From designing the game board to crafting custom pieces, I’ll guide you through the process with practical, no-nonsense advice. You’ll discover how to unleash your creativity and turn any ordinary object into a fun and engaging game. So, if you’re ready to roll the dice on boredom and create your own DIY board games, let’s get started!
Table of Contents
- Guide Overview: What You'll Need
- Step-by-Step Instructions
- Crafting Diy Board Games
- Level Up Your DIY Game: 5 Essential Tips for Crafting Unforgettable Board Games
- Key Takeaways for Crafting Unique DIY Board Games
- The Beauty of Creation
- Rolling the Dice on Creativity: A DIY Board Game Conclusion
- Frequently Asked Questions
Guide Overview: What You'll Need
Total Time: 2 hours 30 minutes
Estimated Cost: $20 – $40
Difficulty Level: Intermediate
Tools Required
- Utility Knife (with extra blades)
- Ruler for measuring and cutting
- Pencil for marking board and pieces
- Scissors for cutting paper or cardboard
- Glue for assembling game components
- Craft Mat for protecting work surface
Supplies & Materials
- Cardboard for game board, 12 inches x 12 inches
- Paper for printing game designs and rules
- Card Stock for creating game cards and pieces
- Colored Pencils for decorating game board and pieces
- Small Boxes for storing game pieces, approximately 2 inches x 2 inches x 1 inch
Step-by-Step Instructions
- 1. First, gather your materials, which will include a variety of vintage items like old cardboard boxes, wooden crates, or even fabric scraps. My trusty sidekick, a tool named “Sawyer,” will come in handy for cutting and shaping these materials into the perfect game pieces. Start by brainstorming themes for your DIY board game, as this will help guide your material selection and overall design.
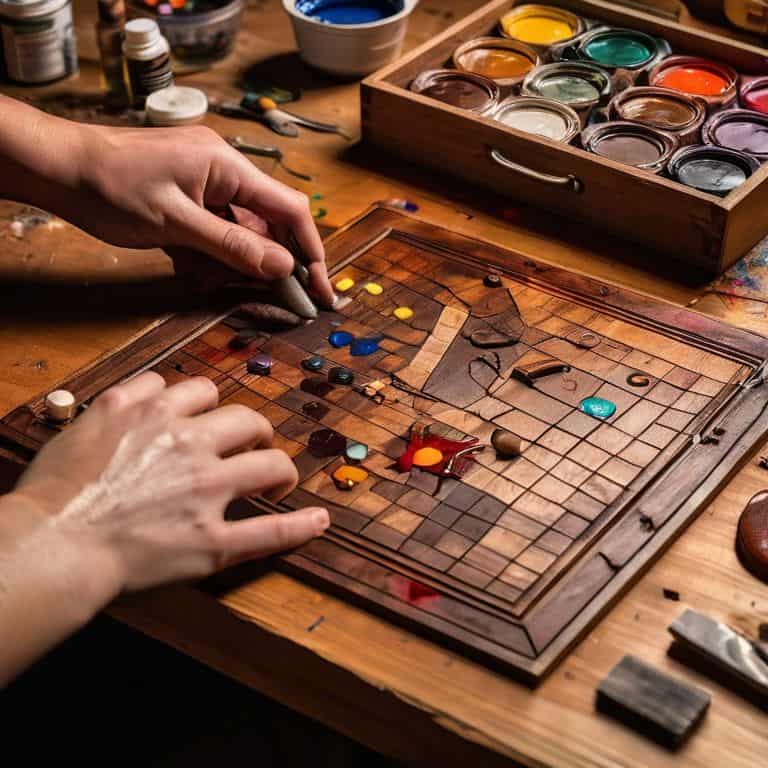
- 2. Next, design the game board itself, which can be as simple as a rectangular piece of cardboard or as complex as a multi-layered, wooden structure. I like to use my “Pencil Pete” to sketch out initial designs, considering factors like player movement, challenge levels, and scoring systems. Remember to keep it simple yet engaging, as the goal is to have fun, not to create a overly complicated game.
- 3. With your design in mind, start crafting the game board. If you’re using cardboard, you can decorate it with paint, markers, or even decoupage for a unique look. My “Glue Gunner” tool is perfect for attaching additional decorative elements or functional parts like spinners or dice rollers. Don’t be afraid to experiment and try out new techniques.
- 4. Create your game pieces, which can range from simple tokens to complex, hand-painted miniatures. Use materials like wood, clay, or recycled plastic to create unique pieces that reflect your game’s theme. My “Drilliam” drill and “Sandie” sander are essential for smoothing out rough edges and adding fine details to these pieces.
- 5. Develop the rules and challenges of your game. This can involve writing down instructions, creating challenge cards, or even designing a scoring system. Keep your rules concise and easy to understand, ensuring that players can jump into the game quickly. You can test your game with friends and family, making adjustments as needed to balance fun and difficulty.
- 6. Add a finishing touch to your game by including additional components like dice, cards, or player boards. You can upcycle old items like bottle caps, jar lids, or playing cards to create these elements. My “Scissorhands” scissors are great for cutting out intricate designs or shapes from paper or thin cardboard, which can be used to create custom cards or tokens.
- 7. Finally, assemble all your components and test your game. Play it with friends, gather feedback, and make any necessary adjustments. This is also a great time to think about how you can customize the game further, perhaps by adding expansions or creating variant rules. With my “Hammerstein” hammer, I can make any final adjustments to the physical components, ensuring everything is sturdy and ready for play.
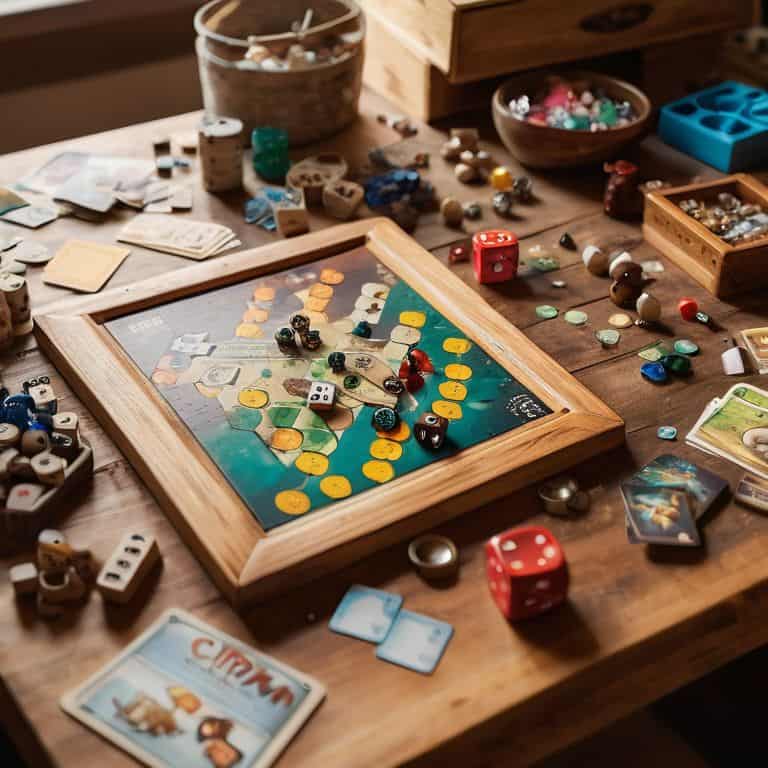
Crafting Diy Board Games
As I dive into the world of customizable game boards, I’m reminded of the countless hours I spent as a kid, watching my parents transform raw wood into beautiful, handmade pieces. This same sense of wonder and creativity can be applied to crafting your own game boards, allowing you to add a personal touch to your gaming experience. With a little imagination, you can turn any old piece of wood or cardboard into a unique and functional game board.
When it comes to creating handmade game pieces, the possibilities are endless. From upcycled materials like bottle caps and fabric scraps to 3D printed tokens, the key is to have fun and experiment with different textures and designs. My trusty DIY team, including my favorite drill, “Bertha,” and my reliable sandpaper, “Sandy,” are always by my side as I bring my game pieces to life.
As you explore the world of indie board game design, don’t be afraid to think outside the box and try new things. Family friendly card games can be a great way to get started, and with a little practice, you can create your own unique games that are both fun and challenging. By following board game crafting tutorials and using upcycled game materials, you can reduce waste and create something truly special.
Designing Handmade Game Pieces
Now that we’ve got our game boards ready, it’s time to bring our games to life with handmade game pieces. I love this part of the process, as it’s where my trusty DIY team really gets to shine – my drill, Daisy, and my paintbrush, Pete, are always up for a challenge. I’ve found that upcycling household items like bottle caps, cardboard tubes, or even old keys can make for some amazing, one-of-a-kind game pieces.
I like to get creative with the design, adding a dash of personality to each piece. A fresh coat of paint or some decorative stickers can completely transform a mundane object into a unique game piece. My favorite part? Seeing how these handmade pieces come together to tell a story, adding an extra layer of charm to our DIY board games.
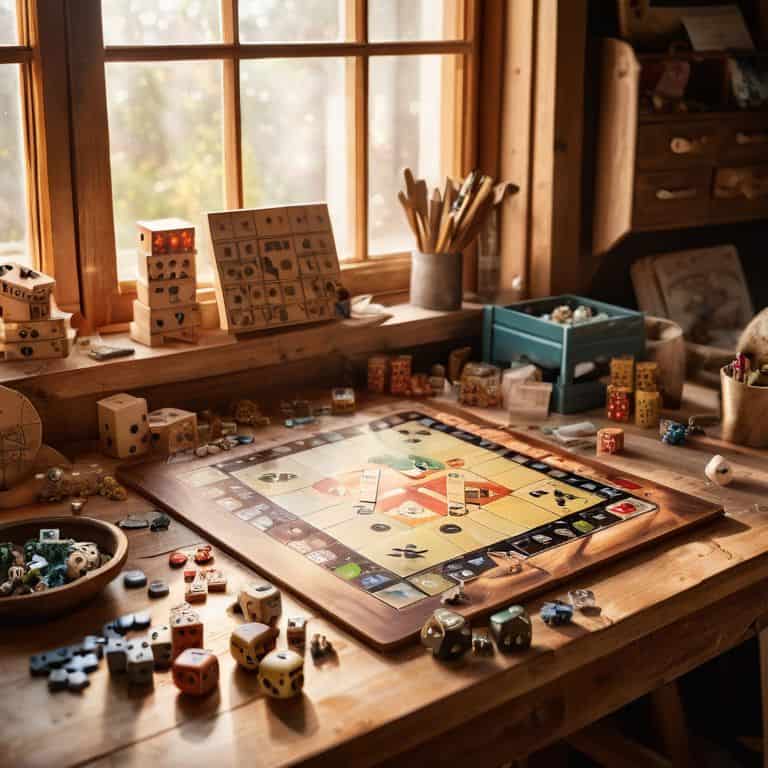
Upcycling Materials Into Game Boards
When it comes to creating unique game boards, I love upcycling materials that would otherwise end up in the trash. My trusty sidekicks, a vintage jigsaw named Jill and a sander named Sammy, help me transform old wooden crates, pallets, or even vinyl records into one-of-a-kind game boards. With a little creativity, a worn-out door can become a giant game board, or a set of old CDs can be repurposed as game pieces.
By giving new life to discarded materials, you’ll not only reduce waste but also add a touch of personality to your DIY board game. I encourage you to experiment with different textures and materials to create a truly unique gaming experience. Whether you’re using reclaimed wood, fabric, or cardboard, the possibilities are endless, and my DIY team and I are excited to see what you come up with!
Level Up Your DIY Game: 5 Essential Tips for Crafting Unforgettable Board Games
- Get creative with unconventional materials: think vintage maps, music sheets, or even fabric scraps to add a unique touch to your game boards
- Introduce your DIY team: let your tools shine, like my trusty sidekick, a jigsaw named ‘Jiggy’, to help you cut through the noise and bring your game pieces to life
- Balance complexity and simplicity: don’t be afraid to experiment with intricate designs, but also remember that sometimes less is more, and a clean, modern aesthetic can be just as captivating
- Add a personal twist: incorporate elements that reflect your personality, hobbies, or interests to make your DIY board game truly one-of-a-kind and meaningful
- Test, iterate, and have fun: don’t be discouraged if your first prototype doesn’t quite hit the spot – use it as an opportunity to refine your design, try new things, and enjoy the process of creation
Key Takeaways for Crafting Unique DIY Board Games
I’ve learned that with a little creativity, everyday treasures like old cardboard, fabric scraps, and vintage buttons can be transformed into one-of-a-kind game boards and pieces, making each DIY project a reflection of my personal style and flair
By embracing the art of upcycling and handmade design, I’ve discovered that the process of creating DIY board games is just as enjoyable as playing them, allowing me to express my passion for rustic charm and modern twists in every stitch and brushstroke
Whether you’re a seasoned DIY enthusiast or just starting out, I believe that the true magic of DIY board games lies in their ability to bring people together, spark imagination, and inspire a sense of community and connection – and I hope my DIY team, including my trusty sidekicks ‘Sawdy’ the saw and ‘Hammy’ the hammer, can inspire you to join in on the fun
The Beauty of Creation
For me, DIY board games are more than just a fun activity – they’re a reminder that with a little creativity, we can turn the ordinary into something extraordinary, and that the real magic happens when we dare to reimagine the world around us, one piece of cardboard at a time.
Ryan Bennett
Rolling the Dice on Creativity: A DIY Board Game Conclusion
As I look back on our DIY board game journey, I’m reminded of the magic of transformation that happens when we breathe new life into discarded materials. From upcycling vintage materials into unique game boards to designing handmade game pieces, every step of the process is an opportunity to unleash our creativity and think outside the box. Whether you’re a seasoned DIY enthusiast or just starting to explore the world of crafting, I hope this guide has inspired you to see the potential in everyday treasures and to create something truly one-of-a-kind.
So, the next time you’re tempted to throw away an old cardboard box or a scraps of fabric, remember that with a little imagination and creative vision, you can turn it into a treasured family heirloom. Don’t be afraid to roll the dice on boredom and try something new – you never know what amazing DIY board game creations you might come up with, and the sense of pride and accomplishment you’ll feel when you’re done will be well worth the effort.
Frequently Asked Questions
What are some creative ways to theme my DIY board game?
I love this question! For a unique theme, try drawing inspiration from your favorite books, movies, or even childhood memories. My ‘DIY team’ – including my trusty sidekicks, a jigsaw named Jerry and a drill named Daisy – and I once created a game board inspired by a vintage map, complete with handmade game pieces resembling old-fashioned travelers. The possibilities are endless!
How can I ensure my handmade game pieces are durable and long-lasting?
To make my handmade game pieces durable, I rely on my trusty friend, ‘Poly Pete’ – my polyurethane applicator. A few coats of polyurethane sealant and my pieces are protected from wear and tear. I also use ‘Sandy’ – my sanding block – to smooth out any rough edges, ensuring a finish that’s both sturdy and sleek.
What are some unique materials I can use to create a one-of-a-kind game board?
I love experimenting with unusual materials for game boards. Some of my favorites include vintage windows, reclaimed wood, and even old doors. My trusty DIY team, led by “Sawyer” the circular saw, helps me breathe new life into these unique materials, giving each game a distinct character.