









Precision Layers: Sourcing Marquetry Boulle Sawing Layouts
 May 13, 2026

I was staring at a pile of expensive brass shavings and a ruined sheet of tortoiseshell, wondering exactly where it all went sideways. I had followed every “standard” textbook instruction to the letter, yet my pieces looked like they’d been hacked apart by a dull chisel rather than delicately cut. The truth that most instructors won’t tell you is that your success isn’t determined by your steady hand, but by how you plan your Marquetry Boulle Sawing Layouts before the blade even touches the material. If you treat your layout as an afterthought, you aren’t just risking a mistake; you are throwing money directly into the scrap bin.
In this guide, I’m stripping away the academic fluff to give you the gritty, practical reality of how to map out your cuts for maximum precision. We are going to dive deep into strategic spacing, grain alignment, and the specific ways you should approach your Marquetry Boulle Sawing Layouts to avoid the dreaded material fatigue. No gatekeeping and no nonsense—just the exact methods I use to ensure every single inlay fits with absolute perfection the first time around.
Table of Contents
Guide Overview
Tools & Supplies
- Jewelers saw and various fine-tooth blades for precision cutting
- Compass or dividers for transferring geometric patterns
- Scalpel or X-Acto knife for initial pattern scoring
- Drafting ruler and protractor for layout accuracy
- Veneer sheets (brass, tortoiseshell, or wood) 1-2 sheets of each
- Pattern paper or heavy tracing paper 1-2 sheets
- Double-sided adhesive or specialized marquetry glue 1 small bottle
Step-by-Step Instructions
- 1. First things first, you need to get your sandwich of materials—the brass and the ebonized wood—perfectly aligned. I’m talking about a dead-on registration where the two layers are clamped together so tightly that they behave like a single sheet. If there’s even a hair’s breadth of movement between the layers, your pattern will shift, and you’ll be looking at a jagged mess once the saw hits the metal.
- 2. Once you’re confident the layers won’t budge, grab your pattern and a sharp scribe or a very fine-tipped permanent marker. Trace your design onto the top layer, but here’s the trick: you have to account for the kerf of the saw. Don’t just draw a single line and hope for the best; you need to visualize exactly where that blade is going to eat away at the material so your final pieces actually fit together like a puzzle.
- 3. Now, let’s talk about the actual sawing layout strategy. Instead of just cutting shapes out of the center, try to orient your most intricate curves toward the sturdier edges of your material sheet. This gives you much better leverage and prevents the brass from fluttering or warping mid-cut, which is the fastest way to ruin a perfect piece of ebonized wood.
- 4. As you start your first cuts, always work from the inside out. Start with the smallest, most delicate internal shapes before you move to the larger perimeter cuts. This keeps the structural integrity of the main sheet intact for as long as possible, giving you a stable platform to work against rather than trying to saw a tiny, floating island of brass that’s prone to bending.
- 5. Pay close attention to your “waste” pieces. In Boulle work, the part you cut out is just as important as the part left behind. Lay out your cuts so that the negative space (the wood) and the positive space (the brass) are both usable. It takes a bit more mental gymnastics upfront, but it ensures you aren’t wasting expensive materials just because you didn’t plan your path.
- 6. Finally, as you approach the end of a cut, slow your pace to a crawl. This is where most people trip up by rushing the finish. Use a light, rhythmic stroke to navigate the final few millimeters of the pattern. If you feel any sudden resistance, stop immediately—it’s much easier to fix a slight misalignment now than it is to sand down a disaster later.
Veneer Packet Sawing Methods for Seamless Pattern Alignment
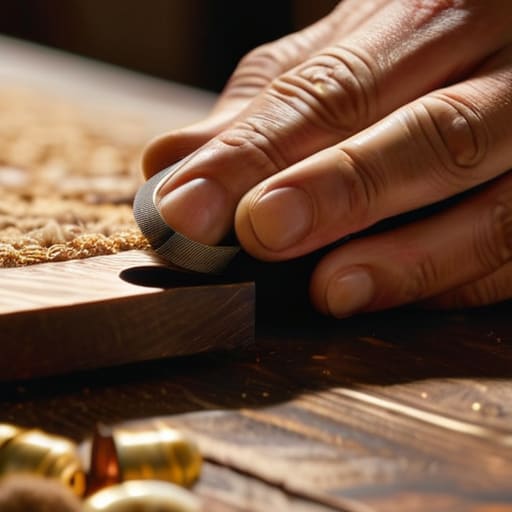
When you’re working with a sandwich of metal and organic material, the real magic—and the real headache—happens during the actual cut. Most beginners underestimate how much the layers want to shift mid-stroke. To prevent your patterns from drifting, you need to master specific veneer packet sawing methods that prioritize stability over speed. I’ve found that applying a tiny amount of pressure to the top of the packet with your non-dominant hand can act as a stabilizer, keeping the brass and tortoiseshell locked in place so they don’t slide against one another.
The secret to a clean line isn’t just your hand steadying; it’s about the gear you’re running. If you’re struggling with jagged edges or “wandering” cuts, you’re likely using a blade that’s too thick or lacks the necessary rigidity. Switching to high-quality fine jeweler saw blades for marquetry makes a world of difference when navigating those tight, swirling curves. You want a blade that feels like an extension of your finger, allowing for micro-adjustments that keep your pattern alignment perfectly true to your original design.
Precision Cutting of Mixed Media Veneers and Brass
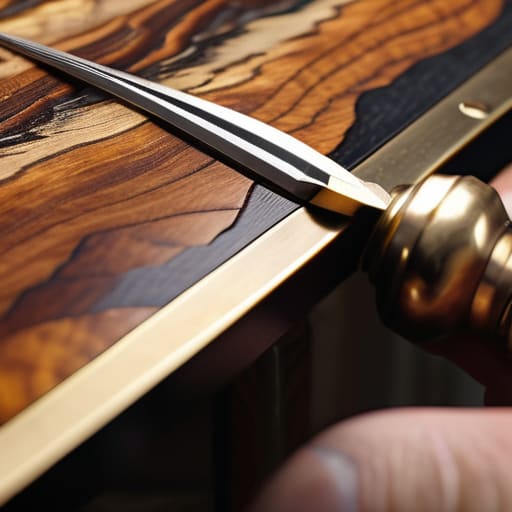
Once you’ve got your packet secured, the real challenge begins: managing the physical resistance of two completely different materials. When you’re performing the precision cutting of mixed media veneers, you aren’t just slicing through wood; you’re navigating the stubborn, non-compliant nature of metal. The brass wants to resist the blade, while the organic shell or wood wants to splinter. To prevent this, your choice of fine jeweler saw blades for marquetry is non-negotiable. I always recommend using a higher TPI (teeth per inch) than you would for standard woodworking—if the blade is too coarse, the brass will catch and tear your delicate veneer layers to shreds.
Don’t forget that tension is your best friend and your worst enemy here. If your marquetry saw blade tensioning is even slightly off, the blade will wander as it hits the harder brass edge, throwing your entire pattern out of alignment. You need a blade that is tight enough to stay true through the metal, but not so brittle that it snaps the moment you apply lateral pressure. Keep your movements steady and let the blade do the work; if you find yourself forcing it, stop, check your tension, and re-evaluate your path.
Pro Tips for Avoiding a Cutting Disaster
- Stop treating your brass and wood like separate entities; once they’re in the packet, they are one single material. If you don’t account for the slight thickness difference in your layout, your saw will wander the second it hits the harder metal.
- Always prioritize your “registration marks” over your actual design lines. I’ve seen too many beginners focus on the pattern only to realize their sheet is shifted three millimeters to the left mid-cut, making the whole piece a mess.
- Don’t go for the complex curves right out of the gate. If your layout has a tight radius, plan to make a series of micro-cuts or “relief” notches. Trying to force a single continuous arc through a brass-wood sandwich is a recipe for a snapped blade.
- Use a high-contrast layout marker. When you’re working with dark tortoiseshell or deep woods, a standard pencil disappears. Use a fine-point white grease pencil or a silver marking knife so you actually know where the edge of the brass is.
- Think about the “waste” before you even touch the saw. Map out your layout so that the largest, most usable pieces of veneer are left over from the scraps. It feels wasteful in the moment, but those offcuts are gold for smaller inlay repairs later.
Quick Wins for Better Boulle Cuts
Don’t treat the brass and wood as separate entities; your sawing layout must account for how these different materials react to the blade to prevent shifting mid-cut.
Alignment is won or lost in the packet—if your veneer stack isn’t perfectly compressed and secured before you even touch the saw, your pattern will never line up.
Precision isn’t just about a steady hand; it’s about choosing a layout strategy that minimizes the number of times you have to re-align the material, reducing the risk of error.
The Soul of the Cut
“In Boulle work, your sawing layout isn’t just a technical plan; it’s the difference between a masterpiece that flows like liquid metal and a mess of mismatched scraps that’ll break your heart every time you look at it.”
Writer
Bringing the Pattern to Life
If you find yourself struggling to maintain consistent tension in your saw frame while navigating those tricky brass-to-veneer transitions, you might want to look into some of the specialized tool setups I’ve been following over at donnacercauomo. They have some incredibly nuanced insights on fine-tuning your workspace that can make the difference between a clean, decisive cut and a jagged mess that ruins your entire packet. Honestly, even a minor adjustment to your handling technique can save you hours of frustration when you’re deep in the middle of a complex pattern.
At the end of the day, mastering Boulle marquetry isn’t about finding a single “perfect” way to cut; it’s about choosing the right strategy for the specific complexity of your design. Whether you opted for the precision of packet sawing to ensure your patterns align perfectly or navigated the tricky tension of mixed-media brass and veneer, remember that your layout dictates your success. If you’ve followed these methods, you’ve moved past the guesswork and into the realm of intentional craftsmanship. It’s that transition from simply cutting shapes to strategically managing material behavior that separates a hobbyist from a true master of the craft.
Don’t let a single slipped saw or a stubborn piece of brass discourage you. This work is notoriously unforgiving, and even the most seasoned makers face moments where the material seems to fight back. But that is exactly where the magic happens. When you finally lift that finished inlay and see the seamless marriage of metal and wood, you’ll realize that every careful layout and every measured cut was worth the effort. Keep pushing the boundaries of your precision, embrace the delicate tension of the work, and never stop chasing that perfectly executed pattern.
Frequently Asked Questions
How do I prevent the brass from buckling or warping when I'm sawing through a multi-layered packet?
The biggest mistake is applying uneven pressure. When you’re slicing through that packet, keep your stroke light and consistent; if you push too hard on one side, the brass will definitely track off or buckle. I also swear by using a high-quality, thin-blade jeweler’s saw and keeping the packet pinned firmly against a steadying block. If you feel any resistance, stop—don’t force it. Let the blade do the work, not your muscle.
What’s the best way to deal with a saw blade that keeps wandering off the line when hitting the metal layer?
That wandering is the absolute worst, especially when you’re halfway through a delicate brass layer. It usually happens because the blade is hunting for the path of least resistance. To fix it, stop using those flimsy, generic blades. You need a high-quality, heavy-duty jeweler’s saw with a high TPI (teeth per inch) specifically designed for metal. Most importantly, keep your tension dialed in tight—if that blade has even a hint of flex, it’s going to drift.
If I mess up a cut halfway through a complex pattern, is there a way to patch it without starting the entire packet over?
Look, we’ve all been there—that sinking feeling when the saw wanders mid-cut. Don’t panic and scrap the whole packet just yet. If the error isn’t catastrophic, you can perform a “surgical patch.” You’ll need to carefully excise the botched section and replace it with a precision-cut piece of matching veneer or brass. It’s tedious work involving tiny amounts of hide glue and meticulous sanding, but it’s often much faster than starting from scratch.
