


Step-by-step Guide to Insulating Your Attic
 September 16, 2025
I still remember the first time I tackled insulating attic space in my own home – it was like giving my old house a cozy new blanket. The myth that it’s a daunting, expensive task had held me back for years, but I soon discovered that with the right tools and a bit of elbow grease, it’s entirely achievable. My trusty DIY team, including my favorite hammer, Bertha, and my drill, Driller, helped me get the job done efficiently. As someone who’s passionate about upcycling and giving old spaces new life, I was thrilled to see the difference it made in my energy bills and overall comfort.
In this article, I’ll share my honest, no-nonsense advice on how to insulate your attic, from preparation to completion. You’ll learn how to assess your attic’s current state, choose the right materials, and execute the job with ease. I’ll walk you through the process, highlighting common pitfalls to avoid and time-saving tips to ensure your project is a success. By the end of this guide, you’ll be equipped with the knowledge and confidence to tackle your own attic insulation project, transforming your space into a cozy and energy-efficient haven.
Table of Contents
Guide Overview: What You'll Need
Total Time: 4 hours 30 minutes
Estimated Cost: $200 – $500
Difficulty Level: Intermediate
Tools Required
- Staple Gun (with extra staples)
- Utility Knife (with extra blades)
- Ladder (sturdy, 6 feet tall)
- Measuring Tape
- Gloves (insulation handling)
- Mask (for dust protection)
Supplies & Materials
- Fiberglass Batt Insulation (12 inches wide, 16 feet long, R-19 value)
- Cellulose Insulation (loose-fill, R-19 value)
- Reflective Insulation (radiant barrier, 4 feet by 25 feet roll)
- 2-in x 4-in lumber (for framing and support)
- Plastic Sheet (6 mil thickness, for vapor barrier)
Step-by-Step Instructions
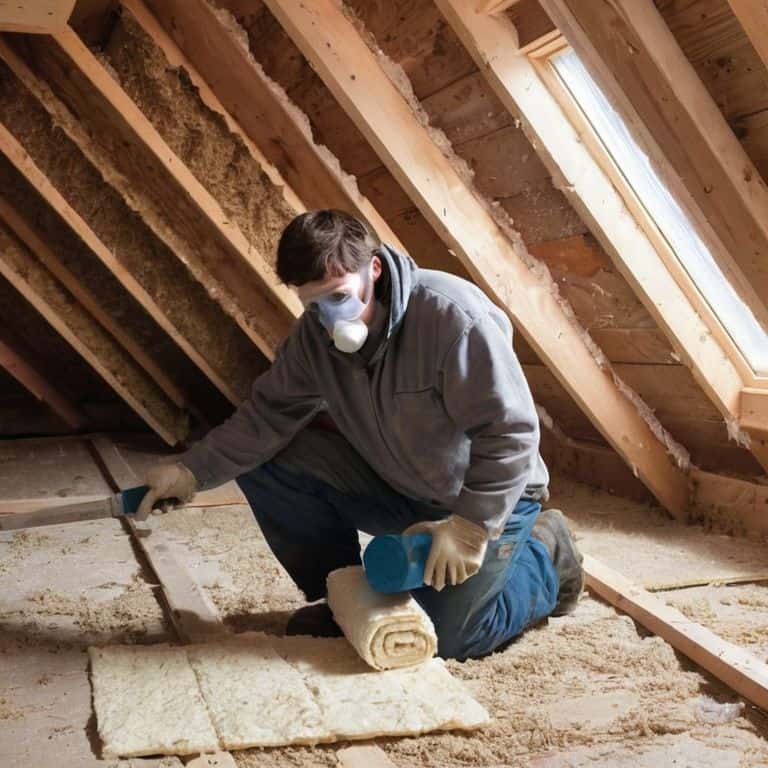
- 1. First, gather all the necessary materials and tools for the job, including my trusty sidekick, Betsy the staple gun, and a few rolls of insulation. It’s essential to have everything within arm’s reach to make the process as smooth as possible. I like to think of this step as preparing for a big adventure, where every tool and material plays a crucial role in the journey.
- 2. Next, ensure you’re wearing the appropriate attire for the task, including a dust mask, gloves, and safety goggles. I always say, safety first, especially when dealing with insulation, which can be itchy and irritating to the skin. My DIY team, including Sandy the saw and Maggie the measuring tape, always remind me to prioritize caution.
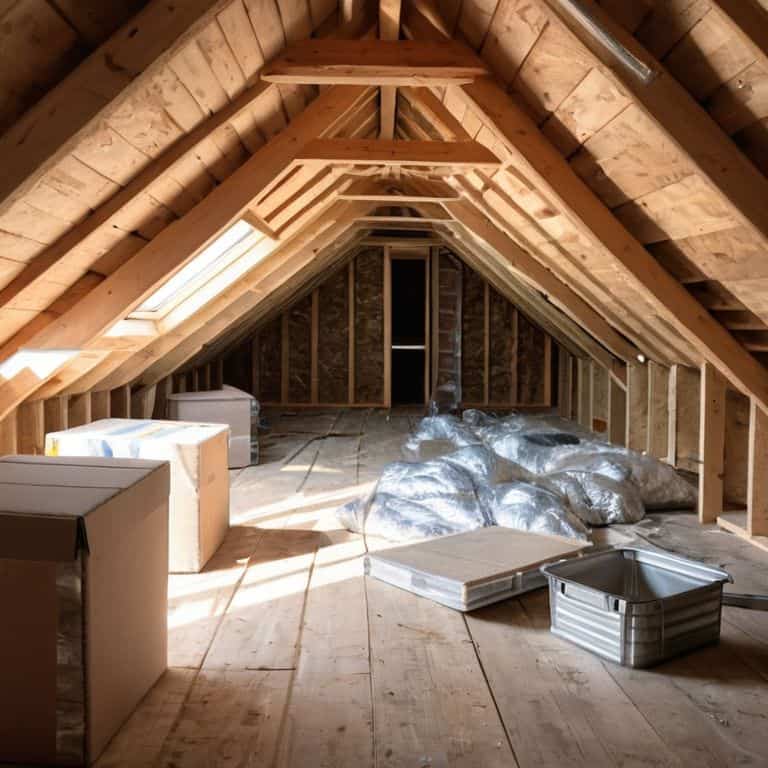
- 3. Now, it’s time to venture into the attic and assess the situation. Take note of any existing insulation, ductwork, or electrical wiring. This step is crucial in determining the best approach for your insulation project. I find that taking a few moments to visualize the space helps me understand how all the components work together and plan my next moves.
- 4. With your plan in place, start by removing any old or damaged insulation. This is where my faithful vacuum, Vera, comes in handy, making quick work of cleaning up debris and insulation fibers. Be sure to dispose of the old insulation responsibly, and take a moment to appreciate the blank slate you’re creating for your new insulation.
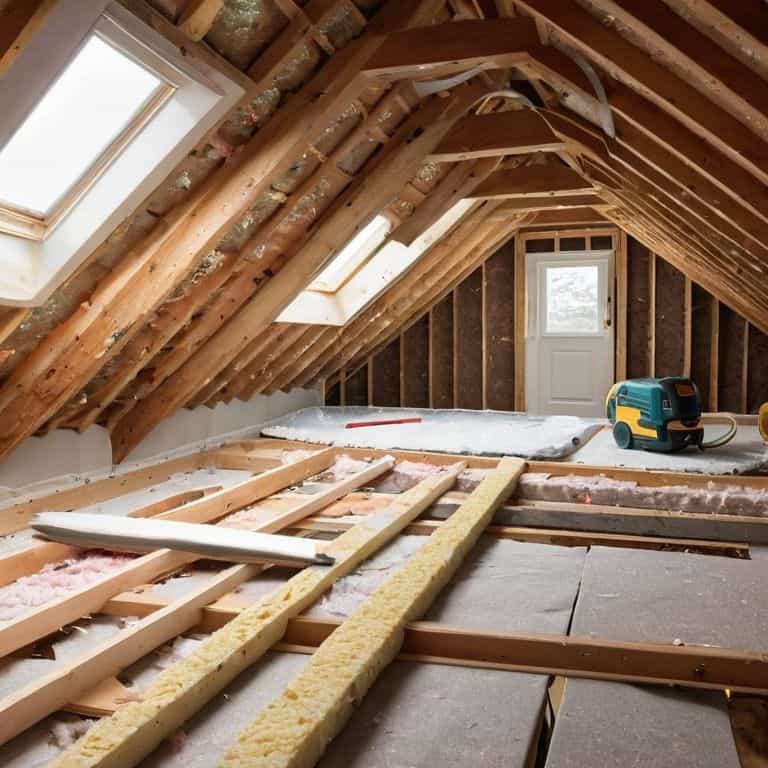
- 5. Once the area is clear, begin installing your new insulation, starting from the outer edges and working your way inwards. This helps prevent cold air from seeping in and ensures a snug fit. I like to think of this step as wrapping my attic in a warm hug, thanks to the help of Betsy the staple gun and my trusty insulation cutter, Charlie.
- 6. As you lay down the insulation, make sure to cut it to the correct size using Charlie, and secure it with Betsy. It’s essential to follow the manufacturer’s instructions for the recommended thickness and installation pattern. I find that taking my time and double-checking my work helps me avoid any mistakes and ensures a professional-looking finish.
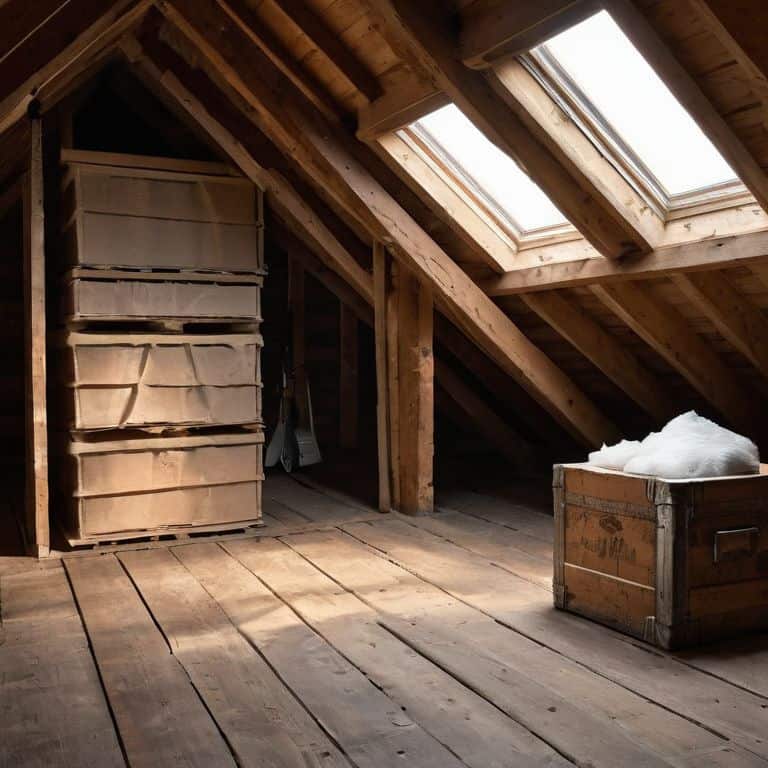
- 7. With the insulation in place, take a step back to admire your handiwork and ensure everything is properly secured. This is also a good time to check for any gaps or air leaks, which can be sealed using my reliable caulk gun, Cindy. I always feel a sense of pride and accomplishment when I complete a project like this, knowing that it will make a significant difference in the comfort and energy efficiency of my home.
- 8. Finally, take the necessary steps to clean up the work area, disposing of any leftover materials and washing your tools. I like to think of this step as putting my DIY team to bed, making sure everything is tidy and ready for the next project. With your attic now properly insulated, you can enjoy the fruits of your labor, knowing that your home is cozier and more energy-efficient than ever.
Insulating Attic Magic
As I delve into the world of attic transformation, I’ve come to realize that the right attic insulation materials comparison can make all the difference. It’s not just about slapping some insulation up there; it’s about creating a cozy, energy-efficient space that’s both functional and beautiful. My trusty DIY team, including my favorite hammer, Bertha, and my tape measure, Terry, have been instrumental in helping me navigate the nuances of different materials.
When it comes to choosing the perfect insulation, I always consider the benefits of reflective insulation for attics. This type of insulation is a game-changer, especially in warmer climates, as it helps to reflect heat rather than absorb it. I’ve also had my fair share of debates about fiberglass vs cellulose insulation, and while both have their pros and cons, I’ve found that cellulose insulation is a great option for those looking for a more eco-friendly solution.
As I continue to explore the world of attic insulation, I’m reminded of the importance of attic ventilation and insulation working together in harmony. It’s a match made in heaven, really – proper ventilation helps to remove moisture, while insulation keeps the heat in or out, depending on the season. By combining these two elements, you can create an energy-efficient attic that’s not only functional but also beautiful, and that’s what it’s all about for me – transforming spaces into something truly special.
Attic Insulation Materials Compared
When it comes to attic insulation, the materials you choose can make all the difference. I like to think of it as picking the perfect ingredients for a recipe. My trusty sidekick, a tape measure I’ve named “Measy,” helps me get the measurements just right. I’ve worked with fiberglass batts, cellulose, and even reflective insulation, each with its own unique benefits. Fiberglass batts, for instance, are a popular choice due to their affordability and ease of installation. On the other hand, cellulose offers a more eco-friendly option, made from recycled materials.
I’ve found that the key to success lies in understanding the specific needs of your attic. My drill, “Drilly,” and I have spent countless hours experimenting with different materials to find the perfect fit. By comparing the pros and cons of each material, you can make an informed decision that suits your budget, climate, and personal preferences. Whether you’re looking for energy efficiency, sustainability, or a combination of both, the right insulation material can help you achieve your goals and unlock the full potential of your attic.
Reflective Insulation Solutions Uncovered
As I delve deeper into the world of attic insulation, I’ve come to appreciate the innovative solutions that reflective insulation provides. My trusty sidekick, a utility knife I’ve named “Slice,” has helped me cut through the noise and get to the heart of what makes these materials so effective. By using radiant barrier materials, you can significantly reduce heat transfer and keep your attic cool in the summer and warm in the winter. It’s a game-changer for homeowners looking to boost their energy efficiency without breaking the bank.
I’ve had the chance to work with several reflective insulation products, and I must say, the results are impressive. From foil-faced bubble wrap to reflective plastic sheets, these materials are designed to reflect radiant heat rather than absorb it. With the help of my “DIY team,” including my drill, “Drilliam,” and my staple gun, “Staples O’Malley,” I’ve been able to achieve remarkable insulation results in my own attic makeover projects.
5 Essential Tips to Unlock Your Attic's Full Potential
- Measure Twice, Insulate Once: Before you start, ensure you have the correct measurements of your attic space to choose the right amount of insulation
- Choose the Right Insulation Type: Consider factors like climate, budget, and environmental impact when selecting between fiberglass, cellulose, and spray foam insulation
- Seal All Gaps and Cracks: Use caulk or spray foam to seal any gaps around vents, chimneys, and electrical outlets to prevent heat escape and moisture entry
- Optimize Ventilation: Proper ventilation is key to preventing moisture buildup, so ensure your attic has sufficient vents and consider installing a power ventilator for extra efficiency
- Consider Professional Help When Needed: If you’re not comfortable with heights or unsure about any part of the process, don’t hesitate to hire a professional to ensure the job is done safely and correctly
Key Takeaways to Keep Your Attic Cozy
I’ve learned that with the right materials and a bit of DIY magic, you can turn your drafty attic into a cozy haven – and it all starts with choosing the perfect insulation for your space, like my trusty sidekick, a vintage insulation cutter I’ve lovingly named ‘Bertha’
Remember, not all insulation materials are created equal, and understanding the differences between them, as we explored in our ‘Attic Insulation Materials Compared’ section, can make all the difference in your attic’s transformation, so be sure to introduce your DIY team, including ‘Sawyer’ the saw and ‘Dusty’ the drill, to the world of insulation
By applying the principles of reflective insulation and considering the unique needs of your attic, as discussed in our ‘Reflective Insulation Solutions Uncovered’ subsection, you’ll be well on your way to creating a warm, energy-efficient, and downright enchanting space that showcases your personal style – just like my own upcycled vintage furniture pieces, infused with a rustic charm and a modern twist
The Heart of a Cozy Home
Insulating your attic is more than just a practical fix, it’s an act of self-love for your home, wrapping it in warmth and character, and that’s where the real magic happens.
Ryan Bennett
Wrapping Up Your Attic Insulation Journey
As we conclude our attic insulation adventure, let’s recap the key takeaways: proper insulation can significantly reduce energy bills, and with the right materials and tools, you can achieve this transformation yourself. We’ve explored various insulation materials, from traditional fiberglass to reflective insulation solutions, and discussed the importance of choosing the right one for your needs. By following the step-by-step guide and considering factors like climate and budget, you’ll be well on your way to a cozier, more energy-efficient home.
Now that you’re equipped with the knowledge and inspiration to tackle your attic insulation project, remember that every DIY journey is unique, and it’s okay to encounter setbacks or make adjustments along the way. As you work with your own ‘DIY team’ of tools, don’t be afraid to get creative and think outside the box – after all, that’s what upcycling and DIY are all about. With patience, persistence, and a willingness to learn, you’ll not only improve your home’s energy efficiency but also cultivate a sense of pride and accomplishment that comes with creating something with your own hands.
Frequently Asked Questions
What are the most common mistakes to avoid when insulating an attic?
When insulating my own attic, I learned the hard way about common mistakes to avoid – like not sealing air leaks first or compressing insulation, which reduces its effectiveness. My trusty sidekick, “Sawyer” the saw, and I always double-check for gaps and ensure a snug fit to get the job done right!
How do I determine the right amount of insulation needed for my attic?
To determine the right amount of insulation for your attic, I like to use my trusty ‘calculator companion’ – a simple formula that considers your attic’s size, climate, and desired R-value. My DIY team, including ‘Measure Mike’ and ‘Calculation Carol,’ help me crunch the numbers to ensure a cozy and energy-efficient space.
Can I install attic insulation myself or do I need to hire a professional?
Absolutely, you can install attic insulation yourself with the right tools and a bit of patience. I’ve done it in my own home, and it was a rewarding DIY project. Just make sure to follow safety guidelines and choose the right materials for your space. My trusty DIY team, including my drill, Bertha, and saw, Sammy, will be happy to guide you through it.