


Winter Wonderland: Cozy Diy Crafts for the Holiday Season
 November 30, 2025
I still remember the first time I tried my hand at winter DIY crafts. It was a snowy afternoon, and I was determined to create something beautiful out of an old wooden sled I had found in my parents’ workshop. As I sat by the fire, sanding and staining the wood, I felt a sense of magic in the air. The smell of hot chocolate wafted from the kitchen, and the sound of snowflakes gently hitting the windowpane created a cozy atmosphere that sparked my creativity. I realized then that winter DIY crafts weren’t just about creating something new, but about breathing new life into old, discarded items.
As you dive into the world of winter DIY crafts, you’ll discover that it’s not just about following a set of instructions, but about unleashing your imagination and having fun. In this article, I’ll share my top tips and tricks for creating enchanting winter DIY crafts that will transform your space into a cozy winter wonderland. From upcycling vintage furniture to creating handmade decorations, I’ll guide you through the process with honesty and practical advice. My trusty team of tools, including my favorite sanding block, Sandy, and my reliable drill, Drilly, will also make an appearance, helping you to bring your winter DIY craft ideas to life.
Table of Contents
Guide Overview: What You'll Need
Total Time: 1 hour 45 minutes
Estimated Cost: $20 – $40
Difficulty Level: Easy
Tools Required
- Scissors (sharp and dedicated to cutting paper)
- Hot Glue Gun (with extra glue sticks)
- Paintbrushes (various sizes)
- Craft Knife (with extra blades)
Supplies & Materials
- Pinecones
- Evergreen Branches (fresh or artificial)
- Candle Holders (made of glass or metal)
- Twine or Ribbon (for hanging or decorating)
- Glitter or Decorative Stones (for added decoration)
- Wooden Coasters (or other bases for crafts)
- Acrylic Paint (various winter colors)
Step-by-Step Instructions
- 1. First, let’s start with a classic winter DIY craft: the snowflake decoration. To make this, you’ll need some paper, scissors, and a bit of patience. Begin by folding your paper into a square, and then fold it in half diagonally to create a triangle. This will help you create a symmetrical design, which is essential for a beautiful snowflake.
- 2. Next, take your scissors and start cutting out small shapes along the edges of the triangle. You can use a template or get creative and make your own designs. Remember to cut carefully, as you want your snowflake to be delicate and intricate. As you cut, imagine the magical atmosphere you’re creating for your winter wonderland.
- 3. Once you’ve cut out your design, unfold the paper to reveal your unique snowflake. You can then decorate it with some glitter, hang it in your window, or use it as a gift decoration. This is a great way to get into the winter spirit and add a personal touch to your home decor.
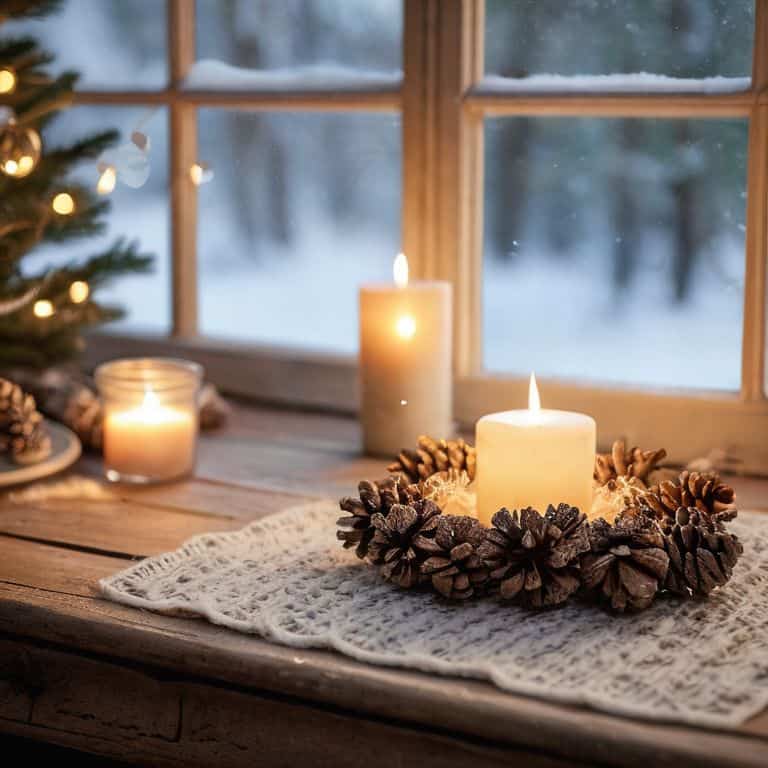
- 4. Moving on to another winter DIY craft, let’s make a candle centerpiece. Start by gathering some evergreen branches, pinecones, and candles in mercury glass holders. Arrange the evergreen branches in a decorative bowl or vase, and then place the pinecones and candles among them. This will create a warm and cozy ambiance in your home.
- 5. To add some extra flair to your centerpiece, you can wrap the evergreen branches with some fairy lights or ribbon. This will give your decoration a more whimsical feel and make it stand out. Just be sure to place the candles in a safe location, away from any flammable materials.
- 6. Now, let’s talk about upcycling old items to create unique winter decorations. Take an old mason jar, for example, and fill it with some water, glitter, and small ornaments. This will create a beautiful snow globe effect that you can place on your mantel or coffee table. You can also add some twinkling lights around the jar to make it even more festive.
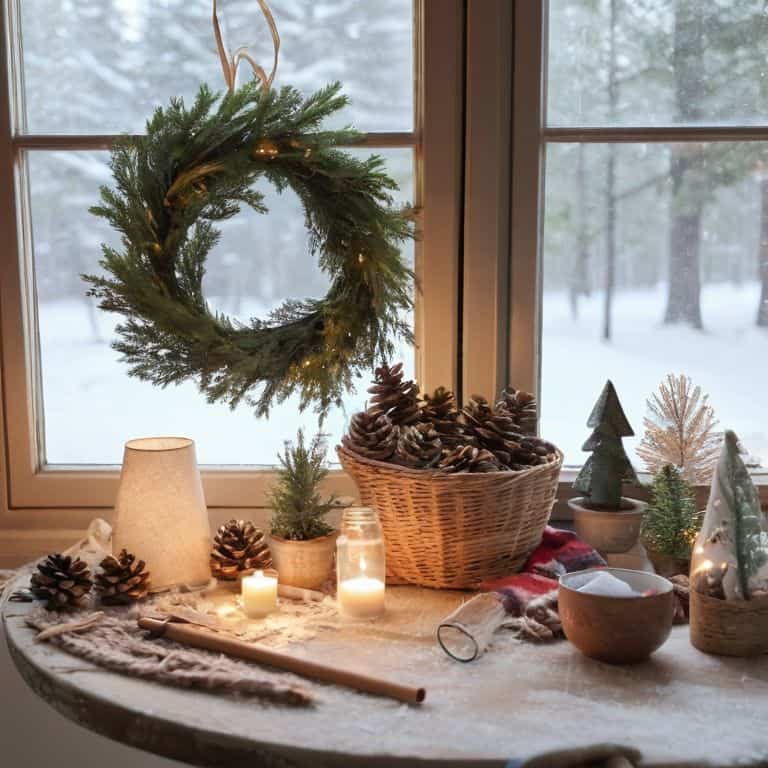
- 7. Finally, let’s make a winter-themed wreath using some natural materials like twigs, pinecones, and holly. Start by creating a base for your wreath using a wire or foam frame. Then, begin attaching the twigs, pinecones, and holly to the frame using some wire or hot glue. As you work on your wreath, remember to have fun and be creative – it’s all about embracing the imperfect beauty of handmade crafts.
Winter Diy Crafts Magic
As I sit by the fire, surrounded by my trusty DIY team, including my favorite tool, a vintage sanding block I’ve named Sandy, I find myself getting lost in the magic of transformation. There’s something special about taking old, discarded items and turning them into unique pieces that reflect the coziness of the season. For instance, upcycled seasonal decor ideas can add a personal touch to your home, making it feel even more inviting during the colder months.
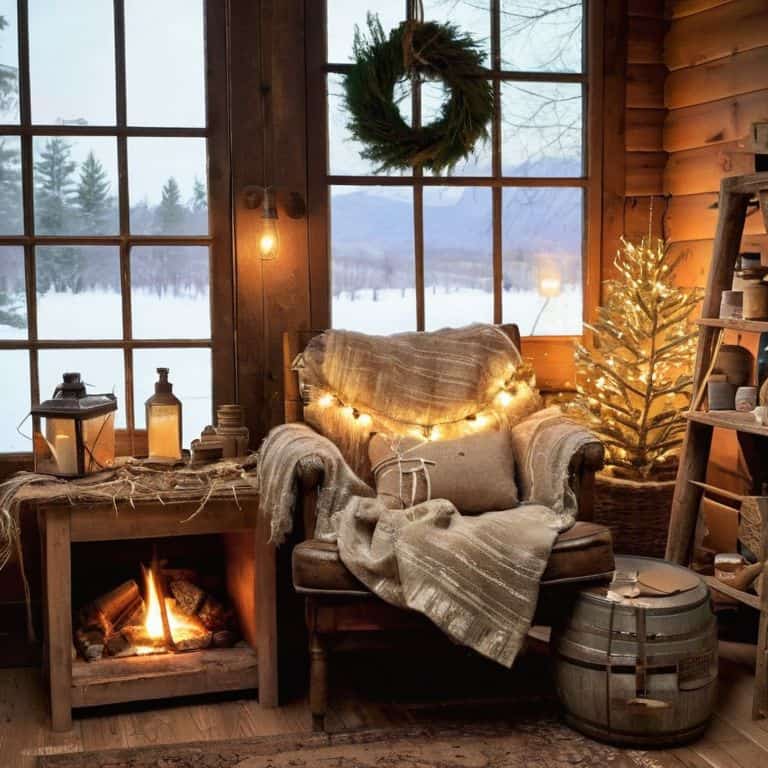
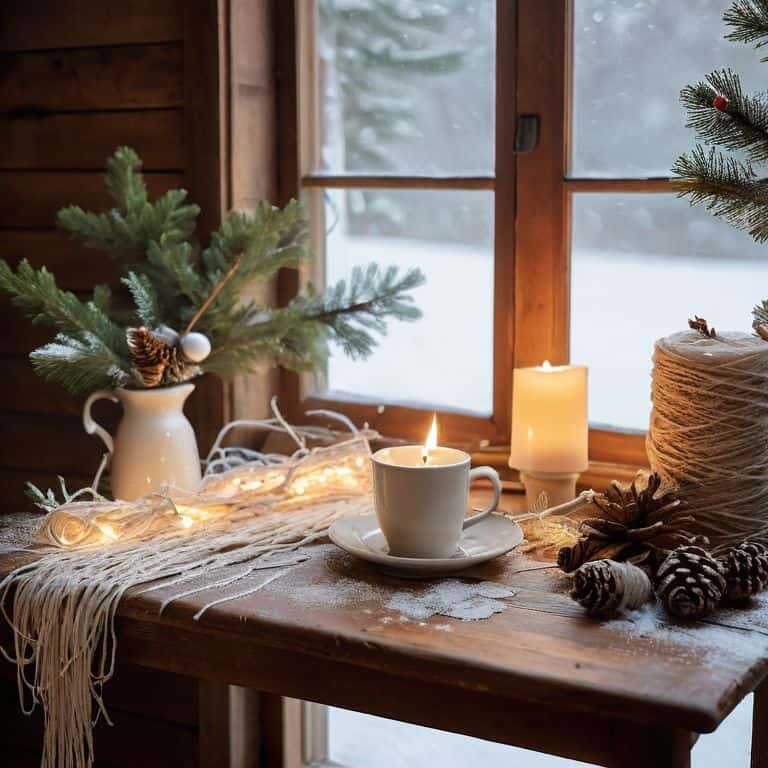
When it comes to creating a warm and welcoming atmosphere, I always turn to rustic winter centerpiece ideas that incorporate natural elements like pinecones, twigs, and evergreen branches. These elements can be combined with candles, lanterns, or fairy lights to create a warm glow that’s perfect for snuggling up by the fire. My tool, a hand-me-down hammer named Hammy, always comes in handy when I’m working on these types of projects.
To take your winter decor to the next level, consider adding some personal touches, like handmade holiday gift tags or a cozy throw blanket pattern that reflects your personal style. These small details can make a big difference in creating a space that feels truly special and inviting. Whether you’re making a winter themed wreath or decorating your windows with DIY snowflake decorations, remember to have fun and get creative – it’s all part of the DIY journey!
Upcycled Seasonal Decor Ideas Unleashed
As I delve into the world of upcycled seasonal decor, I’m reminded of the countless hours I spent in my parents’ workshop, watching them breathe new life into discarded materials. My trusty DIY team, including my favorite drill, Bertha, and sanding block, Sandy, are always by my side, ready to help transform old treasures into winter wonders. One of my favorite upcycled decor ideas is turning vintage windows into beautiful snowflake displays or transforming old mason jars into twinkling candle holders.
With a little creativity, the possibilities are endless, and I love seeing how others reimagine and repurpose everyday items to create unique winter decor. Whether it’s an old door turned into a sled-inspired decoration or a set of antique skis repurposed as a one-of-a-kind wall hanging, upcycling is all about uncovering the hidden potential in the ordinary and turning it into something truly extraordinary.
Winter Themed Wreath Making Delights
As I delve into the world of winter DIY crafts, I find myself enchanted by the art of wreath making. There’s something therapeutic about gathering an assortment of natural elements – twigs, pinecones, and evergreen branches – and transforming them into a beautiful, cohesive piece. My trusty sidekick, a wire cutter I’ve lovingly named “Snippy,” always comes in handy during this process. With a few carefully placed cuts and some creative arranging, you can craft a stunning winter wonderland wreath that welcomes the magic of the season into your home.
I love experimenting with different textures and colors to create unique, one-of-a-kind wreaths. From the soft, feathery plumes of dried baby’s breath to the rich, earthy tones of pine bark, each element adds its own special charm to the overall design. As I work, I feel like I’m conjuring up a little bit of winter wonder, and I couldn’t be more delighted.
Weaving Winter Wonder: 5 Essential Tips for Enchanted DIY Crafts
- Let the snowflakes fall where they may, but make sure your workspace is warm and cozy – it’s amazing how a cup of hot cocoa can spark your creativity!
- Get creative with natural elements like pinecones, twigs, and evergreen branches to add a touch of the outdoors to your winter DIY crafts
- Don’t be afraid to think outside the box – or in this case, the vase: repurpose old containers and jars to create unique winter-themed centerpieces
- My trusty DIY team, including my favorite saw ‘Sally’ and drill ‘Daisy’, always reminds me to measure twice and cut once – precision is key when working with delicate winter materials
- Remember, the most magical part of winter DIY crafts is the imperfection – don’t stress if your handmade ornament isn’t perfect, it’s the love and effort that counts, not the flawless finish
Winter DIY Crafts: 3 Key Takeaways to Warm Your Heart
As you embark on your winter DIY journey, remember that the true magic lies not just in the end result, but in the process of transforming discarded items into something truly unique and special, just like my trusty sidekicks, ‘Sandy the Sander’ and ‘Hammy the Hammer’, would agree.
With a little creativity and some rustic charm, you can turn your home into a winter wonderland that reflects your personal style, whether that’s through upcycling vintage furniture or crafting one-of-a-kind seasonal decor pieces that tell a story.
By embracing the spirit of DIY and getting cozy with your own two hands, you’ll not only create something beautiful, but also develop a deeper appreciation for the art of transformation and the joy of making something with love, just as I do with every new project I share with my DIY community.
Embracing the Charm of Winter DIY
As the snowflakes gently fall outside, I find that winter DIY crafts have a way of thawing our hearts, reminding us that even in the coldest of seasons, creativity and warmth can flourish with just a few simple, handmade touches.
Ryan Bennett
Wrapping Up the Winter DIY Magic
As we’ve explored the world of winter DIY crafts, we’ve discovered the joy of transforming ordinary items into extraordinary pieces, like the winter themed wreath we made earlier, and the countless upcycled seasonal decor ideas that can add a touch of rustic charm to our homes. From the initial introduction to the step-by-step guides, and through the sections on Winter DIY Crafts Magic, including Winter Themed Wreath Making Delights and Upcycled Seasonal Decor Ideas Unleashed, it’s clear that with a little creativity, we can turn any space into a cozy winter wonderland. By embracing the DIY spirit, we not only create something beautiful but also tell a story of sustainability and self-expression.
As you put down your tools and step back to admire your handiwork, remember that the true magic of winter DIY crafts lies not just in the end result, but in the journey of creation itself. So, don’t be afraid to experiment, to try new things, and to see the potential in the everyday objects around you. With each project, you’ll find that the boundaries of what’s possible will expand, and the sense of pride and accomplishment will grow, inspiring you to keep pushing the limits of your creativity and to always seek out new ways to make the ordinary, extraordinary.
Frequently Asked Questions
What are some unique and creative materials I can use to make a winter-themed wreath?
I just love experimenting with unexpected materials for wreath-making. Some of my favorites include vintage sleds, frosted glass bottles, and even old snowshoes. My trusty sidekick, a jigsaw named Jenny, helps me cut unique shapes from reclaimed wood or old skis to add a rustic touch. The possibilities are endless, and I just can’t wait to see what you create!
How can I incorporate upcycled items into my seasonal decor without making it look cluttered or messy?
For a clutter-free look, I like to introduce upcycled items in moderation, blending them with simpler elements. My trusty tool, ‘Sandy the Sander,’ helps me refinish vintage pieces to match my modern rustic style. By balancing textures and scales, you can create a harmonious winter wonderland that’s both cozy and curated.
What are some easy and fun winter DIY crafts that I can do with my kids on a snowy day?
There’s something special about crafting with kids on a snowy day. Try making a paper snowflake garland, a handprint winter wonderland scene, or a cozy hot cocoa bar with marshmallow decorations. My DIY team, led by my trusty scissors, Bertha, and glue gun, Gus, can’t wait to help you create some magical memories with your little ones!