


Summer Vibes: Fun and Easy Diy Crafts for a Relaxed Home
 December 5, 2025
I still remember the summer I spent in my parents’ workshop, surrounded by the smell of freshly cut wood and the sound of rustic charm being brought to life. It was the summer that sparked my passion for upcycling vintage furniture and experimenting with summer DIY crafts. There’s something special about the warm weather that gets my creative juices flowing, and I’m always on the lookout for new projects to tackle. As I look back, I realize that the key to making the most of summer DIY crafts is to think outside the box and see the potential in discarded items.
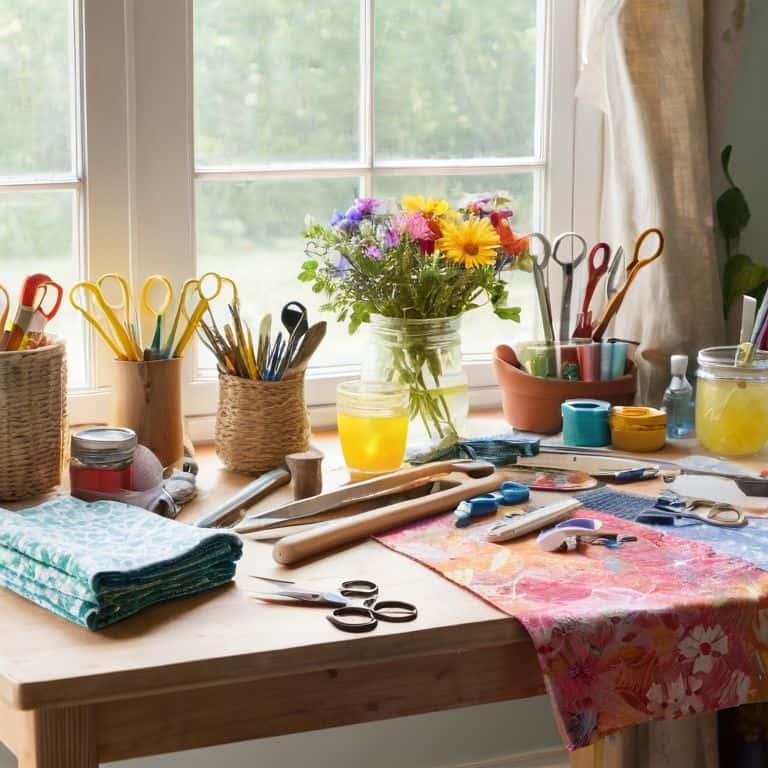
In this article, I’ll be sharing my honest, no-nonsense guide to summer DIY crafts, covering everything from transforming old pallets into planters to breathing new life into vintage decor. I’ll walk you through my favorite projects, highlighting the essential tools and techniques you’ll need to get started. My trusty team, including my beloved drill, “Bertha,” and my sander, “Sandy,” will also be making an appearance. By the end of this guide, you’ll be equipped with the knowledge and inspiration to create your own unique summer DIY crafts and make the most of the season’s creative energy.
Table of Contents
Guide Overview: What You'll Need
Total Time: 1 hour 45 minutes
Estimated Cost: $15 – $30
Difficulty Level: Easy
Tools Required
- Scissors (sharp)
- Glue Gun (with extra glue sticks)
- Paintbrushes (various sizes)
Supplies & Materials
- Colorful Fabric 1 yard
- Wooden Craft Sticks 12 inches long
- Seashells assorted sizes
- Twine 50 feet long
- Acrylic Paint various colors
Step-by-Step Instructions
- 1. First, let’s start with a summer classic: the outdoor planter. To begin, gather your materials, including a vintage wooden crate, some sturdy rope, and a few of your favorite plants. I like to introduce my trusty sidekicks, Sawyer the saw and Drilliam the drill, who will be helping us with the heavy lifting in this project.
- 2. Next, give your wooden crate a good cleaning and sanding to smooth out any rough edges and prepare it for its new life as a planter. I use gentle circular motions to make sure I don’t scratch the surface, and my tool, Sandy the sandpaper, is perfect for this job. This step is crucial in ensuring your planter looks its best and lasts throughout the summer.
- 3. Now it’s time to add some drainage holes to the bottom of your crate to prevent waterlogged soil. Drilliam comes in handy here, helping me make a few strategic holes to keep my plants happy and healthy. Remember to space them out evenly for optimal drainage.
- 4. With your crate ready, it’s time to add the rope handles. This is where knot-tying skills come into play. I like to use a simple bowline knot to secure the rope to the crate, making it easy to move my planter around the garden or patio. My tool, Ropy the rope, is always up for a good knot-tying challenge.
- 5. Fill your planter with a mix of moisture-retentive soil and your chosen plants. I’m a fan of using a combination of herbs and succulents for a low-maintenance and visually appealing arrangement. Don’t forget to leave enough space for proper growth and a bit of aesthetic breathing room.
- 6. To add a touch of rustic charm, consider adding a small, handmade wooden sign to your planter. I use Chiselley the chisel and Hammerstein the hammer to carve out a simple message or the name of the plants. This personal touch makes the planter truly unique and adds to its character.
- 7. Finally, place your planter in a spot that gets the right amount of sunlight for your plants, and sit back to enjoy the fruits of your labor. Whether you’re using it to add some greenery to your patio or as a centerpiece for your outdoor dining table, your summer DIY planter is sure to be a conversation starter.
Summer Diy Crafts Magic
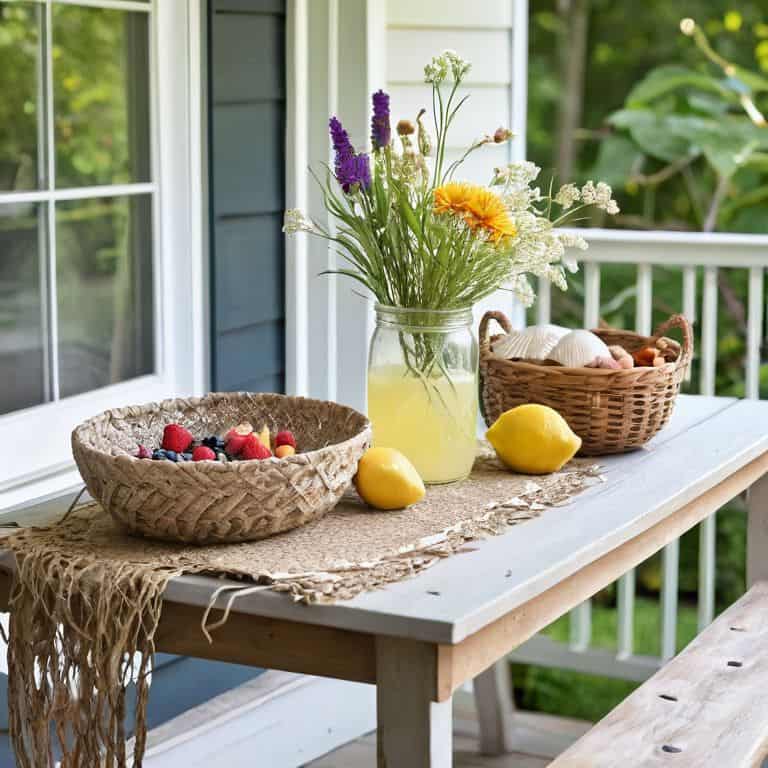
As I delve into the world of seashell decoration ideas, I’m reminded of the countless hours I spent as a child, collecting shells on the beach with my parents. Those memories sparked a creativity in me that I now try to infuse into my DIY projects. When it comes to creating a beachy home decor on a budget, I always say that less is more. A simple vase filled with seashells or a handmade wreath made from driftwood can evoke the feeling of a seaside escape.
Upcycled outdoor furniture is another area where I love to experiment. There’s something special about taking an old, discarded piece and turning it into a unique, functional work of art. I’ve found that adding some outdoor lighting diy projects can really make the space come alive. Whether it’s string lights or lanterns made from mason jars, the ambiance it creates is truly magical.
For those looking to add a touch of whimsy to their summer decor, I recommend trying your hand at diy paper flower crowns. Not only are they a fun and creative project, but they can also be used to add a pop of color to your outdoor space. My trusty DIY team, including my favorite tool, Bertha the brush, always helps me bring these projects to life. With a little imagination and some basic materials, you can create a beautiful and unique piece that reflects your personal style.
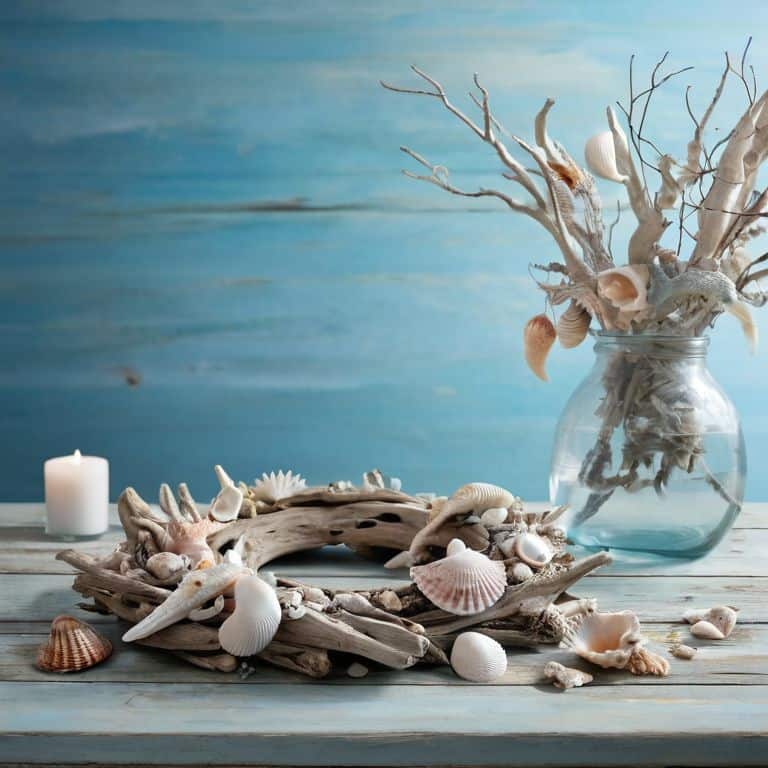
Seashell Decoration Ideas Unleashed
As I dive into the world of summer DIY crafts, I find myself enchanted by the simple elegance of seashells. My trusty sidekick, a sanding tool I’ve lovingly named “Sandy,” helps me uncover the hidden beauty within these oceanic treasures. With a gentle touch, Sandy smooths out the rough edges, revealing the intricate patterns and colors that make each shell unique.
I adore using seashells to create whimsical decorations, like wind chimes or mirrored frames. My drill, “Daisy,” is always up for the task, carefully making holes for the strings or wire. As I work, I feel the summer magic unfolding, and my DIY team – including “Sandy” and “Daisy” – helps bring it all to life. The result is a beautiful, one-of-a-kind piece that captures the essence of the season.
Upcycled Outdoor Furniture Charm
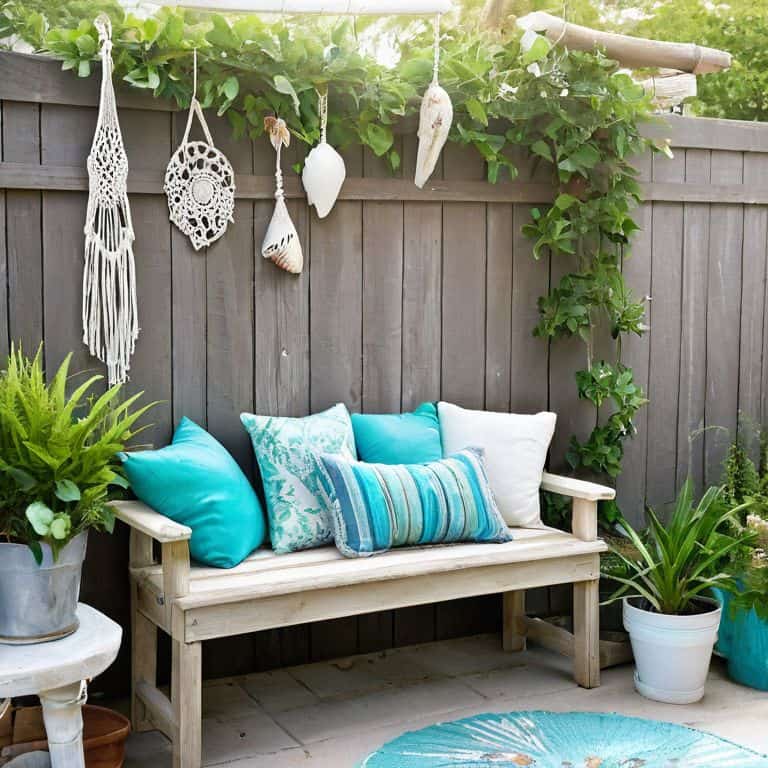
As I step into my backyard, I’m surrounded by the fruits of my labor – upcycled outdoor furniture that exudes a unique charm. My trusty DIY team, including Bernie the belt sander and Sammy the saw, helped me transform discarded pallets into a cozy seating area. The rustic wood, now polished to perfection, tells a story of its own, blending seamlessly with the natural surroundings. With a few throw pillows and a statement piece of decor, this space is now the epitome of summer magic.
I just love how upcycled furniture can add a personal touch to any outdoor setting, making it truly one-of-a-kind. Whether it’s a refinished bench or a repurposed planter, each piece is a testament to the beauty of giving old items a new lease on life.
Sun-Kissed Creations: 5 Essential Tips for Summer DIY Crafts
- Let the outdoors inspire you: collect natural materials like seashells, driftwood, and leaves to incorporate into your DIY projects
- Get creative with upcycling: breathe new life into old furniture and decor by repainting, reupholstering, or refinishings
- Make the most of summer evenings: utilize the longer days and warm nights to work on projects that require drying time or outdoor space
- Experiment with outdoor-friendly materials: try working with waterproof fabrics, recycled plastic, or sustainably sourced wood to create durable and eco-friendly pieces
- Involve the whole family: summer DIY crafts are a great way to spend quality time with loved ones, so gather your crew and get creative together – my trusty DIY team, including my loyal tools Betsy the brush and Sammy the sandpaper, can’t wait to see what you come up with!
Summer DIY Essentials to Remember
Embracing the thrill of transformation, I’ve found that summer DIY projects are all about blending rustic charm with modern twists, like upcycling vintage furniture pieces to create unique outdoor decor
By introducing a personal touch to each project, such as naming my trusty tools – like my drill, ‘Bertha’, and my sander, ‘Sandy’ – the process becomes more enjoyable and the outcome more meaningful, reflecting my DIY team’s and my own creativity
Whether it’s crafting seashell decorations or repurposing old wooden pallets, the true magic of summer DIY crafts lies in seeing the potential in discarded items and turning them into extraordinary pieces that tell a story of their own, inspiring others to do the same
Summer of Creation
Summer DIY crafts are more than just a hobby, they’re a way to breathe new life into the world around us, to take the ordinary and turn it into something extraordinary, and to leave a piece of ourselves in every transformation.
Ryan Bennett
Embracing the Joy of Summer DIY
As we’ve explored the world of summer DIY crafts, we’ve uncovered a multitude of ways to breathe new life into old, discarded items. From the seashell decoration ideas that add a touch of the ocean to our homes, to the upcycled outdoor furniture that transforms our backyards into cozy retreats, each project has shown us that with a little creativity, anything is possible. By embracing the DIY spirit, we not only create something beautiful and unique, but we also reduce waste and contribute to a more sustainable future.
So, as you embark on your own summer DIY journey, remember that the true magic lies not just in the end result, but in the process itself. Don’t be afraid to experiment, to try new things, and to push the boundaries of what you thought was possible. With every project, you’ll not only be creating something amazing, but you’ll also be cultivating a sense of pride, accomplishment, and connection to the world around you. Happy crafting, and let’s make this summer one to remember!
Frequently Asked Questions
What are some creative ways to repurpose old pallets for summer DIY projects?
I just love repurposing old pallets – my trusty sidekick, a saw named Sally, and I have whipped up some amazing summer projects with them. From pallet planters to outdoor bars, the possibilities are endless. You can even upcycle them into cozy patio benches or coffee tables with a little creativity and some rustic charm.
How can I protect my outdoor DIY crafts from the summer heat and humidity?
To shield my outdoor DIY masterpieces from summer’s wrath, I rely on my trusty sidekicks, Sealant Sam and Protective Pete – aka, a waterproof sealant and a UV-resistant finish. Applying these guardians ensures my upcycled treasures withstand the heat and humidity, keeping them vibrant and intact all season long.
What are some unique summer-themed decoration ideas that can be made using natural materials like seashells and driftwood?
I just love working with natural materials like seashells and driftwood to create unique summer decor. One of my favorite ideas is to make a stunning seashell mirror frame or a driftwood wind chime – my trusty tool, ‘Sandy the Sander,’ always helps me smooth out the rough edges. You can also use them to create beautiful coastal-inspired centerpieces or mobiles that add a touch of the ocean to any room.