


Fall Into Comfort: Warm Diy Crafts for a Cozy Autumn
 December 5, 2025
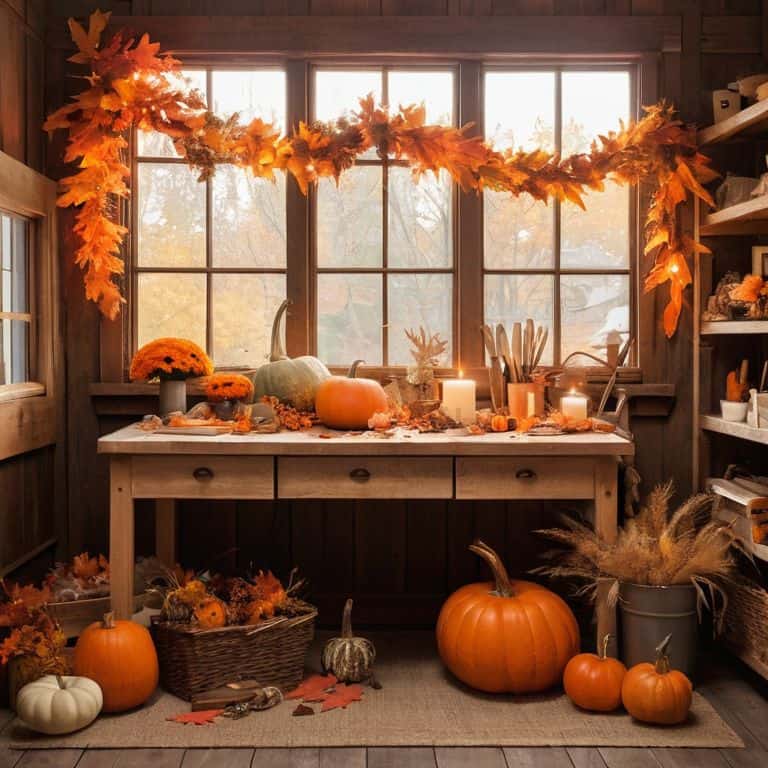
As I sit in my workshop, surrounded by the warm glow of autumnal sunlight and the gentle hum of my trusty tools – Betsy the drill and Sammy the sander – I’m reminded of the magic that happens when we embark on fall DIY crafts. There’s something special about transforming discarded items into unique, cozy pieces that reflect the essence of the season. I’ve always been fascinated by the way a simple wooden pallet can become a rustic coffee table, or how a few strands of twine and some fallen leaves can be woven into a beautiful wreath. For me, fall DIY crafts are all about embracing the beauty of imperfection and breathing new life into old, forgotten things.
In this article, I’ll be sharing my top tips and tricks for creating enchanting fall DIY crafts that will add a touch of warmth and personality to your home. From upcycling vintage furniture to crafting decorative pieces using natural materials, I’ll guide you through the process of turning your ideas into reality. My goal is to inspire you to see the potential in everyday objects and to encourage you to get creative with the materials you have on hand. By the end of this guide, you’ll be equipped with the knowledge and confidence to tackle your own fall DIY projects and make your home a cozy, inviting haven that reflects your personal style.
Table of Contents
Guide Overview: What You'll Need
Total Time: 2 hours 30 minutes
Estimated Cost: $20 – $40
Difficulty Level: Easy
Tools Required
- Scissors (sharp)
- Hot Glue Gun (with extra glue sticks)
- Paintbrushes (various sizes)
Supplies & Materials
- Artificial Leaves (in assorted colors)
- Pinecones (of various sizes)
- Twine or Jute Rope (for hanging)
- Pumpkins or Gourds (for decoration)
- Fall-themed Decorations (such as acorns, ribbons, or fake berries)
Step-by-Step Instructions
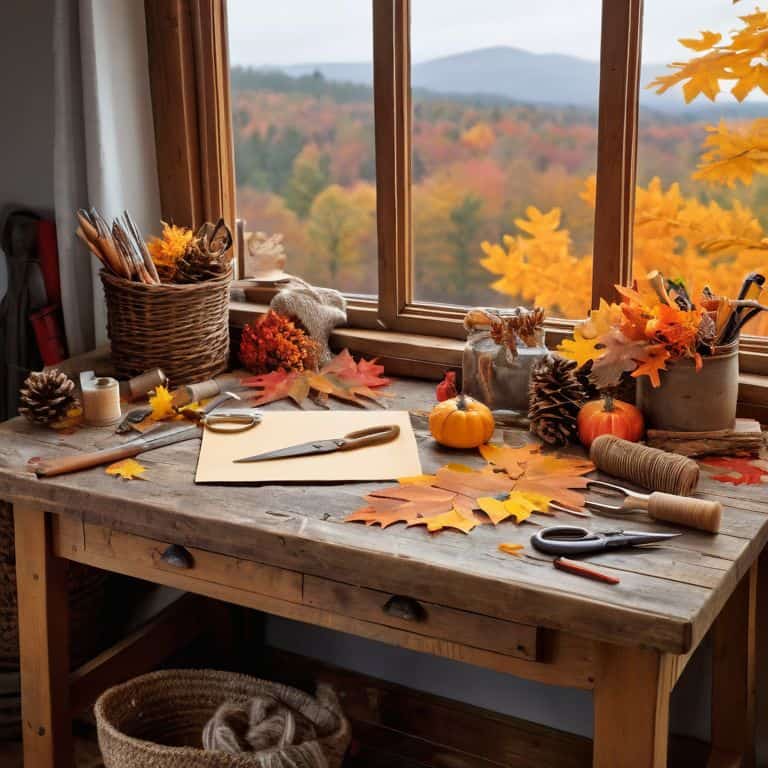
- 1. First, let’s start by gathering our materials, which include fallen leaves, twigs, and other natural elements that can be found in our backyard or a nearby park. I like to think of this step as foraging for treasures, where we get to explore and see what nature has to offer. My trusty tool, “Leafy” the leaf collector, always comes in handy during this process.
- 2. Next, we need to prepare our workspace by laying out a large piece of cardboard or a drop cloth to protect our surface from any mess. I also like to have my “DIY team” of tools within reach, including my favorite hammer, “Hammie,” and my tape measure, “Measurella.” Now, let’s take a moment to _brainstorm_ and think about the type of project we want to create, whether it’s a leaf wreath, a twig centerpiece, or something entirely different.
- 3. Once we have our idea, it’s time to start cleaning and sorting our materials. We’ll want to separate the leaves from the twigs and remove any debris or dirt. This is a great opportunity to get creative and think about how we can use each element to add _texture and depth_ to our project. My tool, “Twirly” the twig sorter, is perfect for this step.
- 4. Now, let’s move on to the fun part – designing our project! For a leaf wreath, we’ll want to start by creating a base using a wire or foam ring. Then, we can begin attaching the leaves using a hot glue gun or floral wire. I like to use my “Gluey” gun for this step, as it allows me to work quickly and efficiently. As we work, let’s think about how we can add some rustic charm to our project, whether it’s through the use of natural materials or a distressed finish.
- 5. As we continue to work on our project, let’s not forget to add some decorative elements to give it a personal touch. This could be anything from ribbons and bows to pinecones and acorns. My tool, “Ribbony” the ribbon cutter, is great for this step. We can also think about how we can use _lighting_ to enhance our project, whether it’s through the use of string lights or fairy lights.
- 6. Once our project is complete, it’s time to seal it with a protective coating to ensure it lasts throughout the season. I like to use a clear varnish or Mod Podge for this step, as it helps to _lock in the moisture_ and prevent the materials from deteriorating. My tool, “Sealy” the sealant applicator, makes this process easy and mess-free.
- 7. Finally, let’s take a step back and admire our handiwork! Whether we’ve created a beautiful leaf wreath, a stunning twig centerpiece, or something entirely unique, we should be proud of ourselves for taking the time to create something truly special. Now, let’s think about how we can display our masterpiece and enjoy it throughout the fall season.
Fall Diy Crafts Magic
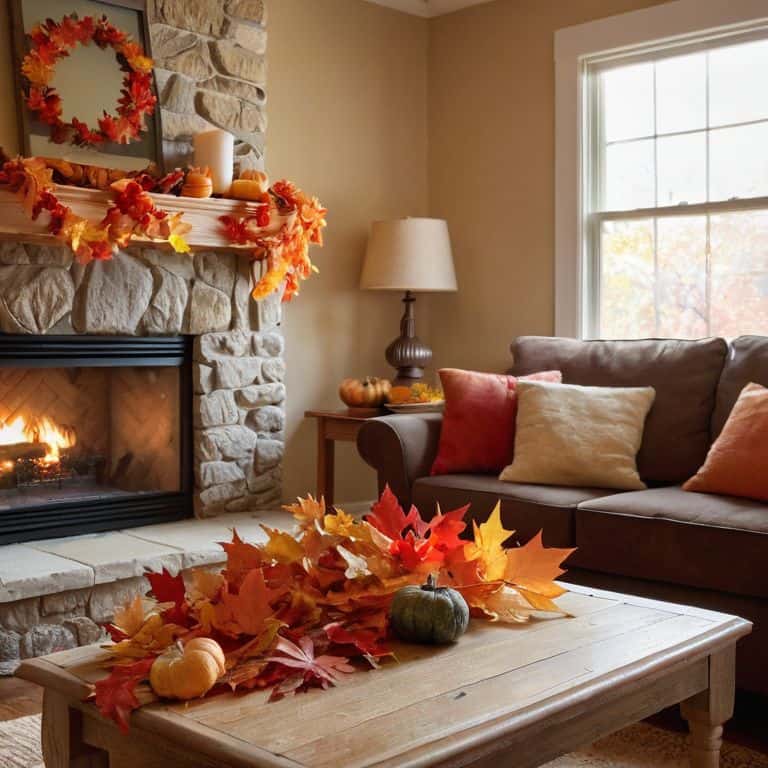
As I delve into the world of fall DIY crafts, I’m reminded of the importance of paying attention to details. A simple fall leaf garland tutorial can elevate your home decor, adding a touch of warmth and coziness to your space. When creating your own garland, consider using a mix of artificial and real leaves to achieve a unique texture and color combination.
To take your DIY projects to the next level, experiment with different materials and techniques. For instance, diy pumpkin centerpiece ideas can be transformed into stunning pieces by incorporating natural elements like twigs, pinecones, and ribbons. Don’t be afraid to think outside the box and try new things – it’s all about embracing the creative process.
As you work on your fall-themed projects, remember to have fun and be imaginative. Whether you’re creating a thanksgiving table setting inspiration or a beautiful autumn wreath, the key is to let your personality shine through. By doing so, you’ll create truly unique and meaningful pieces that reflect your style and add a touch of warmth to your home decor.
Cozy Autumn Wreath Making
As I delve into the world of fall DIY crafts, I find myself enchanted by the simple yet elegant art of wreath making. There’s something special about gathering natural elements like dried leaves, twigs, and pinecones to create a cozy autumn wreath that welcomes the season with warmth. My trusty DIY team, including my loyal hammer, Hank, and my versatile wire cutter, Wendy, are always by my side as I embark on this creative journey.
With a mix of earthy tones and vibrant fall colors, I love experimenting with different textures and patterns to bring my wreaths to life. Whether it’s a traditional circular shape or a more modern geometric design, the possibilities are endless, and I’m always excited to see how each piece turns out. As I work on my latest wreath, the scent of cinnamon and pumpkin spice fills the air, immersing me in the cozy charm of autumn.
Diy Pumpkin Centerpiece Ideas
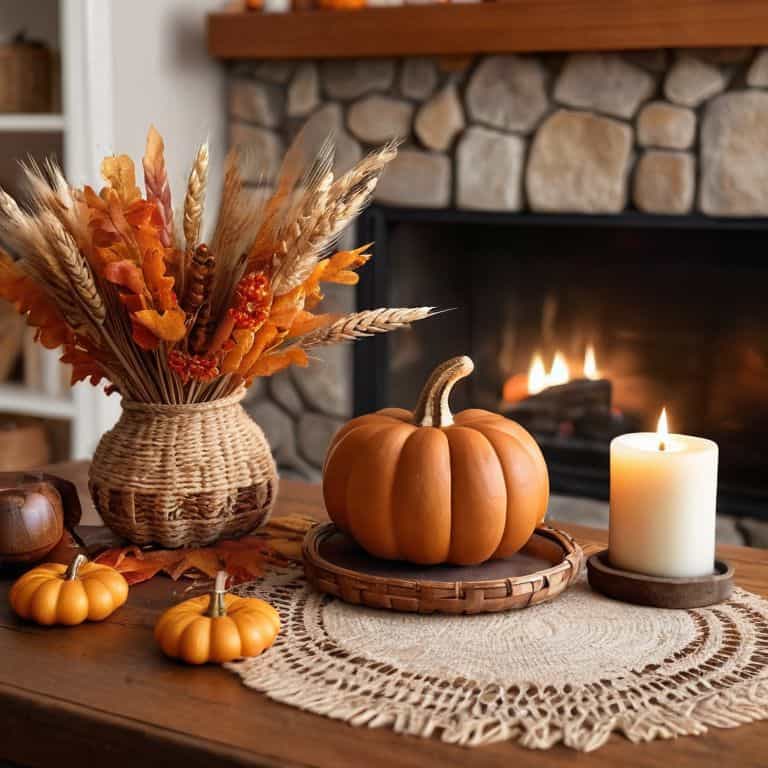
As I dive into the world of DIY pumpkin centerpieces, I’m reminded of the endless possibilities that arise when combining natural elements with a touch of creativity. My trusty tool, “Sawdy,” always comes in handy when carving out unique designs on pumpkins. I love arranging a trio of pumpkins in a decorative bowl, surrounded by fallen leaves, twigs, and a sprinkle of fairy lights to create a warm ambiance.
This simple yet elegant centerpiece is perfect for any fall gathering, and the best part is that it can be customized to fit your personal style. Whether you prefer a modern twist or a more rustic approach, the key is to have fun and experiment with different textures and colors. My “DIY team” and I are always excited to see how a little creativity can transform a ordinary pumpkin into a stunning centerpiece.
Weaving Autumn Magic: 5 Essential Tips for Your Fall DIY Crafts
- Let the seasons guide your palette: Incorporate the warm, rich tones of fall into your DIY projects, from the deep reds of changing leaves to the soft oranges of pumpkins
- Get creative with natural elements: Fallen leaves, twigs, and pinecones can add a touch of the outdoors to your crafts, making them truly unique and seasonal
- Upcycle and repurpose: Look for old or discarded items that can be transformed into something new and beautiful, like turning an old window into a fall-themed decorative piece
- Play with textures: Combine smooth, rough, and soft textures to add depth and visual interest to your fall DIY crafts, such as pairing velvet leaves with burlap and twine
- Make it personal: Incorporate personal touches and meaningful elements into your crafts, like photos, heirlooms, or handmade items, to make them not just decorative but also sentimental and special
Embracing the Essence of Fall DIY
As I reflect on the fall DIY projects we’ve explored, I’m reminded that the true magic lies not just in the end result, but in the journey itself – the thrill of the hunt for unique materials, the satisfaction of watching a vision come to life, and the joy of sharing that creation with loved ones.
With each project, from the cozy autumn wreath to the DIY pumpkin centerpiece, I’ve learned that it’s the personal touches and imperfections that make them truly special – a testament to the beauty of handmade craftsmanship and the stories that unfold with every brushstroke, every hammer swing, and every carefully placed decoration.
Whether you’re a seasoned DIY enthusiast or just starting to dip your toes into the world of upcycling and DIY, I hope these fall projects have inspired you to see the world around you as a canvas waiting for your unique touch – to embrace the quirks, to celebrate the unusual, and to transform the ordinary into something extraordinary, with the help of my trusty DIY team, of course.
Embracing the Essence of Fall
As the leaves fall and the seasons change, I believe that DIY crafts have the power to not only transform our spaces, but to reconnect us with the natural world and the people around us, reminding us that beauty can be found in the simplest of things, and that with a little creativity, we can turn the ordinary into the extraordinary.
Ryan Bennett
Embracing the DIY Spirit of Fall
As we’ve explored the world of fall DIY crafts together, I hope you’ve discovered the magic that happens when you combine natural elements with a dash of creativity. From cozy autumn wreath making to DIY pumpkin centerpiece ideas, each project has shown us that with a little imagination, we can transform the ordinary into the extraordinary. My trusty DIY team, including my favorite tool, Bertha the jigsaw, and her sidekick, Sammy the sandpaper, have been instrumental in bringing these ideas to life. As you reflect on the projects we’ve covered, remember that the true essence of DIY lies not just in the end result, but in the journey itself – the process of experimentation, learning, and growth.
As you embark on your own fall DIY adventures, I encourage you to embrace the spirit of upcycling and see the potential in every discarded item. Let the vibrant colors and textures of the season inspire you to create something truly unique and beautiful. Whether you’re a seasoned DIY enthusiast or just starting out, remember that every project is an opportunity to reimagine the world around you and make it a more wonderful place, one handmade piece at a time. So go ahead, get creative, and let the DIY magic of fall unfold!
Frequently Asked Questions
What are some unique and creative ways to incorporate natural elements like leaves and twigs into my fall DIY crafts?
I just love experimenting with natural elements in my fall DIY crafts. Try pressing leaves between pages to create delicate, lacy textures, or use twigs to form unique bases for candle holders or vases. My trusty tool, ‘Twiggy,’ always helps me shape them into perfect shapes. You can also decoupage leaves onto wooden decorative items for a pop of color and added charm.
How can I ensure that my fall DIY projects, such as wreaths and centerpieces, are durable and long-lasting?
To ensure my fall DIY projects stand the test of time, I swear by my trusty sealant, Bertha – she’s a game-changer. A clear coat of varnish or sealant can protect your wreaths and centerpieces from the elements, making them durable and long-lasting. My DIY team, including Sandie the sander and Painty the paintbrush, all agree that a little extra protection goes a long way.
Are there any specific safety precautions I should take when working with materials like pinecones, candles, and dried flowers in my fall DIY crafts?
When working with materials like pinecones, candles, and dried flowers, I always remind my readers to handle with care. Make sure to place candles on stable holders, keep flammable materials away, and avoid inhaling dried flower dust. My trusty sidekick, a vacuum named Vera, is always on standby to clean up any mess. Safety first, my friends!