


Seasonal Diy Crafts to Warm Up Your Home All Year Round
 July 4, 2025
I still remember the first time I tried my hand at seasonal DIY crafts. I was a kid, and my parents, who owned a workshop specializing in handcrafted wooden furniture, had given me a few scraps of wood and some old tools to play with. I was determined to create something beautiful, but what I ended up with was a wonky, uneven ornament that looked more like a failed experiment than a work of art. Despite the initial disappointment, that experience sparked a passion in me for transforming ordinary items into something extraordinary. As I grew older, I realized that seasonal DIY crafts weren’t just about creating decorations, but about telling a story and adding a personal touch to our living spaces.
In this article, I’ll share my favorite tips and tricks for creating stunning seasonal DIY crafts that will make your home stand out. From repurposing old items to adding a rustic charm to your decor, I’ll guide you through the process of creating unique and beautiful pieces that reflect your personality. You’ll learn how to breathe new life into discarded materials and turn them into one-of-a-kind decorations that will make your friends and family go wow. So, if you’re ready to unleash your creativity and add a personal touch to your home, keep reading, and let’s get crafting!
Table of Contents
Guide Overview: What You'll Need
Total Time: 1 hour 45 minutes
Estimated Cost: $15 – $30
Difficulty Level: Easy
Tools Required
- Scissors (sharp)
- Hot Glue Gun (with extra glue sticks)
- Paintbrush (various sizes)
Supplies & Materials
- Pinecones (for winter theme)
- Artificial Flowers (for spring theme)
- Ribbons (assorted colors and patterns)
- Cardboard (for base or backing)
- Glitter (optional)
- Twine (for hanging or decorating)
- Fabric (cotton or felt, 6 inches x 6 inches pieces)
Step-by-Step Instructions
- 1. First, let’s start with a project that’s near and dear to my heart: creating a beautiful autumn wreath from fallen leaves. To begin, gather a variety of leaves in different shapes, sizes, and colors. I like to think of this step as foraging for treasure, where every leaf has the potential to add a unique touch to our final piece.
- 2. Next, prepare your leaves for the wreath by drying them out completely. You can do this by tying them in small bunches and hanging them upside down in a warm, dry place. This step is crucial, as it will help prevent the leaves from becoming brittle and breaking apart during the crafting process. My trusty tool, Bertha the blower, comes in handy here, gently blowing air to speed up the drying process.
- 3. Now, it’s time to create the base of our wreath. I use a wire frame, which I’ve named Winnie, to provide the structure for our leafy masterpiece. Wrap the frame with a natural fiber like burlap or twine to give it a more rustic feel. This will also help the leaves adhere to the frame more easily.
- 4. With our base ready, start attaching the dried leaves to the frame using a hot glue gun. I’ve named my glue gun Gilda, and she’s a real workhorse when it comes to bonding materials quickly and efficiently. Begin by gluing the largest leaves to the frame first, working your way around the circle to ensure even coverage.
- 5. As you continue to add more leaves, experiment with different patterns and layering techniques to add depth and visual interest to your wreath. Don’t be afraid to get creative and try out new things – after all, that’s what DIY is all about. My DIY team, including Sawyer the saw and Drilliam the drill, may not be directly involved in this step, but their contributions to previous projects have inspired my approach to experimentation.
- 6. Once you’ve covered the entire frame with leaves, take a step back and evaluate your wreath. You may find areas where the leaves are sparse or the arrangement could be improved. This is the perfect opportunity to add some embellishments, such as ribbons, twine, or small decorative items, to enhance the overall appearance of your wreath.
- 7. Finally, to protect your wreath from the elements and make it last longer, apply a clear coat of varnish. This will also help bring out the natural colors of the leaves and give your wreath a beautiful luminous glow. With this final touch, your autumn wreath is complete, ready to be displayed on your front door, wall, or as a centerpiece for your dining table.
Seasonal Diy Crafts Magic
As I delve into the world of winter decoration ideas, I’m reminded of the magic that happens when you combine natural elements with a dash of creativity. For instance, collecting fallen branches and transforming them into a stunning winter wonderland centerpiece can add a touch of rustic charm to any room. My trusty tool, “Sawyer,” always comes in handy when cutting and shaping these branches to perfection.
When it comes to summer craft projects, I love experimenting with outdoor decor that not only adds a pop of color but also serves as a functional piece. For example, upcycling old pallets into planters or benches can be a great way to create a cozy outdoor seating area. My DIY team, including “Drilliam” and “Hammerstein,” always helps me bring these projects to life.
As the seasons change, so do the seasonal craft materials available to us. In the autumn, I enjoy working with autumn leaf crafts, pressing leaves to create beautiful designs and patterns. This technique can be used to create stunning spring flower arrangements as well, by replacing leaves with fresh flowers. By thinking outside the box and getting creative with the materials nature provides, we can create unique and budget-friendly diy home decor on a budget that reflects our personal style.
Summer Craft Projects Revealed
As I step into my workshop, surrounded by the warmth of summer, I’m reminded of the endless possibilities that this season brings. My trusty sidekicks, Hammerstein and Sawdust Sally, are always ready to help me breathe new life into discarded items. This summer, I’ve been particularly fond of upcycling old pallets into vibrant planters, perfect for showcasing the beauty of blooming flowers. The rustic charm of the pallets, combined with the modern twist of bold colors and patterns, creates a unique piece that’s sure to be a conversation starter.
With a little creativity, summer staples like seashells, driftwood, and nautical ropes can be transformed into stunning coastal-inspired decor. I love experimenting with different textures and colors to create one-of-a-kind pieces that reflect the carefree spirit of summer. Whether it’s a handmade wind chime or a refurbished outdoor bench, each project is an opportunity to add a touch of personality to your outdoor space.
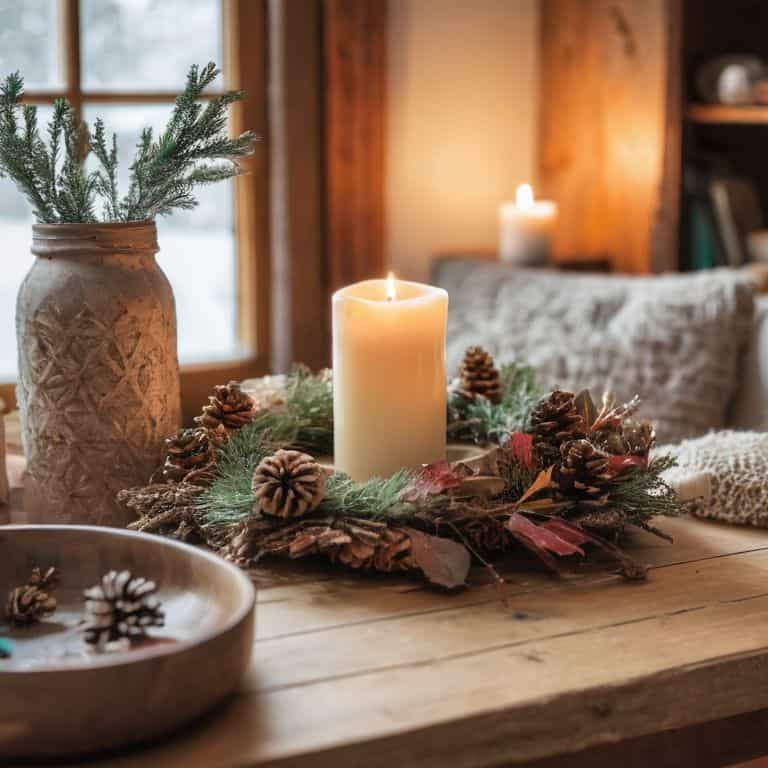
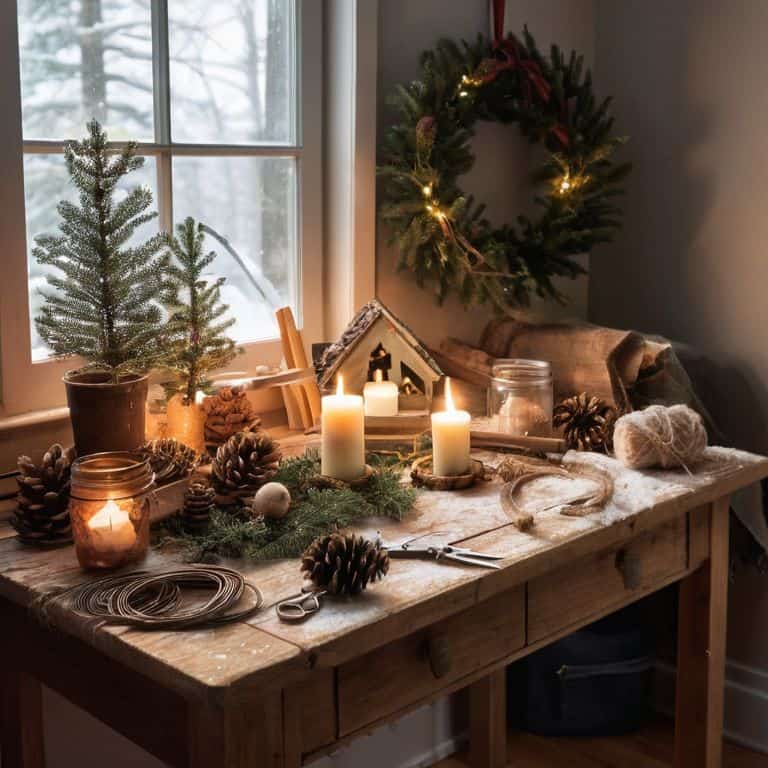
Winter Decoration Ideas Unleashed
As I dive into winter decoration ideas, I’m reminded of the countless hours I spent as a child watching my parents transform our workshop into a winter wonderland. They’d take old, discarded items and turn them into magical creations. I’ve carried on that tradition, and now I love sharing my own winter DIY projects with all of you. My trusty tool, “Snowflake” – a vintage saw – helps me bring new life to old wooden pallets, which I then turn into cozy sleds or decorative wall hangings.
This season, I’m excited to unleash my latest winter decoration ideas, from repurposed mason jar snow globes to handmade evergreen wreaths. With a little creativity and the help of my DIY team, including “Mittens” – my favorite pair of gloves – and “Twinkle” – a string of fairy lights, you can create a warm and inviting atmosphere in your home that’s uniquely yours.
Weaving Seasonal Magic: 5 Essential Tips for DIY Enthusiasts
- Embrace the Beauty of Imperfection: Don’t be too hard on yourself if your DIY project doesn’t turn out exactly as planned – the charm of seasonal DIY crafts often lies in their uniqueness and handmade character
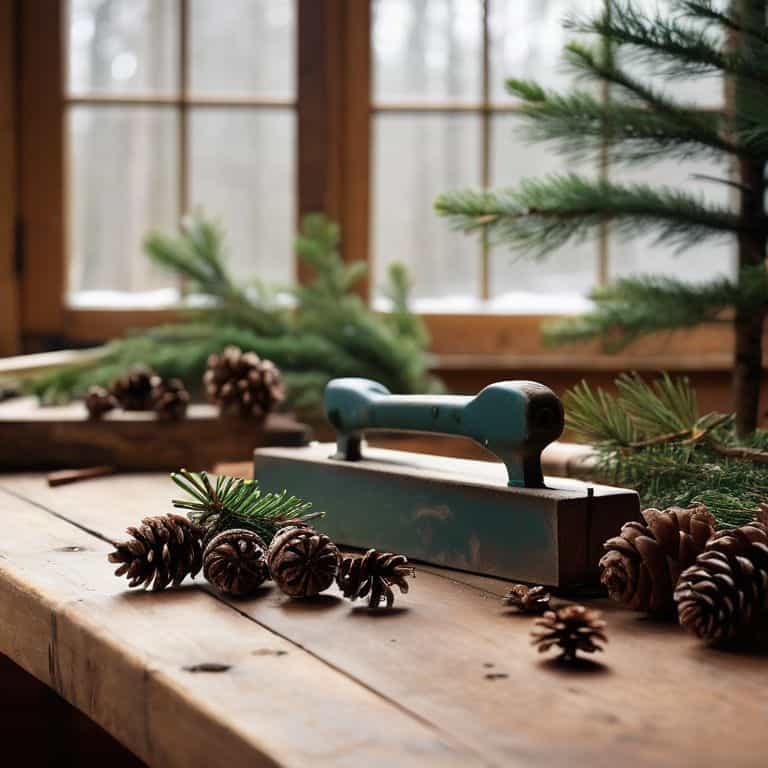
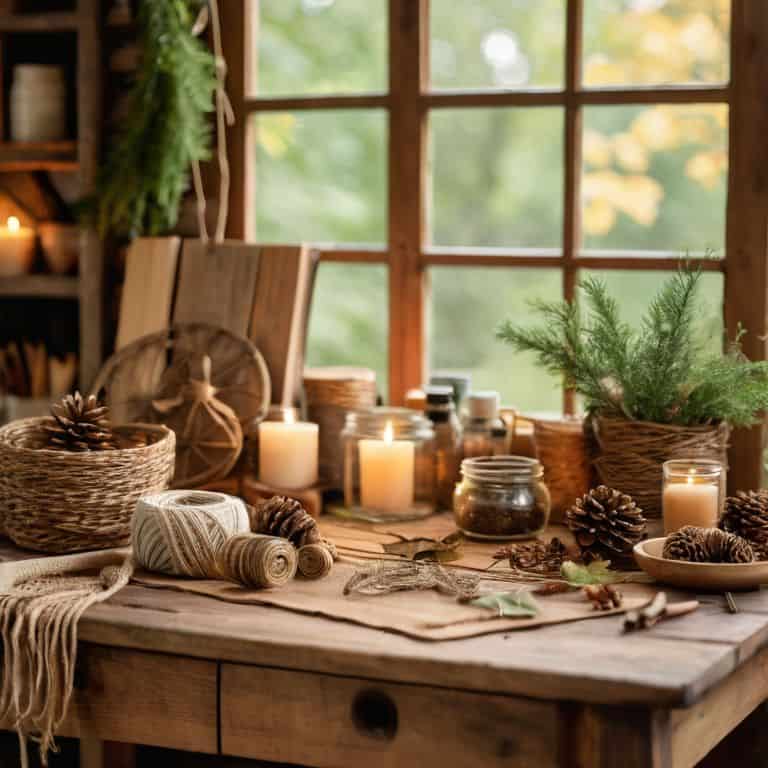
- Get Creative with Nature’s Bounty: Collect items from nature like leaves, twigs, and pinecones to add a personal touch to your seasonal decorations, making each piece truly one-of-a-kind
- Repurpose and Upcycle: Breathe new life into old or discarded items by transforming them into unique seasonal decorations – like turning old jars into lanterns or making a wreath from recycled materials
- Experiment with Textures and Colors: Combine different textures and colors to create visually appealing seasonal decor, such as pairing rustic wood with vibrant fabrics or smooth ceramics with natural fibers
- Make it a Family Affair: Involve your loved ones in the DIY process, making it a fun and memorable experience – whether it’s helping the kids paint pumpkins for Halloween or crafting a handmade Christmas card together
Embracing the Essence of Seasonal DIY Crafts
By repurposing and upcycling vintage items, you can create unique seasonal decorations that not only reduce waste but also add a personal touch to your home decor
Experimenting with natural elements such as leaves, twigs, and pinecones can help you craft stunning seasonal pieces that reflect the beauty of the outdoors
Ultimately, the magic of seasonal DIY crafts lies in their ability to evoke emotions and create lasting memories, making every project a special and meaningful experience
Embracing the Seasons
As I always say, the true magic of seasonal DIY crafts lies not in the end result, but in the journey of transforming the ordinary into the extraordinary, one handmade decoration at a time, with the help of my trusty DIY team, of course!
Ryan Bennett
Embracing the DIY Spirit: A Seasonal Crafts Conclusion
As I reflect on the world of seasonal DIY crafts, I’m reminded of the magic of transformation that occurs when we breathe new life into discarded items. From the rustic charm of autumn wreaths to the modern twist of summer decor, each project is an opportunity to showcase our unique style and creativity. By embracing the DIY spirit, we not only create something beautiful, but also develop a deeper appreciation for the craftsmanship and attention to detail that goes into each piece. My trusty team of tools, including my favorite hammer, Bertha, and my reliable saw, Sammy, have been instrumental in helping me bring these seasonal DIY crafts to life.
As you close this chapter on seasonal DIY crafts, I hope you’re inspired to think outside the box and uncover the hidden potential in everyday objects. Remember, the true beauty of DIY lies not only in the end result, but in the journey itself – the trial and error, the experimentation, and the joy of creating something with your own hands. So, go ahead, gather your materials, and let the creative process unfold. With a little imagination and a lot of heart, you’ll be amazed at the incredible things you can create, and the sense of pride and fulfillment that comes with it.
Frequently Asked Questions
What are some creative ways to repurpose everyday items into seasonal decorations?
I love finding new uses for old things. For seasonal decor, try turning mason jars into lanterns, or transforming old sweaters into cozy winter wreaths. My trusty DIY team, including my drill, Bertha, and sandpaper, Sam, help me bring these ideas to life. Get creative and give new life to everyday items!
How can I incorporate natural elements, like pinecones or leaves, into my DIY seasonal crafts?
I just love working with natural elements – it’s like bringing the outdoors in. For a rustic touch, try using pinecones, leaves, or twigs to create unique textures and patterns. My trusty tool, Bertha the hot glue gun, is perfect for bonding these elements to your crafts. Simply arrange your natural finds in a design you like, and let Bertha do the rest!
What are some tips for storing and reusing seasonal DIY decorations from year to year to reduce waste and save time?
To keep my seasonal DIY decorations organized, I store them in labeled crates and bins. I also take photos and note what worked well, so I can recreate or improve them next year. My trusty sidekick, a tool named “Sawyer,” helps me disassemble and reassemble pieces for easy storage.