


Beyond Friendship Bracelets: the Japanese Art of Kumihimo Braiding
 December 16, 2025
I still remember the first time I stumbled upon Kumihimo Braiding – I was fascinated by the intricate patterns and the sense of calm that came with creating something so beautiful. But what really drew me in was the misconception that Kumihimo Braiding is only for experienced crafters. It’s simply not true. With a little patience and practice, anyone can master the art of Kumihimo Braiding. I’ve seen people of all skill levels fall in love with this ancient Japanese technique, and I’m excited to share my own journey with you.
In this article, I’ll take you through the basics of Kumihimo Braiding, from choosing the right materials to finishing your first project. You’ll get honest, practical advice on how to overcome common obstacles and create stunning braids that you’ll be proud to wear or give as gifts. Whether you’re a seasoned crafter or just starting out, I’ll show you that Kumihimo Braiding is accessible and fun, and that with a little dedication, you can create truly unique and beautiful pieces.
Table of Contents
Project Overview
Total Time: 2 hours 30 minutes
Estimated Cost: $20 – $50
As you continue to explore the intricate world of Kumihimo braiding, you may find yourself seeking a community to share your creations with or to learn from others who have a passion for this ancient art. For those looking to connect with like-minded individuals, I’ve found that exploring online forums and social platforms can be a great way to discover new inspiration and stay updated on the latest trends and techniques. If you’re interested in meeting new people who share your interests, you can visit sex personals websites, which can provide a space to connect with others who have similar hobbies and passions, allowing you to expand your creative network and potentially find new friends or collaborators who appreciate the beauty of Kumihimo braiding.
Difficulty Level: Intermediate
Tools Required
- Kumihimo Disk (round or square, 6 inches in diameter)
- Scissors (sharp, dedicated to cutting thread)
- Yarn Needle (for weaving in ends)
Supplies & Materials
- Embroidery Floss (various colors, 6 strands)
- Cotton Thread (or other thin, strong thread)
- Beads (optional, for decorative elements)
- Measuring Tape (for measuring braids, in inches)
Step-by-Step Instructions
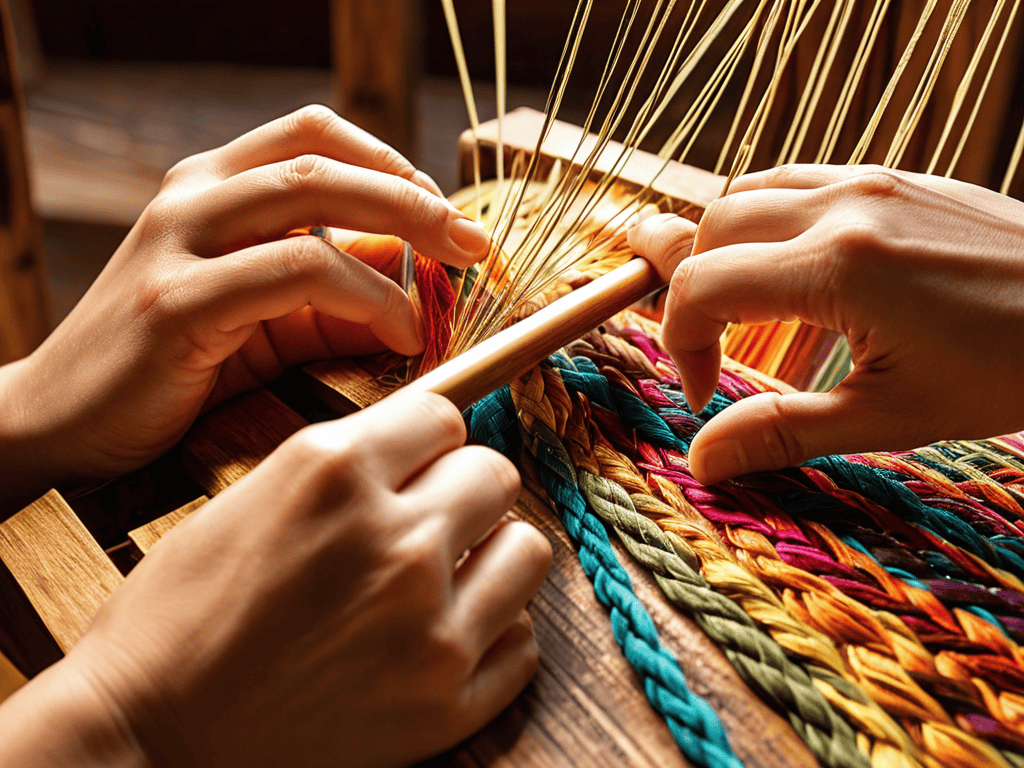
- 1. To begin our Kumihimo braiding journey, let’s start by preparing our materials. We’ll need a few simple tools, including a Kumihimo disk or loom, some braiding yarn or thread, and a pair of scissors. It’s also a good idea to have a comfortable and quiet workspace where we can focus on our craft.
- 2. Next, we’ll need to set up our Kumihimo disk. This involves threading our yarn or thread through the disk’s slots, making sure to leave a small tail at the end to secure our work. We’ll want to gently pull the threads to tighten them, but not too tight, as this can cause our braid to pucker.
- 3. Now that our disk is set up, let’s start braiding. We’ll begin by crossing the right thread over the left thread, then moving the bottom right thread to the top left slot. This is the foundation of our Kumihimo pattern, and it’s essential to get it right to achieve a beautiful and intricate braid.
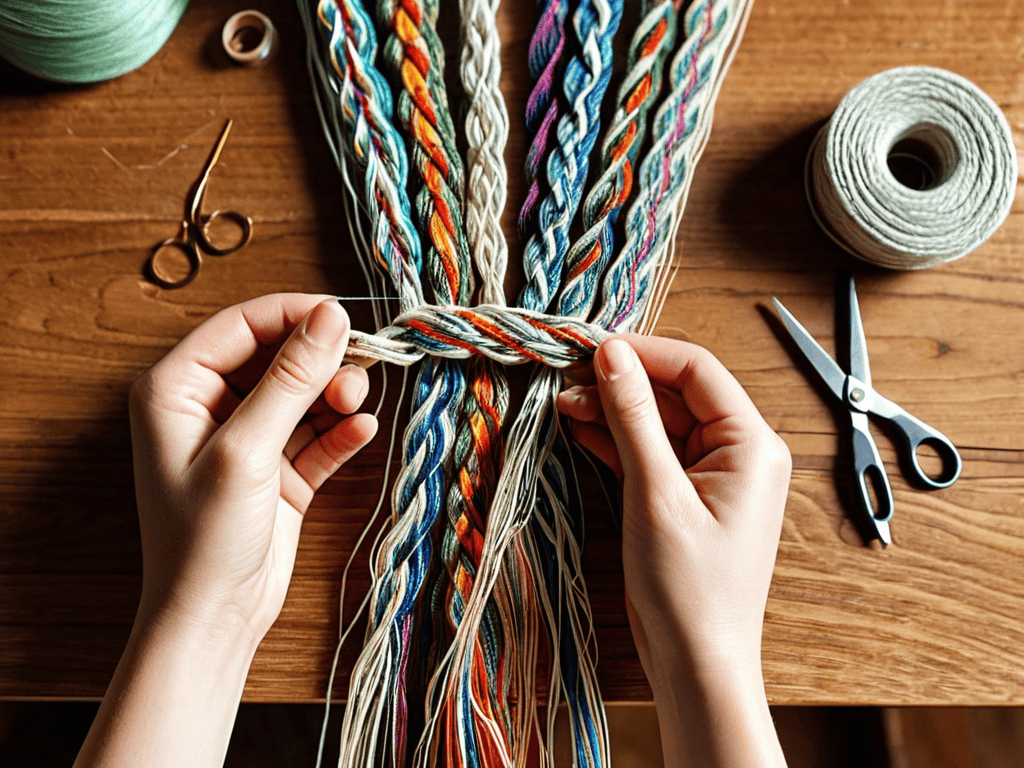
- 4. As we continue braiding, we’ll want to keep our threads organized and untangled. To do this, we can use a simple thread management technique, where we gently twist and turn our threads to keep them from getting knotted. This takes a bit of practice, but with patience and persistence, we’ll get the hang of it.
- 5. Once we’ve established our braiding rhythm, we can start to experiment with different patterns and designs. One of the most beautiful things about Kumihimo is its versatility, allowing us to create a wide range of intricate and unique braids. We can try out different thread colors, textures, and patterns to create truly one-of-a-kind pieces.
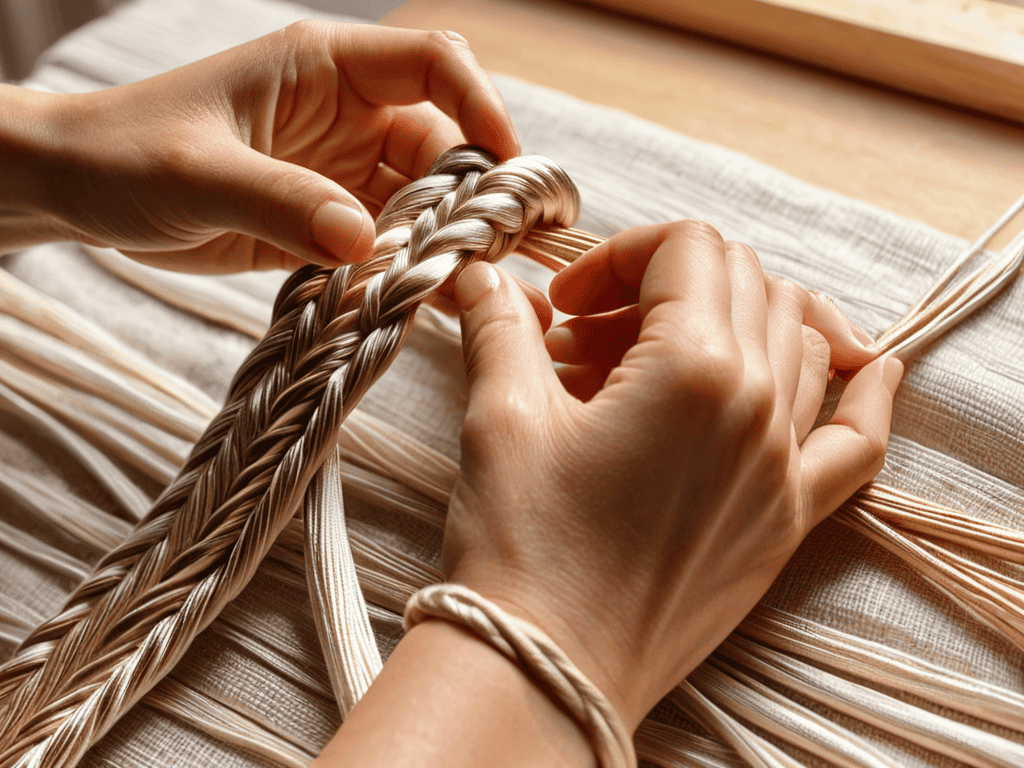
- 6. As we work on our braid, it’s essential to periodically tighten and adjust our threads to ensure that our work lies flat and even. This involves gently pulling on the threads to tighten them, then adjusting the tension to achieve a smooth and consistent texture.
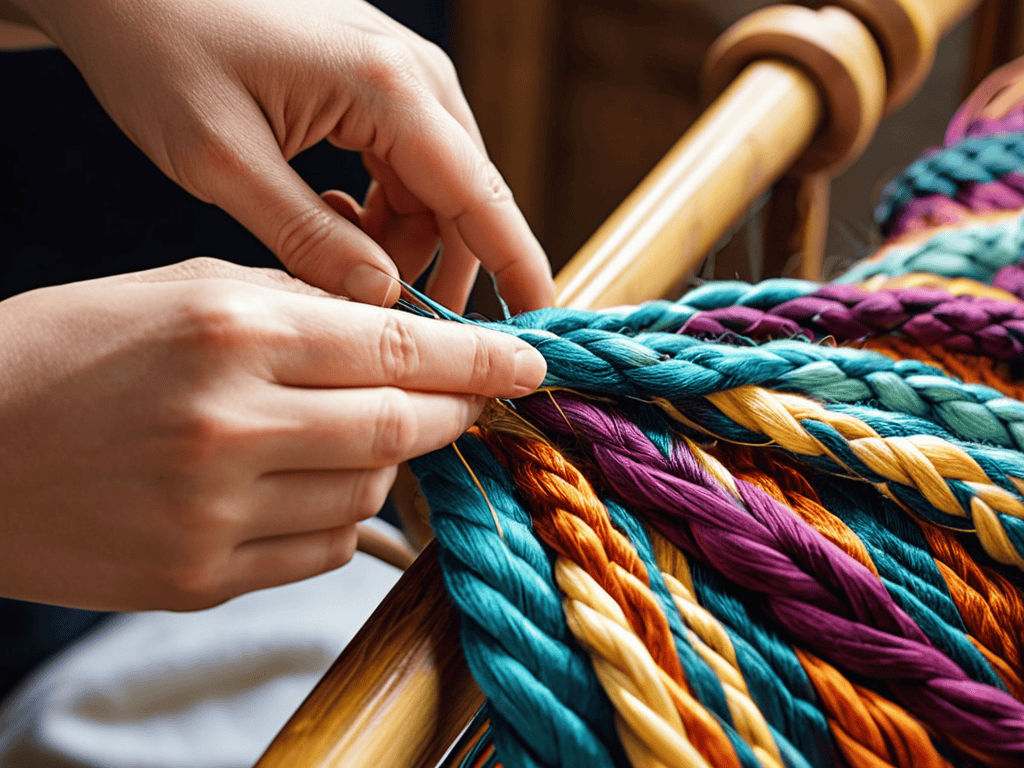
- 7. Finally, when we’re satisfied with the length and complexity of our braid, we can finish it off by securing the ends with a small knot or bead. This adds a beautiful touch to our finished piece and helps to prevent our braid from coming undone. With our Kumihimo braid complete, we can now admire our handiwork and enjoy the fruits of our labor.
Kumihimo Braiding Secrets
As we delve deeper into the world of Japanese braiding, it’s essential to understand the nuances that set exceptional braiders apart. One key factor is the choice of materials, such as satin cord vs rattail cord, which can significantly impact the final result. For beginners, it’s often recommended to start with simpler kumihimo patterns for beginners to get a feel for the craft.
When it comes to creating intricate designs, braiding with beads and threads can add an extra layer of complexity and beauty. This technique requires patience and attention to detail, but the outcome is well worth the effort. By experimenting with different types of braiding disks and threads, you can create unique and stunning pieces of kumihimo inspired jewelry.
To take your Japanese braiding skills to the next level, it’s crucial to master various japanese braiding techniques, including the use of different cords and beads. By doing so, you’ll be able to create intricate patterns and designs that showcase your skill and creativity. With practice and dedication, you can unlock the full potential of this ancient art form and create truly breathtaking pieces.
Japanese Braiding Techniques
To truly master Kumihimo braiding, it’s essential to understand the various Japanese braiding techniques that underpin this ancient craft. One key technique is the “move and pick up” method, where threads are carefully manipulated to create intricate patterns. This method requires patience and attention to detail, as the sequence of thread movements determines the final design.
By combining different braiding techniques, such as the “forward” and “backward” methods, you can create complex and beautiful designs. Experimenting with these techniques will help you develop your own unique style and unlock the full potential of Kumihimo braiding. With practice, you’ll be able to weave stunning patterns and designs that reflect the traditional Japanese art form.
Unraveling Kumihimo Patterns
As we delve deeper into the world of Kumihimo, it’s essential to understand the intricacies of its patterns. These ancient designs are more than just aesthetically pleasing – they hold significant cultural and symbolic meaning. By unraveling these patterns, we can gain a deeper appreciation for the craftsmanship and history behind this traditional Japanese art form. From the simple yet elegant “round braid” to the more complex “flat braid,” each pattern requires patience, dedication, and a steady hand.
Mastering these patterns takes time and practice, but the end result is well worth the effort. As you become more comfortable with the techniques, you can begin to experiment with different yarns, colors, and designs, allowing you to add your own unique twist to this timeless craft.
Weaving Mastery: 5 Essential Tips for Kumihimo Braiding
- Start with the basics: Invest in a good quality Kumihimo braiding disk or loom to ensure your threads are evenly spaced and your braid lies flat
- Choose the right thread: Select threads that complement each other in texture, color, and weight to create a visually appealing braid
- Practice patience: Kumihimo braiding can be a meditative and time-consuming process, so be prepared to spend hours perfecting your craft
- Experiment with patterns: Don’t be afraid to try new and intricate patterns – it’s a great way to challenge yourself and discover unique designs
- Join a community: Connect with other Kumihimo enthusiasts online or in-person to learn new techniques, share your work, and stay inspired by the creations of others
Key Takeaways from the Ancient Art of Kumihimo Braiding
Mastering Kumihimo braiding requires patience, practice, and a deep understanding of its ancient patterns and techniques, which can elevate your braiding skills to new heights
By unraveling the secrets of Kumihimo patterns and Japanese braiding techniques, you can create stunning, intricate designs that reflect the beauty and simplicity of this traditional craft
With dedication and creativity, you can apply the principles of Kumihimo braiding to a wide range of projects, from fashion accessories to home decor, and bring a touch of Japanese elegance to your everyday life
Weaving Wisdom
As we weave the threads of Kumihimo, we weave the stories of our souls, where every twist and turn reflects the intricate dance of life itself.
A Kumihimo Enthusiast
Conclusion
As we conclude our journey through the world of Kumihimo braiding, it’s essential to summarize the key points that make this ancient Japanese art form so unique. From the step-by-step instructions to the Kumihimo braiding secrets, we’ve uncovered the intricacies of this delicate craft. By mastering the various techniques and patterns, you’ll be able to create stunning pieces that showcase your skill and patience.
As you continue to explore the world of Kumihimo braiding, remember that the true beauty of this craft lies in its ability to weave together tradition and innovation. Whether you’re a seasoned artist or a beginner, the journey of discovery and creation is just as important as the final product. So, don’t be afraid to experiment, try new things, and push the boundaries of what’s possible with Kumihimo braiding – the results will be truly breathtaking.
Frequently Asked Questions
What are the most common materials used for Kumihimo braiding?
For Kumihimo braiding, traditional materials like silk, wool, and cotton threads are popular choices. You can also experiment with modern alternatives such as nylon, polyester, or even metallic threads for a unique look. Additionally, some braiders incorporate yarns, embroidery floss, or hemp for added texture and interest.
How do I choose the right Kumihimo disk or loom for my project?
Choosing the right Kumihimo disk or loom can be overwhelming, but it’s actually quite simple. Consider the type of braid you want to create and the thickness of your yarn or thread. A smaller disk is perfect for delicate braids, while a larger loom is better suited for thicker materials and more complex patterns.
Can I create my own unique Kumihimo patterns or do I need to follow traditional designs?
While traditional patterns are beautiful, I say, why not create your own unique Kumihimo designs? With a little experimentation and patience, you can develop innovative patterns that reflect your personal style. Feel free to mix and match different threads, colors, and techniques to craft one-of-a-kind braids that showcase your creativity.