


Diy Scented Candles: Adding Aroma and Ambiance to Your Home
 August 21, 2025
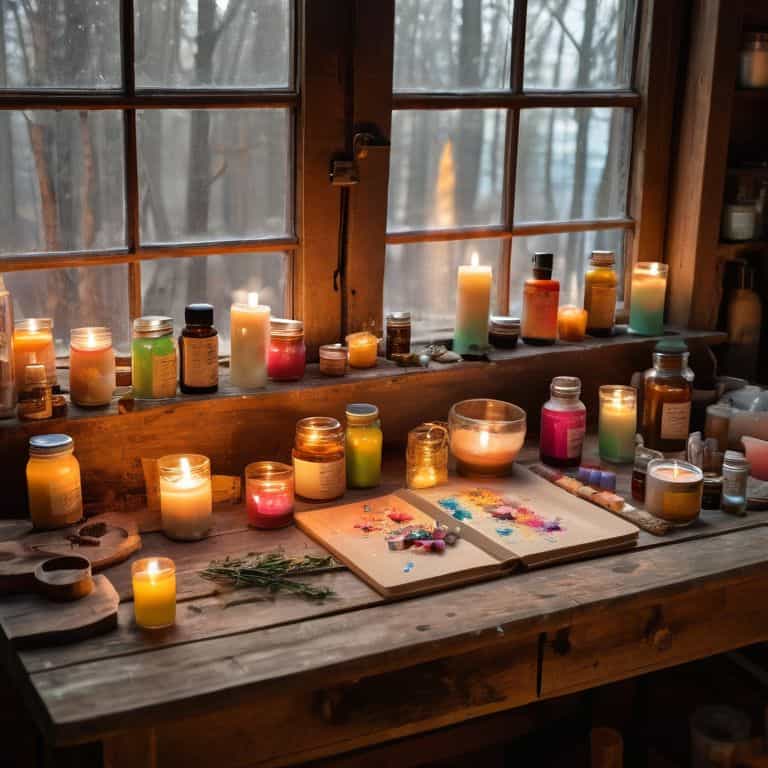
I still remember the first time I attempted to make my own DIY scented candles. I was a novice, armed with nothing but a few tutorials and a passion for upcycling. The process was messy, the results were inconsistent, and I ended up with a batch of candles that smelled more like burnt wax than lavender. But that’s the beauty of DIY – it’s all about experimentation, learning from your mistakes, and pushing the boundaries of what’s possible. As I delved deeper into the world of candle-making, I discovered that the key to creating truly unique and captivating scents lies in the art of layering, combining essential oils in unexpected ways to craft something truly enchanting.
In this article, I’ll share my honest, no-hype guide to making DIY scented candles that will transport you to a world of warmth and coziness. I’ll walk you through the process of selecting the right materials, from wax to wicks, and provide you with practical tips on how to infuse your candles with personality. Whether you’re a seasoned crafter or a beginner, I’ll show you how to create scented candles that are not only beautiful but also deeply personal, reflecting your unique style and flair. By the end of this journey, you’ll be equipped with the knowledge and confidence to create your own signature scents, and to share them with loved ones as a token of your thoughtfulness and creativity.
Table of Contents
Guide Overview: What You'll Need
Total Time: 2 hours 30 minutes
Estimated Cost: $20 – $40
Difficulty Level: Easy
Tools Required
- Double Boiler or a microwave-safe bowl
- Thermometer for monitoring temperature
- Colorant optional for colored candles
- Fragrance Oils for scenting the candle
- Candle Mold to shape the candle
Supplies & Materials
- Wax available in various types, such as soy or beeswax
- Wick made of cotton, paper, or another material
- Melting Pot a dedicated pot for melting wax
Step-by-Step Instructions
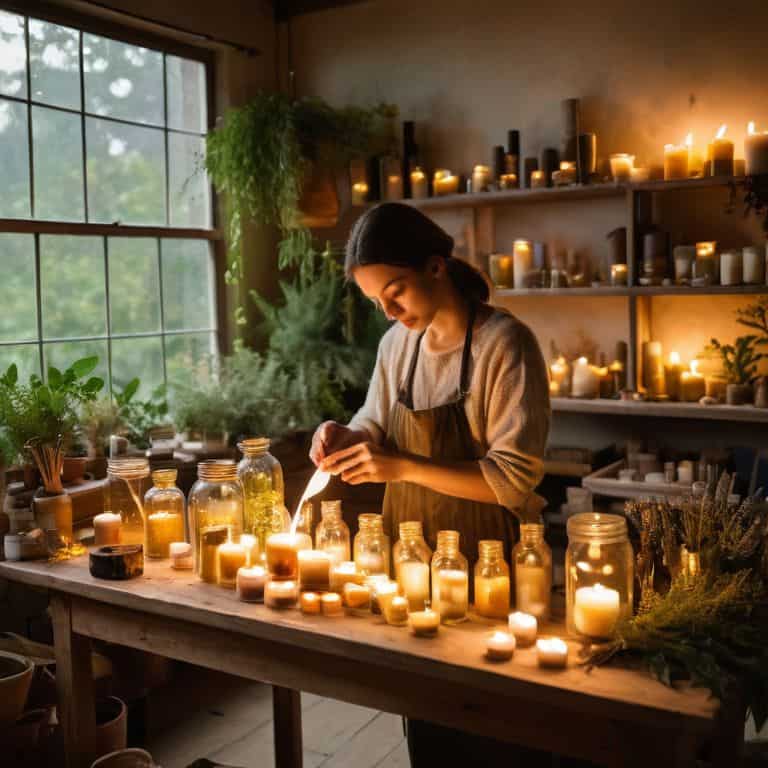
- 1. First, let’s start by gathering all the necessary materials for our DIY scented candles, including high-quality wax, a thermometer, colorants, and of course, our favorite essential oils. I like to think of this step as the foundation of our project, where we get to decide on the overall aesthetic and scent of our candles.
- 2. Next, we need to prepare our melting pot, which I’ve lovingly named “Bertha” – she’s a trusty old friend who’s been with me through countless DIY adventures. To get started, simply place the wax in Bertha and heat it until it reaches the ideal melting point, which is usually around 180-200 degrees Fahrenheit.
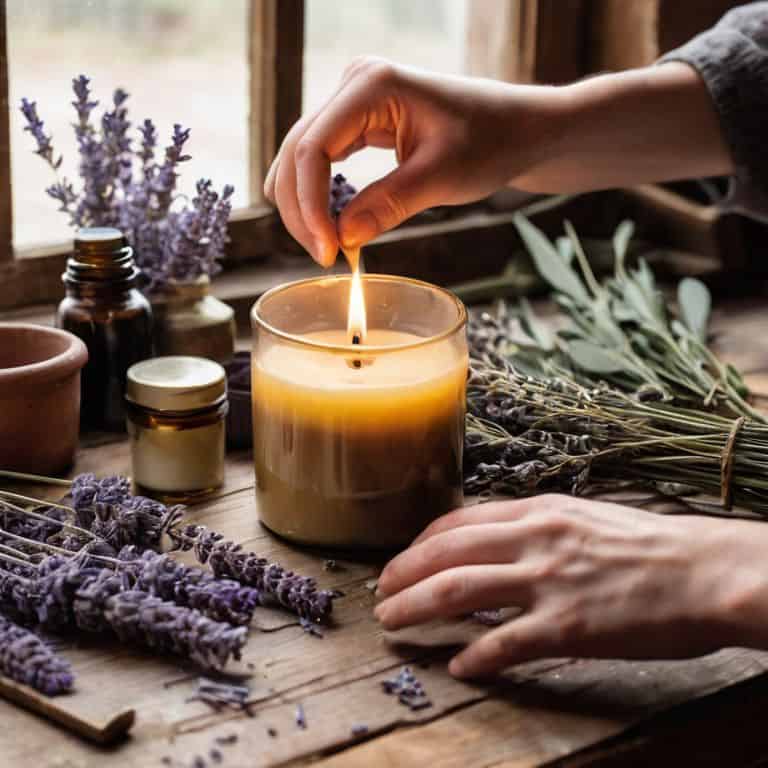
- 3. Now that our wax is melted, it’s time to add the magic ingredient – our essential oils. I like to use a combination of lavender and vanilla to create a soothing and relaxing atmosphere, but feel free to experiment with different scents to find your perfect blend. Just be sure to use high-quality oils that are specifically designed for candle-making.
- 4. With our fragrance added, it’s time to add some color to our candles. I’m a big fan of using natural colorants like herbs and spices to create unique and interesting hues. Simply add a pinch of your chosen colorant to the melted wax and stir well to combine.
- 5. Now it’s time to prepare our candle molds, which I’ve named “The Twins” – they’re a pair of vintage molds that I found at a thrift store and have been using ever since. To ensure that our candles release easily from the molds, be sure to lightly spray them with cooking spray before pouring in the wax.
- 6. With our molds prepared, it’s time to pour in the wax mixture. I like to use a slow and steady approach to avoid creating air bubbles or uneven textures. Simply pour the wax into the mold, making sure to fill it to the top, and then use a spatula to remove any excess.
- 7. Finally, it’s time to let our candles cool and harden, which can take anywhere from 30 minutes to several hours, depending on the size of the candle. I like to think of this step as the most rewarding part of the process, as we get to see our creations take shape and come to life. Once the wax is hard, simply remove the candle from the mold, trim the wick to the desired length, and your DIY scented candle is ready to use.
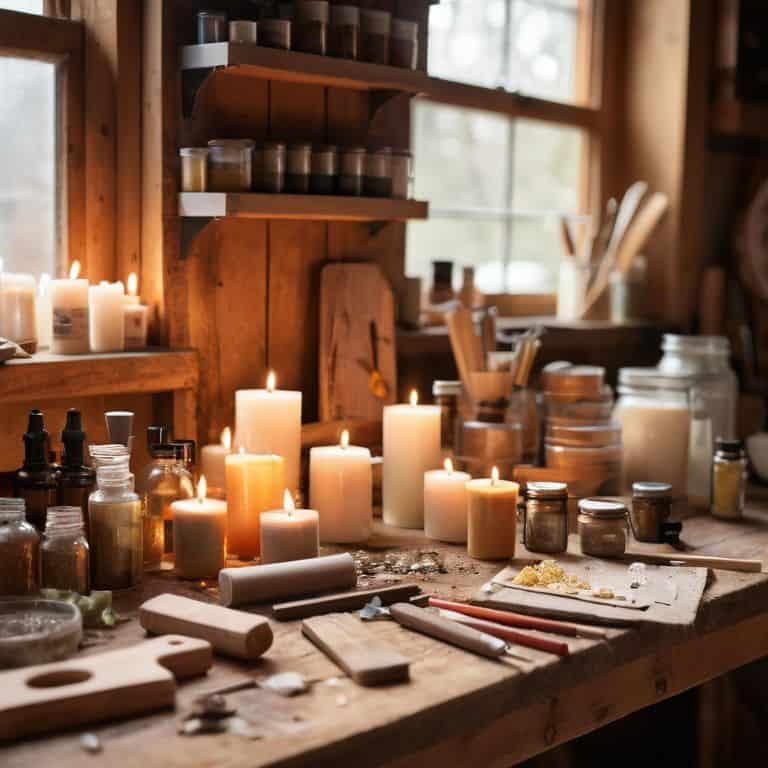
Crafting Diy Scented Candles
As I work on my latest project, surrounded by my trusty DIY team, including my favorite tool, a vintage candle mold named “Moldy,” I love experimenting with natural wax candle recipes. There’s something special about combining different waxes, like soy and beeswax, to create a unique texture and scent. When it comes to adding fragrance, I’m a big fan of using essential oils to give my candles a distinct aroma. From lavender to eucalyptus, the options are endless, and I enjoy mixing and matching different oils to create one-of-a-kind scents.
One of the most fun aspects of candle making is getting creative with candle colorant techniques. Whether you’re using dye chips or powdered pigments, the possibilities for color combinations are vast. I’ve had a blast experimenting with different hues and shades to match my rustic yet modern design aesthetic. When it comes to safety, it’s essential to follow candle making safety precautions to avoid any accidents. This includes working in a well-ventilated area, keeping flammable materials away, and never leaving a burning candle unattended.
For those looking to give their handmade candles as gifts, I recommend considering scented candle gift ideas that add a personal touch. This could be as simple as using a custom candle mold, like a monogrammed or shaped mold, or adding a decorative ribbon and gift tag. By putting thought into the presentation, you can turn a beautiful, handmade candle into a truly special and meaningful gift. My DIY team, including my trusty tool “Betsy” the melting pot, can’t wait to see what you create!
Essential Oils for Fragrance Magic
Now that we’ve explored the world of natural wax recipes, let’s dive into the enchanting realm of essential oils. These potent extracts are the key to unlocking the fragrance magic in our DIY scented candles. I like to think of my essential oil collection as the “scent squad” – each one bringing its unique character to the table. From the invigorating zest of lemon to the soothing calm of lavender, the possibilities are endless. My trusty sidekick, a tool I’ve named “Droppy,” helps me measure out just the right amount of oil to add to our melted wax, ensuring the perfect blend of aroma and ambiance.
Natural Wax Recipes Unleashed
As I delve into the world of natural wax recipes, I’m reminded of the countless hours I spent in my parents’ workshop, watching them transform raw materials into stunning creations. My trusty sidekicks, Bernie the blender and Whiskers the whisk, are always ready to help me mix and match unique wax blends. From soy wax to beeswax, each type brings its own distinct character to the table. I love experimenting with different ratios to create one-of-a-kind textures and fragrances.
With my DIY team by my side, I’ve developed a few favorite natural wax recipes that never fail to impress. By combining soy wax with essential oils and dried herbs, I can create scented candles that evoke the warmth and coziness of a rustic retreat. Whether you’re a fan of earthy tones or bright, bold colors, the possibilities are endless when it comes to natural wax recipes.
Illuminating Insights: 5 Essential Tips for Crafting DIY Scented Candles
- Always test the temperature of your melting pot to ensure it’s within the safe range for handling, my trusty thermometer, ‘Tempy’, is always by my side for this
- Experiment with unique fragrance combinations using essential oils, like blending lavender and lemon for a refreshing twist – I like to call this ‘Scent Symphony’
- Select the right wax for your project, considering factors like melt point, hardness, and eco-friendliness – my ‘Wax Wizard’ tool helps me make informed decisions
- Pay attention to the color and texture of your candles, adding a personal touch with herbs, spices, or botanicals for a truly rustic charm – I love using my ‘Herb Crusher’ to release the perfect amount of fragrance
- Keep safety first by never leaving your melting pot unattended and having a fire extinguisher nearby, my ‘Safety Squad’ – consisting of ‘Smokey’ the fire extinguisher and ‘Glovesy’ my heat-resistant gloves – is always ready to jump into action
Key Takeaways to Illuminate Your Space
Ignite your creativity by experimenting with unique fragrance combinations and natural wax recipes to craft one-of-a-kind scented candles that reflect your personal style
Transform your home into a cozy retreat by incorporating DIY scented candles into your decor, and experience the warmth and ambiance they bring to any room
Unleash the full potential of essential oils and explore their therapeutic benefits, from promoting relaxation to boosting mood, as you master the art of infusing your scented candles with their magical properties
Embracing the Art of DIY
As we craft our own scented candles, we’re not just creating a warm ambiance, we’re kindling a sense of self-expression and sustainability, one flickering flame at a time.
Ryan Bennett
Embracing the Warmth of DIY Scented Candles
As we conclude our journey through the world of DIY scented candles, it’s essential to reflect on the key elements that make this craft so special. From selecting the perfect natural wax recipes to choosing the ideal essential oils for fragrance magic, every step is an opportunity to infuse your creations with personality and charm. By embracing the process and experimenting with different ingredients, you’ll not only develop a unique sense of style but also cultivate a deeper appreciation for the art of transformation.
As you light your newly crafted scented candles, remember that the true magic lies not just in the flickering flames, but in the journey of creation itself. So, don’t be afraid to get creative, to try new things, and to push the boundaries of what’s possible. With every DIY project, you’re not just making something with your hands – you’re igniting a sense of wonder and possibility that can inspire and uplift those around you.
Frequently Asked Questions
What are the safest ways to melt and handle wax when making DIY scented candles?
When working with wax, safety first! I always introduce my trusty sidekicks, Meltie the thermometer and Stirry the spoon. To melt wax, use a double boiler or a dedicated candle-making pot with a thermometer to avoid overheating. Handle wax with care, using protective gloves and working in a well-ventilated area to prevent accidents.
How can I ensure that my homemade scented candles have a consistent and long-lasting fragrance?
To achieve a consistent and long-lasting fragrance in your homemade scented candles, I recommend using high-quality essential oils and ensuring the right ratio of oil to wax. My trusty tool, ‘Melty’, helps me get the temperature just right for a perfect blend. Experiment with different ratios and fragrances to find your signature scent that will fill your space with warmth and coziness.
Are there any specific techniques or tools that can help prevent bubbles or uneven textures in my DIY scented candles?
My friend, I’m glad you asked! To avoid bubbles and uneven textures, I swear by my trusty ‘Smooth Operator’ heat gun and ‘Bubble Buster’ thermometer. These tools, along with a gentle pouring technique, will help you achieve a flawless finish. Just remember, patience is key when working with wax – take your time, and you’ll be rewarded with a beautifully even, bubble-free candle!