


How to Choose the Right Fabric for Diy Thermal Curtains
 March 16, 2026
I still remember the first time I tried to make my own DIY thermal curtains. I was a young interior design student, and I wanted to add a touch of rustic charm to my small apartment. But, as I delved into the world of thermal curtains, I realized that many people believed they had to be boring and plain. Nothing could be further from the truth! With a little creativity and the right tools, you can create beautiful, functional, and energy-efficient curtains that will transform your windows and your entire home.
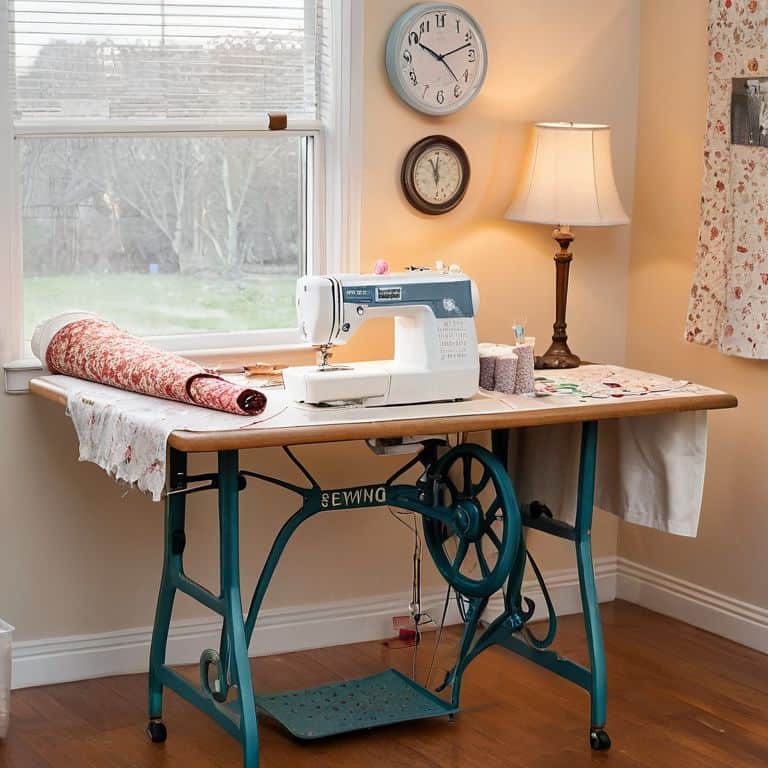
In this article, I’ll share my personal experience and expertise to guide you through the process of making your own DIY thermal curtains. You’ll learn how to choose the right materials, measure your windows, and assemble your curtains with ease. I’ll introduce you to my trusty team, including Betsy the sewing machine and Hammerin’ Harry, who will help us bring this project to life. By the end of this guide, you’ll have the confidence to create your own unique and functional thermal curtains, and you’ll be able to enjoy the cozy warmth and energy savings they provide.
Table of Contents
Guide Overview: What You'll Need
Total Time: 3 hours 30 minutes
Estimated Cost: $50 – $100
Difficulty Level: Intermediate
Tools Required
- Sewing Machine (with thermal or heavy-duty needle)
- Measuring Tape (for accurate measurements)
- Scissors (sharp and dedicated to cutting fabric)
- Iron (with steam function)
- Sewing Gauge (for precise hems)
Supplies & Materials
- Thermal Curtain Fabric (choose a suitable thickness and width)
- Blackout Lining Fabric (optional but recommended for better insulation)
- Curtain Rods (or existing rods that fit your window)
- Rings or Slides (to hang your curtains)
- Thread (to match your fabric color)
- Batt Insulation (for added thermal performance, cut to 6 inches wide strips)
Step-by-Step Instructions
- 1. To start creating your DIY thermal curtains, you’ll need to gather a few essential materials, including thick, thermal curtain fabric, a sewing machine, and my trusty sidekick, a rotary cutter I’ve lovingly named “Bertha”. With these basics, you’ll be well on your way to crafting curtains that not only keep your home cozy but also add a touch of rustic charm to your windows.
- 2. Next, measure your windows to determine the size of your curtains. This is a crucial step, as you want your curtains to fit perfectly and maximize energy efficiency. Take note of the width and length of each window, and don’t forget to consider the style of curtain you’re aiming for – whether it’s a sleek, modern look or a more traditional, flowing design.
- 3. Now it’s time to cut out your fabric using Bertha, my reliable rotary cutter. This is where the magic happens, and your thermal curtains begin to take shape. Make sure to cut two pieces of fabric for each curtain, as you’ll be sewing them together to create a thick, insulating layer.
- 4. With your fabric cut, it’s time to start sewing. My sewing machine, “Stitchy”, is a vital member of my DIY team, and she’s always up to the task. Begin by sewing the two pieces of fabric together, leaving a small opening to turn your curtain right side out. This is an important step, as it will give your curtain a professional finish.
- 5. Once you’ve turned your curtain right side out, press it with an iron to create a crisp, clean fold. This will help your curtain hang smoothly and evenly, and it’s a great opportunity to add any additional details, such as a decorative trim or a subtle pattern.
- 6. Next, you’ll need to add a rod pocket to the top of your curtain. This is a simple but essential step, as it will allow you to easily hang your curtain and adjust it as needed. Use Stitchy to sew a straight line along the top of your curtain, leaving enough room for your curtain rod to slide through.
- 7. Finally, hang your DIY thermal curtains and stand back to admire your handiwork. This is the moment when all your hard work comes together, and you get to enjoy the warm, cozy ambiance of your newly crafted curtains. Don’t forget to share your creations with friends and family, and inspire them to try their hand at DIY thermal curtains as well.
Diy Thermal Curtains Magic
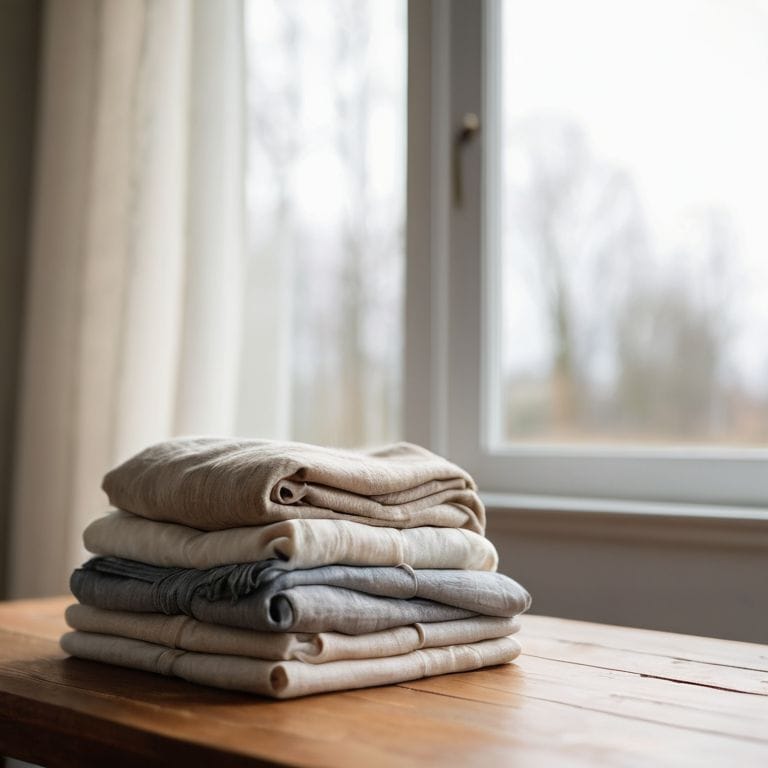
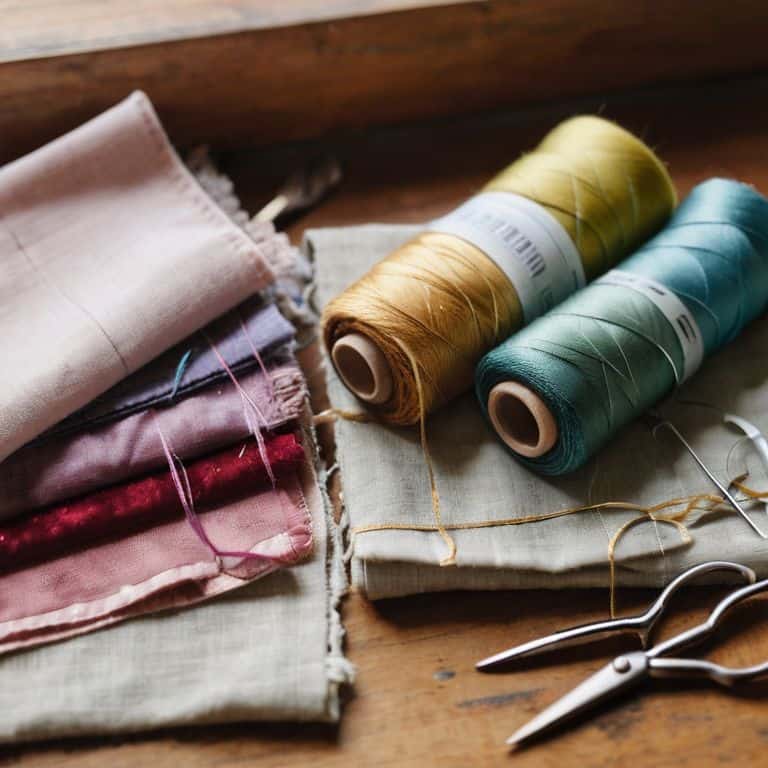
As I delve deeper into the world of thermal curtain lining materials, I’m excited to share some extra tips to enhance your DIY project. One of the most important aspects to consider is the type of fabric you choose for your curtains. Natural fibers like cotton, linen, or wool are excellent options as they provide good insulation and are breathable. When paired with a thermal lining, these fabrics can help keep your home warm in the winter and cool in the summer.
To take your DIY insulated drapes to the next level, consider adding a layer of homemade thermal curtain insulation. This can be as simple as attaching a layer of fleece or thick cotton batting to the back of your curtains. Not only will this provide extra warmth, but it will also help block out any drafts or cold spots. By using energy saving window dressings like these, you can significantly reduce heat loss and keep your energy bills down.
When it comes to choosing the best fabrics for cold weather curtains, I always recommend opting for thick, heavy materials that can withstand the elements. Thermal blackout curtains are a great option as they not only keep your home warm but also block out any harsh light. By combining these fabrics with a thermal lining and some creative DIY skills, you can create beautiful and functional window dressings that will keep your home cozy all year round.
Crafting Energy Saving Window Charm
As I worked on my thermal curtains, I realized that it’s not just about keeping the warmth in, but also about adding a touch of personality to my windows. My trusty DIY team, including my favorite sewing machine, Bertha, and my measuring tape, Marty, helped me bring this vision to life. By choosing the right fabrics and colors, I was able to craft energy-saving window charm that complements my rustic-modern style.
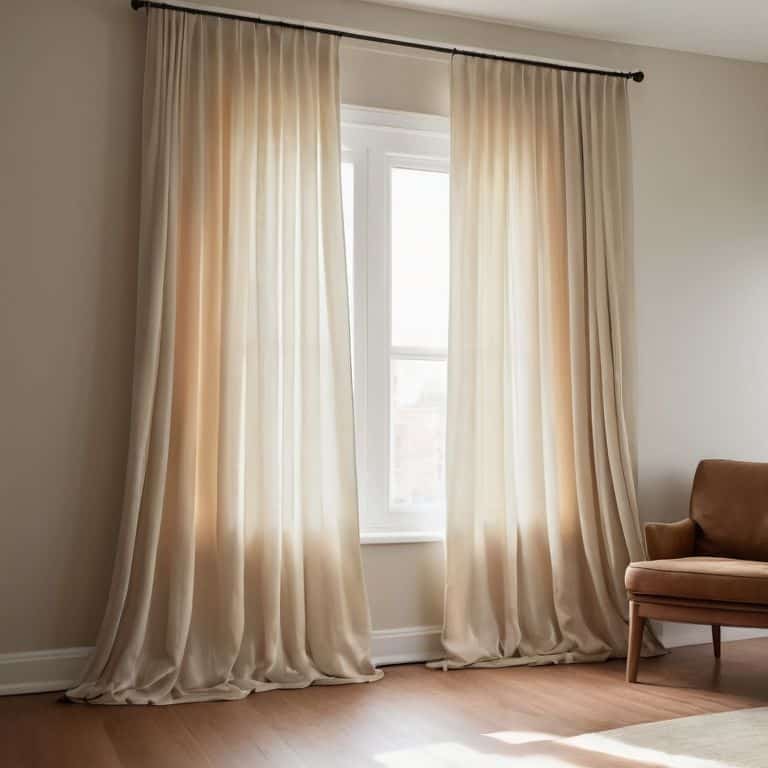
With every stitch and fold, I felt like I was infusing my home with a sense of coziness and character. The thermal curtains have become a statement piece, and I love how they filter the natural light, casting a warm glow over my living space. It’s amazing how something as simple as a curtain can transform the ambiance of a room, and I’m excited to share more of my DIY adventures with you.
Weaving Warmth With Thermal Linings
As I delve deeper into the world of DIY thermal curtains, I’m excited to share with you the magic of thermal linings. My trusty sidekick, a vintage sewing machine I’ve named “Stitch,” and I have been experimenting with various materials to create the perfect blend of warmth and style. From plush cotton to rich velvet, the right lining can elevate your thermal curtains from functional to fabulous.
With my DIY team by my side, including “Measurella” my tape measure and “Cutty” my scissors, we’ve been crafting thermal linings that not only keep the chill out but also add a touch of rustic charm to any room. By choosing the right fabric and adding a few decorative touches, you can create a cozy and inviting atmosphere that’s perfect for snuggling up on cold winter nights.
Thermal Curtain Hacks: 5 Essential Tips to Get You Started
- Measure Twice, Cut Once: Accurate measurements are crucial for a perfect fit, so make sure to measure your windows multiple times before cutting your thermal curtain fabric
- Choose the Right Fabric: Select a thermal curtain fabric that’s not only energy-efficient but also complements your home’s rustic charm – I personally love working with vintage-inspired textiles
- Add a Touch of Rustic Charm: Incorporate natural elements like wooden dowels or antique hooks to add a touch of rustic charm to your DIY thermal curtains – my trusty drill, ‘Bertha’, loves helping me with this part
- Don’t Forget the Lining: A good thermal lining can make all the difference in keeping your home cozy – I like to use a combination of vintage sheets and modern thermal linings for a unique look
- Get Creative with Hardware: Instead of using traditional curtain rods, try upcycling old wooden ladders or vintage pipes to create a one-of-a-kind look that showcases your DIY personality – my ‘DIY team’ of tools, including ‘Sawyer’ the saw, can’t wait to help you get creative
Key Takeaways for Your DIY Thermal Curtains Project
I’ve learned that with a little creativity, you can transform your windows into cozy, energy-efficient havens using thermal curtains made from upcycled materials, adding a touch of rustic charm to your home
By incorporating thermal linings and clever crafting techniques, you can significantly reduce heat loss and keep your home warm during the colder months, all while showcasing your unique sense of style
Remember, the true magic of DIY thermal curtains lies not just in their functionality, but in the opportunity to reimagine and breathe new life into discarded items, making each project a reflection of your personality and creativity, with the help of my trusty DIY team, of course
Warmth from Scratch
As I always say, DIY thermal curtains are more than just a layer of fabric – they’re a testament to the transformative power of creativity, where the ordinary becomes extraordinary and the cold becomes cozy, one stitch at a time.
Ryan Bennett
Wrapping Up Your Cozy DIY Project
As we conclude this journey of creating DIY thermal curtains, let’s recap the key points that have brought us to this moment. From choosing the perfect fabric to mastering the art of weaving warmth with thermal linings, we’ve explored the magic of transformation that occurs when you combine rustic charm with modern design. My trusty DIY team, including my beloved tools, Betsy the sewing machine and Sammy the staple gun, have been instrumental in helping me bring this project to life. By following these steps and adding your own personal touch, you’ve not only created a functional piece of home decor but also a testament to the beauty of upcycling.
As you stand back to admire your handiwork, remember that the true beauty of DIY projects lies not just in the end result, but in the journey of creation itself. So, don’t be afraid to experiment, to try new things, and to push the boundaries of what’s possible with everyday items. With a little patience, a lot of love, and a willingness to see the potential in discarded items, you can create something truly unique and special. Happy crafting, and I look forward to seeing what you create next!
Frequently Asked Questions
How do I measure my windows to ensure a perfect fit for my DIY thermal curtains?
Measuring your windows is a breeze, folks. I use my trusty sidekick, ‘Tapey’ the tape measure, to get the job done. Simply measure the width and length of your window, taking note of any obstacles like handles or locks. Don’t forget to double-check your measurements, and you’ll be well on your way to crafting thermal curtains that fit like a charm.
What type of fabric is best suited for thermal curtains to maximize energy efficiency?
For maximum energy efficiency, I recommend using thick, heavy fabrics like velvet, fleece, or thermal-lined cotton for your DIY thermal curtains. My trusty sidekick, ‘Sawyer’ the sewing machine, and I just love working with these materials – they’re perfect for keeping the chill out and the warmth in!
Can I use existing curtains and add a thermal lining, or is it better to start from scratch with new materials?
I love repurposing old favorites. You can definitely breathe new life into existing curtains by adding a thermal lining. My trusty sidekick, a sewing machine I’ve named Bertha, can help you attach the lining with ease. Just ensure the fabric and lining are compatible, and you’re good to go!