


The Ultimate Guide to Diy Home Insulation for a Warmer Winter
 May 14, 2025
I still remember the winter I spent in my first apartment, freezing my toes off because I thought DIY home insulation was a job for the pros. But, as I soon discovered, that’s a common myth – with the right tools and a bit of know-how, anyone can make their home cozier and more energy-efficient. My trusty sidekicks, Betsy the blowtorch and Sammy the sealant gun, have helped me tackle countless insulation projects, and I’m excited to share my favorite tips and tricks with you.
In this article, I’ll walk you through the simple, cost-effective ways to improve your home’s insulation, from sealing air leaks to choosing the right materials for the job. You won’t find any fancy jargon or expensive solutions here – just honest, practical advice from someone who’s been in your shoes. By the end of this guide, you’ll be equipped with the knowledge to take on your own DIY home insulation project and start enjoying a warmer, more comfortable living space. So, grab a cup of coffee, get ready to meet the rest of my DIY team, and let’s get started on this journey to a cozier, more energy-efficient home.
Table of Contents
Guide Overview: What You'll Need
Total Time: 4 hours 30 minutes
Estimated Cost: $200 – $500
Difficulty Level: Intermediate
Tools Required
- Utility Knife (with extra blades)
- Drill (with screwdriver and drill bits)
- Measuring Tape
- Staple Gun (with extra staples)
- Ladder (6 feet or higher)
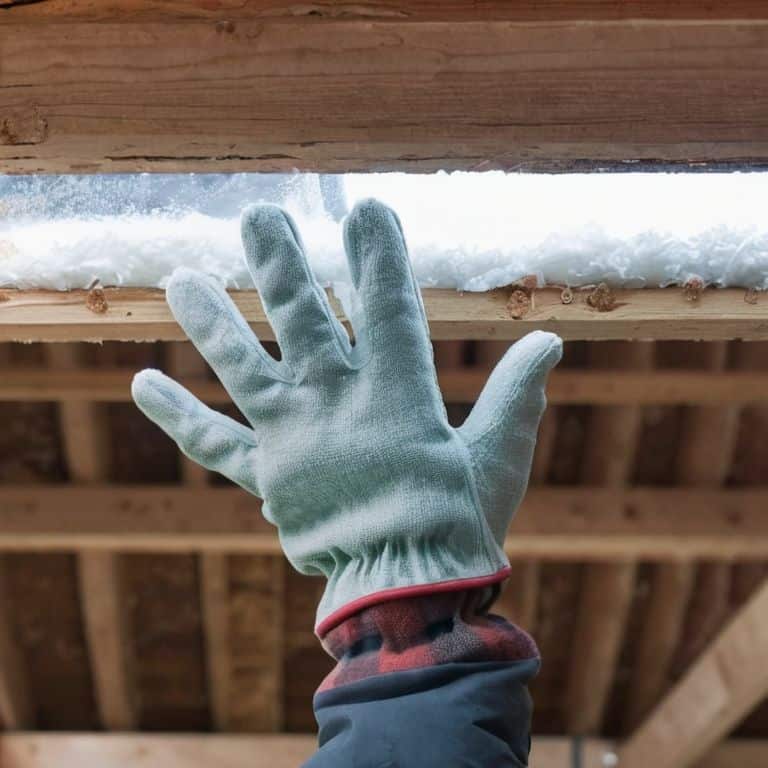
- Gloves (insulation handling)
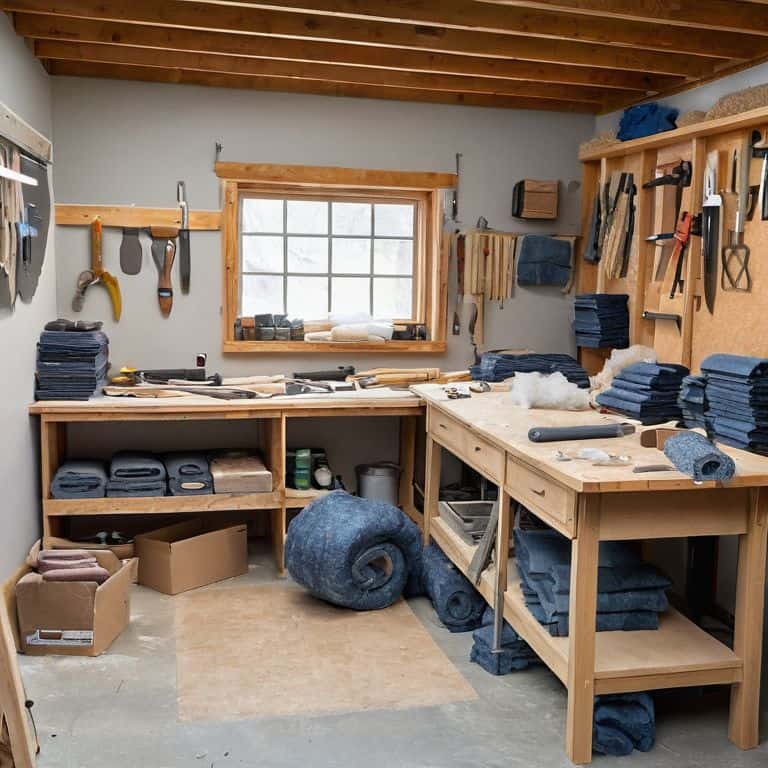
Supplies & Materials
- Fiberglass Batt Insulation (12 inches x 24 inches x 6 inches thick)
- Reflective Insulation ( rolls of 25 feet x 4 feet )
- 2-in x 4-in lumber (for framing and support)
- Insulation Fasteners (staples or nails)
- Weatherproof Tape (for sealing gaps and seams)
- Face Mask (for protecting against insulation fibers)
Step-by-Step Instructions
- 1. First, let’s get started with the fun part – gathering our materials. We’ll need some basic tools like a putty knife, a drill, and a staple gun, which I affectionately refer to as Bertha, my trusty sidekick. Make sure you have all the necessary materials, including insulation, a mask, and some old clothes to protect yourself from the mess.
- 2. Next, we need to prepare the area by clearing out any clutter or obstacles. This will give us a clean slate to work with and prevent any accidents. I like to think of this step as setting the stage for my DIY team, including my drill, Derek, and my putty knife, Paula, to do their magic.
- 3. Now it’s time to inspect for gaps and cracks. This is where the magic happens, and we get to use our problem-solving skills to identify areas where heat might be escaping. Use a candle or a stick of incense to detect any air leaks, and mark them with a piece of chalk so you can come back to them later.
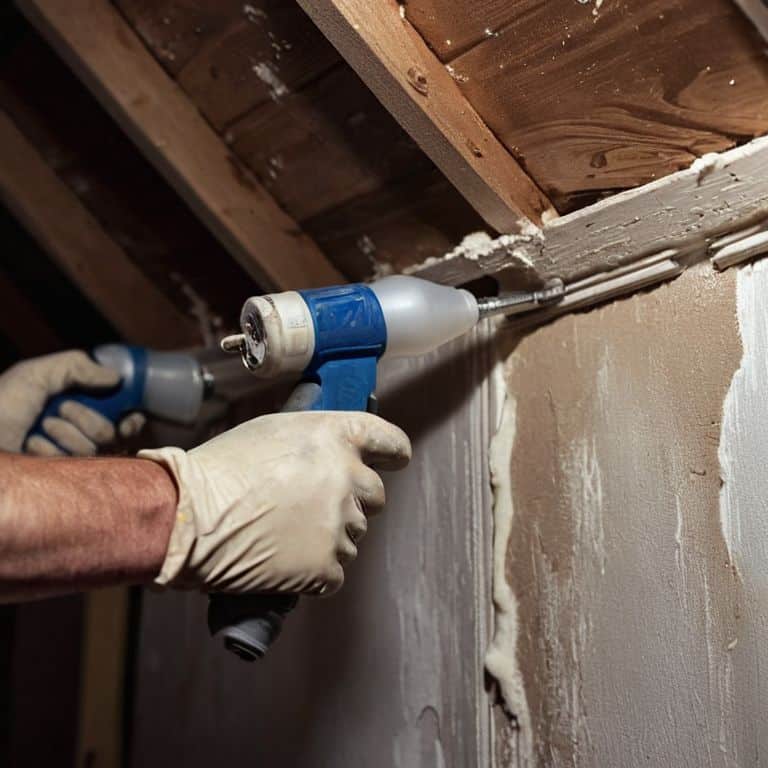
- 4. With our problem areas identified, it’s time to seal those gaps. Use some caulk or spray foam to fill in the cracks, and make sure to wear your mask to avoid inhaling any fumes. My caulk gun, Carl, is a superstar when it comes to this step, and I always make sure to give him a good cleaning after the job is done.
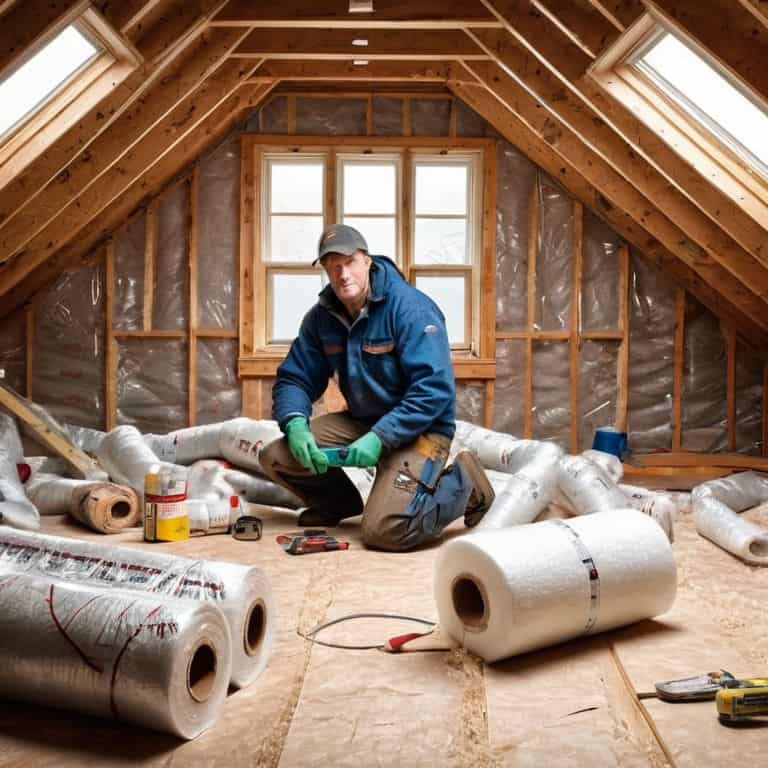
- 5. Once we’ve sealed all the gaps, it’s time to install the insulation. This can be a bit of a messy process, but trust me, it’s worth it. Use your staple gun, Bertha, to secure the insulation in place, and make sure to wear some gloves to protect your hands from the fiberglass.
- 6. As we’re installing the insulation, let’s not forget to check for any electrical outlets or switches. We need to make sure we’re not covering up any important components, and that we’re leaving enough space for them to function properly. My trusty voltage tester, Vera, is always by my side to help me detect any potential hazards.
- 7. Finally, let’s add some finishing touches. Use some drywall or plywood to cover up any exposed insulation, and paint or stain it to match the rest of your walls. This is where we get to see the fruits of our labor, and admire our handiwork. My paintbrush, Penelope, is always up for the task, and I love watching her bring our DIY projects to life.
Mastering Diy Home Insulation
As I delve deeper into the world of DIY insulation, I’ve come to realize the importance of choosing the right materials. For instance, fiberglass free insulation options are not only better for the environment, but they also provide a safer alternative for those with sensitive skin. My trusty team of tools, including my favorite hammer, Bertha, and my utility knife, Whiskers, have been instrumental in helping me navigate the various types of insulation available.
When it comes to insulating attic spaces, I’ve found that reflective insulation materials can be a game-changer. These materials help to reflect heat rather than absorb it, keeping your home cool in the summer and warm in the winter. I’ve had great success with these materials in my own DIY projects, and I highly recommend giving them a try. Plus, they’re often more eco-friendly than traditional insulation methods, which is a big plus in my book.
In colder climates, it’s essential to choose insulation that can withstand the harsh temperatures. I’ve had great results with soundproofing insulation techniques, which not only keep the cold out but also help to reduce noise pollution. By using a combination of these methods and materials, you can create a warm and cozy home that’s also kind to the environment. With a little creativity and the right tools, you can transform your space and make it a haven from the outside world.
Eco Friendly Insulation Methods
As I delve into the world of eco-friendly insulation methods, I’m reminded of my trusty sidekick, “Sandy the Saw,” who helps me repurpose old materials into something truly special. One of my favorite approaches is using recycled denim as insulation. Not only is it a great way to reduce waste, but it’s also incredibly effective at keeping your home warm in the winter and cool in the summer. My drill, “Daisy,” loves helping me get into tight spaces to ensure a snug fit.
I also love exploring natural fiber options like wool and hemp. These materials are not only sustainable but also provide excellent insulation properties. With my “DIY team” by my side, including “Manny the Mask” who keeps me safe from dust, I can confidently tackle any eco-friendly insulation project that comes my way.
Unleashing Fiberglass Free Options
As I dive deeper into the world of DIY home insulation, I’m excited to share my favorite fiberglass-free options. My trusty sidekick, a utility knife I’ve named “Stan,” has been instrumental in helping me explore these alternatives. From recycled denim to natural wool, there are plenty of eco-friendly materials that can help keep your home cozy without the itch. I’ve also been experimenting with DIY insulation made from old newspapers and cardboard, which not only reduces waste but also adds a touch of rustic charm to any room.
My DIY team, including “Sawyer” the circular saw and “Drilliam” the drill, have been working overtime to help me test these innovative materials. The results are nothing short of amazing, and I’m eager to share my findings with you. Whether you’re a seasoned DIY enthusiast or just starting out, these fiberglass-free options are definitely worth considering.
Sealing the Deal: 5 Essential DIY Home Insulation Tips
- Get to know your home’s weak spots: Start by identifying areas where cold air is sneaking in and warm air is escaping – it’s time to introduce my trusty sidekick, ‘Thermy’ the thermometer, to help you detect those sneaky temperature fluctuations!
- Repurpose and reuse: Think outside the box (or in this case, the wall) and consider repurposing old materials like denim or recycled paper to create your own insulation – my ‘Green Machine’ shredder is perfect for turning old textiles into eco-friendly insulation
- Don’t forget the little things: Sealing small gaps and cracks around windows, doors, and electrical outlets can make a huge difference in your home’s overall energy efficiency – that’s where my ‘Sealy’ sealant gun comes in handy
- Insulate from the inside out: Focus on insulating your home’s interior surfaces, like walls and ceilings, to maximize energy efficiency and minimize heat loss – my ‘Fibro’ fiberglass-free insulation is a game-changer for this
- Call in the reinforcements: If you’re not comfortable with certain aspects of DIY home insulation, don’t be afraid to enlist the help of a professional or a handy friend – after all, my ‘Drilly’ drill and I can only do so much on our own!
Key Takeaways for a Cozy and Eco-Friendly Home
Repurpose old materials to create effective DIY insulation solutions, reducing waste and adding a personal touch to your home decor
Explore fiberglass-free options and eco-friendly insulation methods to create a healthier and more sustainable living space
By embracing DIY home insulation, you’ll not only save energy and money, but also unleash your creativity and develop a sense of pride in your handmade home improvements
Wrapping Your Home in Warmth
As I always say, the best insulation is the kind that wraps your home in warmth, not just from the outside in, but from the inside out – where every repurposed material, every sealed air leak, and every DIY touch tells a story of love, care, and a deep connection to the space we call home.
Ryan Bennett
Wrapping Up Your DIY Insulation Journey
As we’ve explored the world of DIY home insulation together, I hope you’ve gained a deeper understanding of the importance of a well-insulated home. From the main step-by-step instructions to mastering DIY home insulation and uncovering eco-friendly insulation methods, we’ve covered it all. Remember, the key to a successful DIY insulation project is to take your time, be patient, and don’t be afraid to get creative with reclaimed materials. By following these tips and tricks, you’ll not only be saving energy and reducing your carbon footprint, but you’ll also be adding a personal touch to your home.
As you finish your DIY insulation project, I want to leave you with a final thought: the power to transform your space is in your hands. Don’t be limited by what you think is possible – instead, unleash your inner DIY enthusiast and watch your home come alive with warmth, character, and a sense of pride that only comes from creating something with your own two hands. So go ahead, get inspired, and keep on crafting – your home, and the planet, will thank you!
Frequently Asked Questions
What are the most effective materials to use for DIY home insulation in a cold climate?
For a cold climate, I swear by my trusty DIY team, including Bernie the blowtorch and Sammy the staple gun. Effective materials include recycled denim insulation, which is eco-friendly and has a high R-value, and rigid foam board insulation, which provides a great thermal barrier.
How can I ensure a safe and proper installation of DIY insulation to avoid any health risks or damage to my home?
When it comes to safe installation, my friend, it’s all about prep work and attention to detail. Make sure to wear protective gear, like gloves and a mask, and seal any gaps or cracks before adding insulation. My trusty sidekick, ‘Sandy the Sealant Gun,’ is a lifesaver for this step. Follow the manufacturer’s instructions, and don’t be afraid to consult a pro if you’re unsure – better safe than sorry!
Are there any specific DIY insulation methods that can help reduce noise pollution in addition to improving energy efficiency?
I’m glad you asked – my trusty DIY team, including my favorite drill, Bertha, and saw, Sammy, helped me discover some awesome noise-reducing insulation methods, like using recycled denim or cellulose fiber, which not only keep your home cozy but also quiet!