


Upcycling Old Furniture: Transforming Pieces for a Cozy Vibe
 August 31, 2025

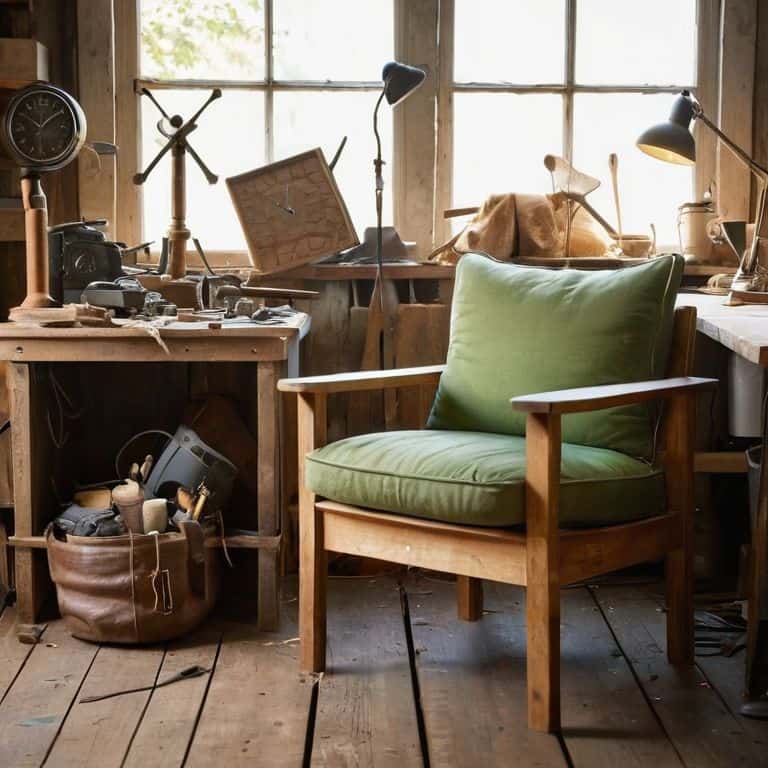
I still remember the thrill of transforming my grandma’s old armchair into a one-of-a-kind planter – it’s amazing how a little creativity can breathe new life into something destined for the dumpster, don’t you think? This experience sparked my passion for upcycling old furniture, and I’ve been hooked ever since. There’s a common misconception that upcycling is only for those with a lot of time and money to spare, but I’m here to tell you that’s just not true. With the right mindset and a few trusty tools – like my favorite sanding block, Bertha, and my drill, Daisy – you can create something truly unique and beautiful.
In this article, I’ll share my honest, no-hype advice on how to get started with upcycling old furniture. I’ll walk you through the process of finding the perfect piece, preparing it for transformation, and bringing your vision to life. You’ll learn how to breathe new life into old, forgotten items and create something that reflects your personal style. Whether you’re a seasoned DIY enthusiast or just starting out, I’ll provide you with the practical tips and inspiration you need to succeed. So, let’s get started and turn some trash into treasure!
Table of Contents
- Guide Overview: What You'll Need
- Step-by-Step Instructions
- Upcycling Old Furniture
- From Flea Market Finds to Masterpieces: My Top 5 Tips for Upcycling Old Furniture
- Key Takeaways from Upcycling Old Furniture
- Breathing New Life
- From Discard to Divine: The Magic of Upcycling
- Frequently Asked Questions
Guide Overview: What You'll Need
Total Time: 2 hours 30 minutes
Estimated Cost: $50 – $100
Difficulty Level: Intermediate
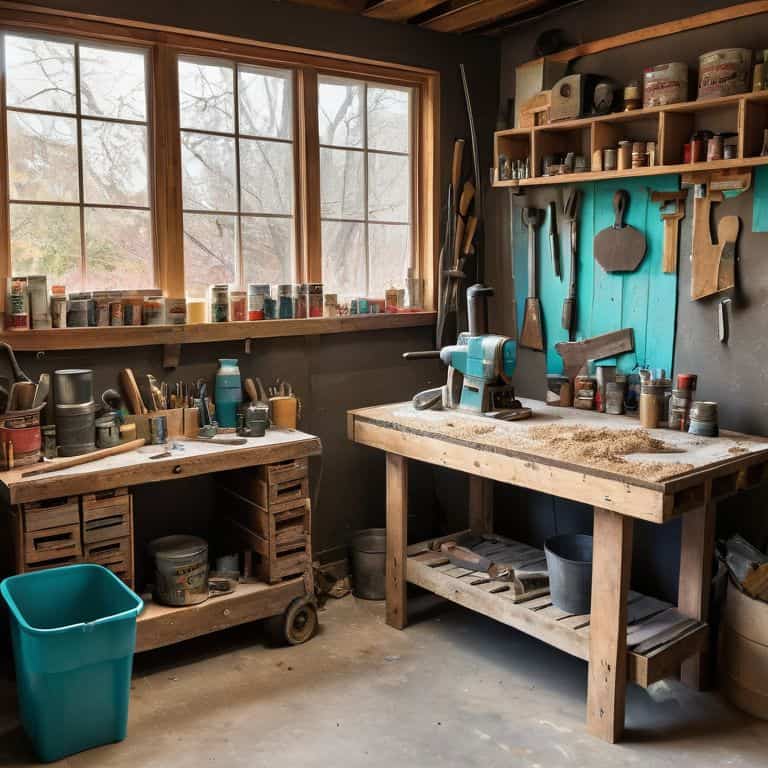
Tools Required
- Sandpaper (various grits)
- Paintbrush (1 inch and 2 inch wide)
- Drill (with screwdriver and drill bits)
- Measuring Tape (for measuring 6 inches, 12 inches, etc.)
- Clamp (for holding pieces together, up to 6 inches wide)
- Safety Glasses (for protecting eyes from debris)
Supplies & Materials
- Wood Stain (optional, for 1 gallon coverage)
- Paint (optional, for 1 quart coverage)
- 2-in x 4-in lumber (for reinforcing, cut to 8 feet or 10 feet lengths)
- Wood Filler (for filling holes, approximately 1 pound)
- Decorative Hardware (e.g., knobs, handles, for adding a personal touch)
Step-by-Step Instructions
- 1. First, let’s start with gathering our materials, which includes the old furniture piece we want to upcycle, my trusty DIY team – consisting of Sammy the sander, Vera the varnish brush, and Max the measuring tape – and any additional decorative items we want to incorporate, such as paint, fabric, or metal accents. I like to think of this step as the foundation of our project, where we get to know our piece and envision its potential.
- 2. Next, we need to assess the condition of our furniture piece, looking for any damage, wear, or tear that needs to be addressed before we can start the upcycling process. This is where my DIY team comes in handy, as we use Sammy to sand down rough surfaces, and Max to measure and mark any areas that need repair. It’s also a good idea to take before photos, so we can track our progress and see how far our piece has come.
- 3. Now it’s time to get creative and think about the overall aesthetic we want to achieve with our upcycled furniture piece. Do we want to maintain its original rustic charm, or give it a more modern twist? This is where we can let our imagination run wild, browsing through design books, online tutorials, or social media for inspiration. I often find myself drawn to unique color combinations and unconventional materials, which can add an extra layer of personality to our piece.
- 4. With our design concept in mind, we can start disassembling the piece, if necessary, to make any repairs or modifications. This is where things can get a bit messy, but it’s also an exciting part of the process, as we get to see our furniture piece in a whole new light. My DIY team is always by my side, with Vera the varnish brush helping to restore the original finish, and Max the measuring tape ensuring that all the parts fit back together seamlessly.
- 5. Once we’ve made any necessary repairs, it’s time to add our decorative touches, which can range from a fresh coat of paint to new upholstery or hardware. This is where we can really let our personality shine, experimenting with different textures, patterns, and colors to create a one-of-a-kind look. I love using natural materials like wood, stone, or plants to add warmth and depth to our piece.
- 6. As we near the end of our upcycling journey, we need to apply a protective finish to our furniture piece, to ensure it withstands the test of time. This can be a clear varnish, a wax coating, or even a decorative glaze, depending on the look we’re going for. My DIY team is always on hand to help with this step, with Vera applying a smooth, even coat, and Sammy buffing it to a warm sheen.
- 7. Finally, we get to enjoy our finished piece, and admire the fruits of our labor. This is the most rewarding part of the upcycling process, as we get to see our vision come to life, and know that we’ve created something truly unique and special. Whether it’s a vintage armchair turned planter, or a reclaimed wood coffee table, our upcycled furniture piece is now ready to take its place in our home, and tell its own story of transformation and renewal.
Upcycling Old Furniture
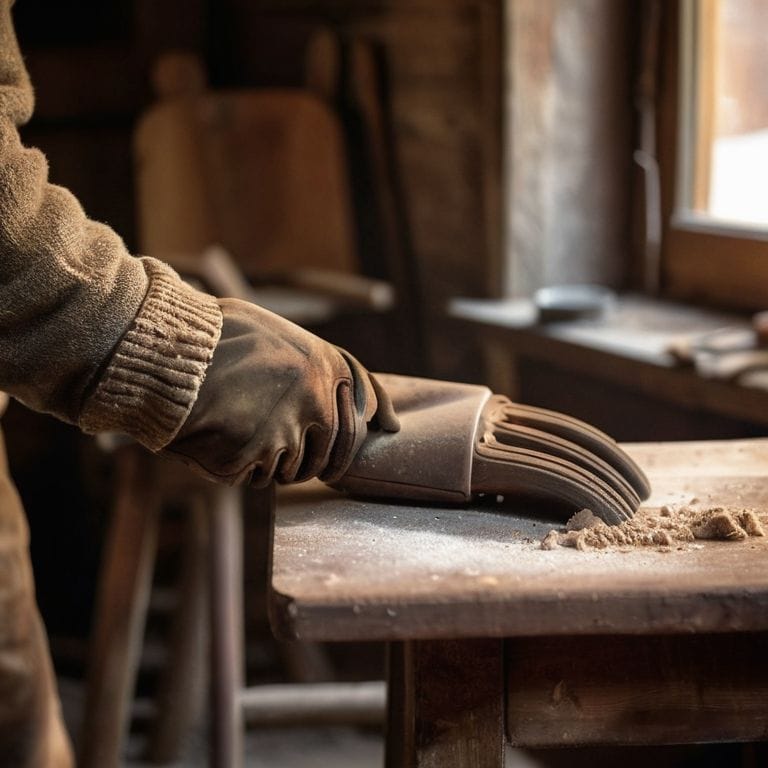
As I delve into the world of giving new life to discarded items, I’ve come to realize that furniture restoration techniques can be a game-changer. It’s not just about slapping a fresh coat of paint on an old piece; it’s about understanding the story behind it and enhancing its natural beauty. My trusty sidekick, a vintage sanding tool I’ve named “Sandy,” has been instrumental in helping me uncover the hidden charm of forgotten furniture.
I’ve also had the chance to experiment with creative reuse of old drawers, transforming them into quirky planters or storage units that add a touch of personality to any room. This approach not only reduces waste but also allows me to tap into my imagination, thinking outside the box to come up with unique solutions. Whether it’s repurposing old pallets or breathing new life into a vintage armchair, the possibilities are endless, and it’s this creative freedom that I find truly inspiring.
In my journey as a DIY blogger, I’ve learned that the key to a successful sustainable furniture makeover lies in striking a balance between rustic charm and modern design. It’s about embracing the imperfections of the past while incorporating elements that make a piece functional and relevant in today’s world. With the right mindset and a bit of creativity, anyone can turn trash into treasure, creating eco-friendly decor ideas that not only tell a story but also contribute to a more sustainable future.
Eco Friendly Decor via Furniture Restoration
As I work on restoring old furniture, I’m reminded of the significant impact it has on reducing waste and promoting eco-friendly decor. My trusty tool, “Sandy the Sander,” helps me strip away old finishes, revealing the beautiful wood beneath. By giving new life to discarded pieces, we’re not only creating unique decor but also decreasing the demand for new, resource-intensive furniture. It’s a small step towards a more sustainable future, and one that I’m passionate about sharing with my DIY community.
I’ve seen firsthand how a refreshed piece of furniture can transform a room, adding character and warmth to a space. Whether it’s a vintage dresser or a worn armchair, each item has a story to tell and a new purpose to fulfill. By embracing furniture restoration, we’re embracing a more mindful approach to consumption and decor, one that values history, craftsmanship, and the environment.
Repurposing Old Pallets With Ease
I just love working with old pallets – they’re like a blank canvas waiting for some creativity. My trusty tool, “Sawyer” the circular saw, and I have transformed countless pallets into unique pieces, from coffee tables to planters. The key to repurposing old pallets is to see beyond their original purpose and envision the potential in their weathered wood. With a little sanding and some imagination, you can turn a discarded pallet into a one-of-a-kind decorative piece that adds a touch of rustic charm to any room. My DIY team, including “Drilly” the drill and “Sandie” the sander, always get a workout when we’re working with pallets.
From Flea Market Finds to Masterpieces: My Top 5 Tips for Upcycling Old Furniture
- Give Your Tools a Personality: I like to think that my trusty DIY team, including my drill ‘Bertha’ and my sandpaper ‘Sandy’, bring a personal touch to each project – it’s amazing how naming your tools can make the process more enjoyable and help you connect with the materials
- Look Beyond the Surface: When I’m scouring thrift stores or estate sales for hidden gems, I try to envision the potential in each piece, rather than its current state – a little imagination can go a long way in uncovering the perfect upcycling candidate
- Mix and Match Styles: I love combining rustic elements with modern twists, like pairing reclaimed wood with sleek metal accents – the key is to find a balance that creates a unique, eye-catching piece
- Don’t Be Afraid to Get Creative with Materials: I once turned an old ladder into a quirky bookshelf, and it’s now one of my favorite pieces in my home – remember, upcycling is all about thinking outside the box and experimenting with unconventional materials
- Add a Personal Touch: Whether it’s a handmade ceramic knob or a vintage fabric upholstery, adding a personal touch can elevate your upcycled piece from ordinary to extraordinary – I like to think that these small details are what make each project truly special and reflective of my own style
Key Takeaways from Upcycling Old Furniture
I’ve learned that with a little creativity, even the most discarded items can be transformed into unique and functional pieces, like my grandma’s old armchair turned planter
By repurposing old pallets and restoring vintage furniture, we not only reduce waste but also add a touch of rustic charm to our homes, making each space truly one-of-a-kind
My trusty DIY team, including my favorite tools – Bertha the drill, Sammy the sander, and Max the measuring tape – have been instrumental in helping me bring new life to old furniture, and I hope they’ll inspire you to do the same
Breathing New Life
Upcycling old furniture is not just about giving new life to discarded pieces, it’s about telling the story of where they’ve been and where they’re going – with every brush stroke, every hammer swing, and every creative twist, we’re not just restoring wood, we’re reviving memories.
Ryan Bennett
From Discard to Divine: The Magic of Upcycling
As I look back on our journey of upcycling old furniture, I’m reminded of the endless possibilities that lie within the discarded and forgotten. We’ve explored the world of repurposing old pallets, breathed new life into vintage pieces through eco-friendly restoration, and delved into the creative process of transforming trash into treasure. My DIY team, including my trusty sidekicks, ‘Sawyer’ the saw and ‘Drilly’ the drill, have been instrumental in helping me bring these projects to life. The key to successful upcycling is to see beyond the surface level, to envision the hidden potential that awaits uncovering.
As you embark on your own upcycling adventures, remember that it’s not just about giving old furniture a new lease on life – it’s about reimagining the world around us. Every piece of restored furniture is a testament to the human spirit’s capacity for creativity and innovation. So, don’t be afraid to get your hands dirty, to experiment, and to push the boundaries of what’s possible. With a little patience, imagination, and elbow grease, you’ll be amazed at the beautiful transformations that can occur. And who knows, you might just discover a new passion, one that will inspire you to see the world in a whole new light, where discarded items become treasures waiting to be unearthed.
Frequently Asked Questions
What are some common mistakes to avoid when upcycling old furniture?
I’ve learned from my own mistakes that rushing the sanding process and not properly cleaning the piece before painting can lead to a less-than-stellar finish. My trusty sidekick, a sanding block I’ve named Sandy, has helped me smooth out many a rough spot – but even Sandy can’t fix a sloppy prep job!
How do I determine the best new purpose for an old piece of furniture?
For me, it’s all about getting to know the piece – its history, its quirks, and its potential. I introduce myself to the furniture, and then to my DIY team, including Bertha my trusty sander and Sammy my soldering iron. Together, we assess its condition, shape, and size to envision a new life, whether as a statement piece or a functional item.
What are some essential tools I need to get started with upcycling old furniture?
My DIY team is ready to help! To get started, you’ll need the essentials: a trusty hammer (I call him Hank), a tape measure (Terry), a sander (Sally), and a drill (Daisy). These guys will be your best friends in transforming old furniture into unique pieces.