


Diy Vertical Garden Structures: Tips and Materials
 November 9, 2025
As I stand amidst my DIY vertical garden structures, surrounded by the lush greenery of my Oregon-inspired oasis, I’m reminded of a common misconception: that creating such a haven is a daunting, impossible task for those with limited space. But the truth is, with a little creativity and some well-loved garden tools – like my trusty friend, “Pruner Pete” – anyone can bring a slice of natural serenity into their lives. I’ve seen it time and time again, from my childhood on the organic farm to my current work as an ecological garden designer: vertical gardens can thrive in even the smallest of spaces, and they’re a fantastic way to optimize your area while promoting environmental sustainability.
In this article, I promise to share my honest, no-nonsense advice on how to craft your own DIY vertical garden structures, from choosing the perfect plants to constructing the framework. I’ll walk you through the process, step by step, just as I would with a friend working in my garden alongside me. By the end of this guide, you’ll be equipped with the knowledge and confidence to create your own thriving vertical Eden, complete with living layers that will bring you joy and peace for years to come. So, let’s get started on this journey together, and watch your space transform into a vibrant, ecological haven.
Table of Contents
- Guide Overview: What You'll Need
- Step-by-Step Instructions
- Crafting Diy Vertical Garden Structures
- Cultivating Wisdom: 5 Essential Tips for Thriving DIY Vertical Gardens
- Cultivating Wisdom: 3 Key Takeaways for Your DIY Vertical Garden
- Cultivating Wisdom
- Cultivating Life, One Layer at a Time
- Frequently Asked Questions
Guide Overview: What You'll Need
Total Time: 4 hours 30 minutes
Estimated Cost: $50 – $100
Difficulty Level: Intermediate
Tools Required
- Drill (with screwdriver and drill bits)
- Hammer
- Tape measure
- Level
- Pencil and marker
Supplies & Materials
- 2-in x 6-in lumber for frame
- Wood screws 1 inch and 2 inches long
- Weather-resistant wood glue
- Soil and plants for garden
- Irrigation system optional
- Wood finish or sealant optional
Step-by-Step Instructions
- 1. To begin our journey in crafting a stunning DIY vertical garden, let’s start by gathering our materials. I like to think of this step as preparing for a hike, where every tool and supply is meticulously chosen to ensure a successful adventure. My trusty garden tool, “Terra the Trowel,” always seems to perform better when I give her a gentle cleaning and a few words of encouragement before we start. For our vertical garden, we’ll need a few essential items: a wooden or metal frame, a waterproof material for the backing, some sturdy wire or twine, and of course, a variety of plants that thrive in vertical conditions.
- 2. Next, we’ll need to design our layout, taking into consideration the space where our garden will reside and the types of plants we’ve chosen. This is the part where my experience as an ecological garden designer comes into play, thinking about the harmony between plants and how they’ll grow together in a vertical setting. I find inspiration in the natural landscapes I’ve hiked through, imagining how the plants will cascade down the structure like a miniature waterfall. It’s essential to leave enough space between each plant for proper growth and air circulation, ensuring our garden remains healthy and vibrant.
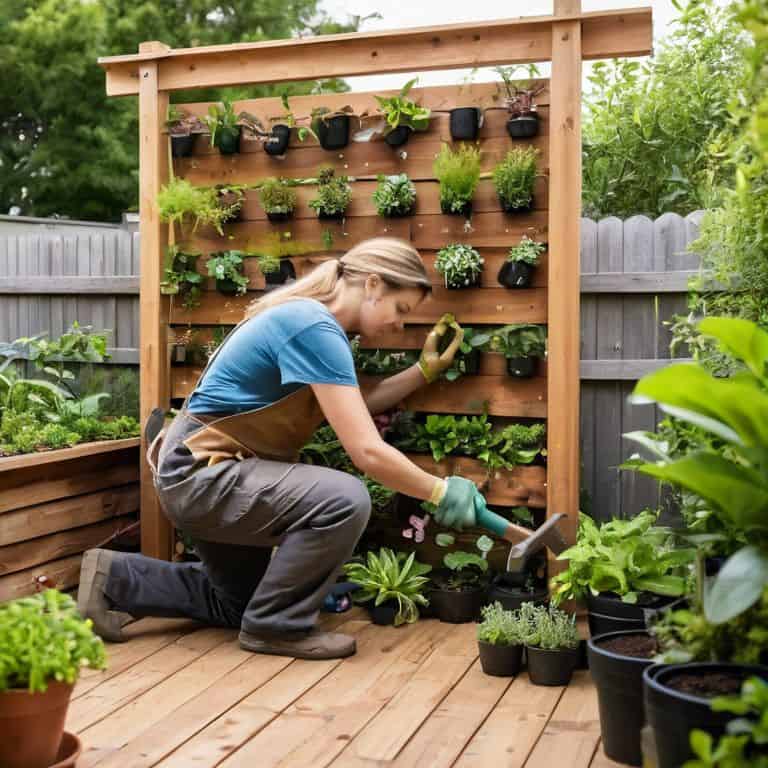
- 3. Now, let’s prepare the structure by attaching the waterproof backing to the frame. This is a crucial step, as it will prevent water from seeping behind the plants and causing damage to the wall or frame. I use my reliable drill, “Daisy,” for this task, making sure to drill slowly and carefully to avoid any mistakes. With the backing securely in place, we can start thinking about the drainage system, which is vital for the health of our plants. A good rule of thumb is to include a slight incline to allow excess water to drain off easily.
- 4. It’s time to start adding our plants, and this is where the magic begins. I carefully remove each plant from its pot, gently teasing out the roots with “Luna the Transplanter” to encourage them to grow outward. Then, I place the plant into its designated spot on the vertical garden, securing it with some wire or twine. As I work, I imagine the biodiversity of our little garden, how each plant will attract different pollinators and create a thriving ecosystem. This step requires patience, but the end result is well worth the effort.
- 5. With all our plants in place, we can now focus on adding the finishing touches. This might include adding some decorative elements, like small stones or pieces of driftwood, to give our garden a personal touch. I also make sure to leave some space for future growth, knowing that our plants will continue to thrive and spread over time. As I step back to admire our handiwork, I feel a sense of pride and accomplishment, knowing that we’ve created something truly special – a vertical oasis that will bring joy and serenity to all who see it.
- 6. As our garden begins to flourish, it’s essential to maintain and nurture it regularly. This includes watering, fertilizing, and pruning our plants to keep them healthy and looking their best. I’ve named my watering can “Rainy,” and I find that she seems to distribute the water more evenly when I’m in a calm and peaceful state of mind. It’s also important to monitor for pests and diseases, taking action quickly if we notice any issues. By staying on top of maintenance, we can ensure our vertical garden remains a haven of biodiversity for years to come.
- 7. Finally, let’s not forget to enjoy and appreciate our beautiful DIY vertical garden. Whether it’s placed in a small backyard, a balcony, or even indoors, our creation is a testament to the power of nature and our ability to bring it into our daily lives. As I sit beside my own vertical garden, surrounded by the gentle rustle of leaves and the vibrant colors of the plants, I feel grateful for this opportunity to connect with the natural world. And as I glance over at “Terra the Trowel” and the other tools that helped make this garden a reality, I’m reminded of the joy of creation and the sense of fulfillment that comes from nurturing life.
Crafting Diy Vertical Garden Structures
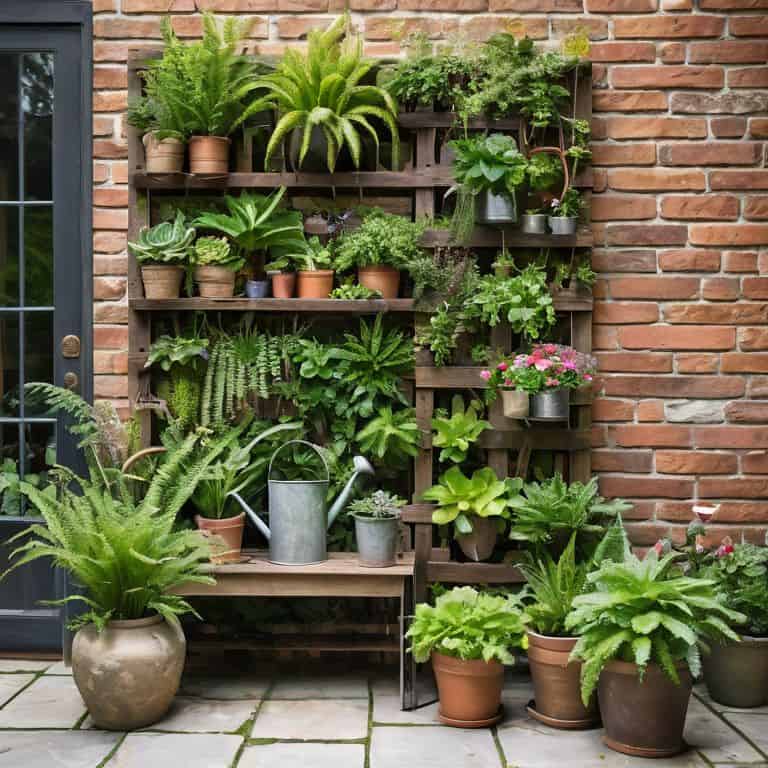
As I work on my latest space saving garden ideas, I find myself lost in the gentle rhythm of pruning and planting. My trusty shears, Bertha, and I make a great team, carefully shaping each branch to maximize growth and beauty. When it comes to crafting your own vertical garden, consider incorporating recycled materials for gardening to add a touch of personality and reduce waste. I’ve found that old wooden pallets and reclaimed wood can make fantastic vertical garden planters diy projects.
To bring your vision to life, start by selecting a mix of plants with varying textures and growth habits. This will not only add visual interest but also create a thriving indoor vertical garden system. As you plant, be sure to leave enough space for each specimen to grow and flourish. I like to think of it as giving each plant its own little “room” to breathe and stretch out. My watering can, Winston, always seems to sense when it’s time to give the plants a drink, and I swear he takes pride in his work.
When constructing your living wall, remember to start small and be patient. It’s a process that requires attention to detail and a willingness to adapt as your plants grow and change. With a little creativity and some well-placed living wall construction tips, you can create a stunning oasis that brings a touch of the outdoors into your home. As I step back to admire my own handiwork, I’m reminded of the serene landscapes that inspired my love of gardening in the first place – the rolling hills and lush forests of Oregon, where my journey as a gardener first began.
Nurturing Life With Recycled Vertical Garden Planters
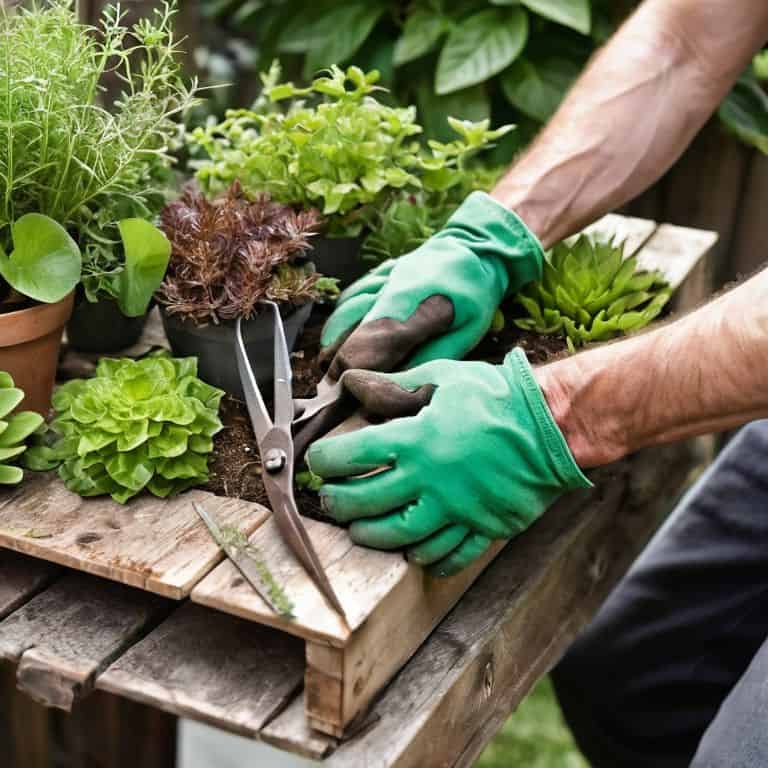
As I gently place a seedling into its new home, I whisper a welcome to Bertha, my trusty trowel. She’s been with me through countless garden creations, and I swear she has a knack for helping roots take hold. When it comes to nurturing life in our vertical gardens, the right planter can make all the difference. I love repurposing old pallets, crates, or pipes to create unique and eco-friendly planters. My friend, Rufus the rake, is always eager to help me gather materials and get crafting.
With a little creativity, we can breathe new life into discarded items and create thriving vertical gardens. I recall a project where I transformed an old ladder into a stunning planter, with each rung hosting a different variety of herb or succulent. As the plants grew, the ladder became a lush, living sculpture that added a touch of whimsy to the garden. By embracing recycled materials, we not only reduce waste but also infuse our gardens with character and stories, making each bloom a testament to our ingenuity and connection with nature.
Sowing Space Saving Garden Ideas
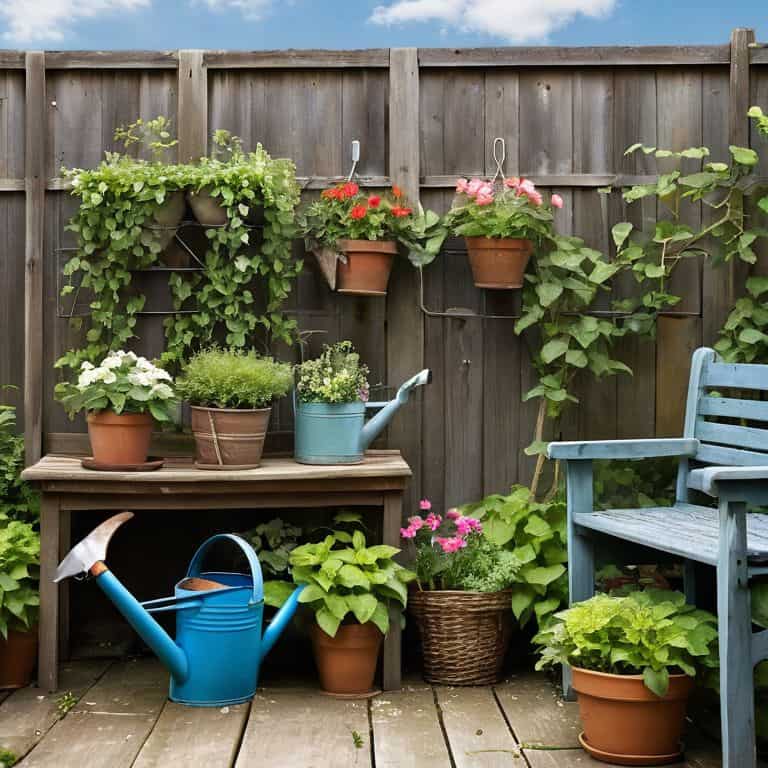
As I delicately prune my bonsai trees, I ponder the art of maximizing space in our gardens. My trusty shears, Bertha, and I have found that vertical gardens are a marvelous solution. By stacking layers of greenery, we can create thriving ecosystems that not only purify the air but also bring a touch of serenity to our lives. I recall a particular hike in the Oregon hills, where the wildflowers seemed to defy gravity, clinging to the rocky faces. This image inspired me to craft my own space-saving garden designs.
With a little creativity, we can transform even the most compact areas into lush oases. My trowel, Terra, and I have experimented with trellises, arbors, and living walls, each one a testament to the power of innovative design. By embracing the vertical dimension, we can cultivate a stunning array of plants, from cascading vines to vibrant flowering shrubs, all while preserving precious floor space.
Cultivating Wisdom: 5 Essential Tips for Thriving DIY Vertical Gardens
- Let your creativity flourish by choosing a variety of plants with different textures and colors to create a visually stunning vertical garden
- Remember to leave enough space between each layer of your vertical garden to ensure proper air circulation and sunlight penetration for healthy plant growth
- Get creative with recycled materials like old pallets, wooden crates, or plastic bottles to craft unique and eco-friendly vertical garden planters
- Water wisely by installing a drip irrigation system or using a watering can with a long spout to reach all levels of your vertical garden without making a mess
- Don’t forget to maintain your vertical garden by regularly pruning, fertilizing, and monitoring for pests to keep your plants happy and thriving all year round
Cultivating Wisdom: 3 Key Takeaways for Your DIY Vertical Garden
As you embark on crafting your own vertical garden, remember that every layer is an opportunity to nurture life and bring a slice of the natural world into your urban oasis
By repurposing recycled materials into planters, you not only reduce waste but also infuse your garden with a unique character that reflects your personal touch and commitment to sustainability
Whether you’re a seasoned green thumb or a budding enthusiast, the true magic of DIY vertical gardens lies in their ability to adapt and evolve, much like the bonsai landscapes I meticulously craft, requiring patience, love, and a willingness to listen to the subtle rhythms of nature
Cultivating Wisdom
As we weave our DIY vertical garden structures, we’re not just nurturing plants, we’re crafting sanctuaries that bridge the divide between urban rhythms and the gentle pulse of nature, reminding us that even in the smallest of spaces, serenity and biodiversity can thrive.
Dylan Thompson
Cultivating Life, One Layer at a Time
As we conclude our journey through the world of DIY vertical garden structures, let’s take a moment to reflect on the key takeaways. We’ve explored the ins and outs of crafting your own vertical eden, from sowing space-saving garden ideas to nurturing life with recycled vertical garden planters. By following these steps and embracing your creativity, you’ve taken the first steps towards transforming your outdoor space into a thriving oasis. My trusty garden tools, like ‘Pruneilla’ and ‘Digby’, have been by my side throughout this process, reminding me of the importance of patience and dedication in gardening.
As you stand back to admire your handiwork, remember that your DIY vertical garden is more than just a beautiful addition to your home – it’s a symbol of your connection to the natural world. By cultivating life, one layer at a time, you’re not only creating a peaceful retreat, but also bridging the gap between urban life and the great outdoors. So go ahead, get your hands dirty, and watch your vertical garden flourish – with a little help from your own trusty tools, of course!
Frequently Asked Questions
What are the best plants to use in a DIY vertical garden for a beginner?
For a beginner, I recommend starting with hardy, low-maintenance plants like succulents, herbs, or leafy greens. My friend ‘Prunella’ the pruning shear and I just love working with these varieties – they thrive in vertical gardens and are forgiving if you’re still finding your green thumb.
How do I ensure proper drainage and watering for my vertical garden structure?
To ensure proper drainage and watering, my trusty sidekick, “Digger” the trowel, and I recommend adding a layer of perlite or sand to your vertical garden’s soil mix, and installing a drip irrigation system – it’s a match made in heaven, just like the trails and trees back home in Oregon!
Can I use DIY vertical garden structures indoors, and if so, what kind of lighting do I need?
Bringing the outdoors in, eh? Yes, you can definitely use DIY vertical gardens indoors. My friend Bertha, the trusty pruning shear, and I recommend using grow lights to mimic natural sunlight, especially for plants that require direct sun. LED grow lights are a great option, and I’ve seen them work wonders in my own indoor bonsai landscapes.