


Choosing the Best Wax for Your Diy Candles
 January 22, 2026

I still remember the first time I tried making my own candles – I was so excited to create something unique and cozy for my home, but I ended up with a batch of uneven, discolored messes. It wasn’t until I discovered the best wax for DIY candles that I was able to achieve the warm, inviting ambiance I had envisioned. The problem is, there’s a lot of misinformation out there about what makes a good wax for candle-making, and it can be overwhelming to sift through all the options. I’ve found that it’s not just about using any old wax, but about understanding the characteristics of each type and how they’ll affect the final product.
In this article, I’ll be sharing my personal experience and expertise on how to choose the best wax for DIY candles, and I’ll walk you through a step-by-step guide on how to create your own beautiful, unique candles. You’ll learn how to select the right wax for your project, how to prepare it for melting, and how to add the perfect touch of color and fragrance to make your candles truly special. My goal is to provide you with honest, no-hype advice that will help you avoid the common pitfalls of DIY candle-making and achieve professional-looking results, even if you’re a complete beginner.
Table of Contents
- Guide Overview: What You'll Need
- Step-by-Step Instructions
- Best Wax for Diy Candles
- Illuminate Your Space: 5 Essential Tips for Choosing the Best Wax for DIY Candles
- Key Takeaways for DIY Candle Enthusiasts
- Illuminating the Path to Perfection
- Embracing the Art of DIY Candle Making
- Frequently Asked Questions
Guide Overview: What You'll Need
Total Time: 1 hour 30 minutes
Estimated Cost: $20 – $40
Difficulty Level: Easy
Tools Required
- Double Boiler (or a heat-resistant glass bowl)
- Thermometer (for monitoring temperature)
- Colorant (optional, for colored candles)
- Fragrance Oils (optional, for scented candles)
Supplies & Materials
- Wax Flakes (available in various types, such as soy, beeswax, or paraffin)
- Cotton Wick (in various sizes, choose the correct size for your candle)
- Melting Pot (a dedicated pot for melting wax, or a heat-resistant glass bowl)
- Mold (to shape your candle, can be silicone, plastic, or glass)
Step-by-Step Instructions
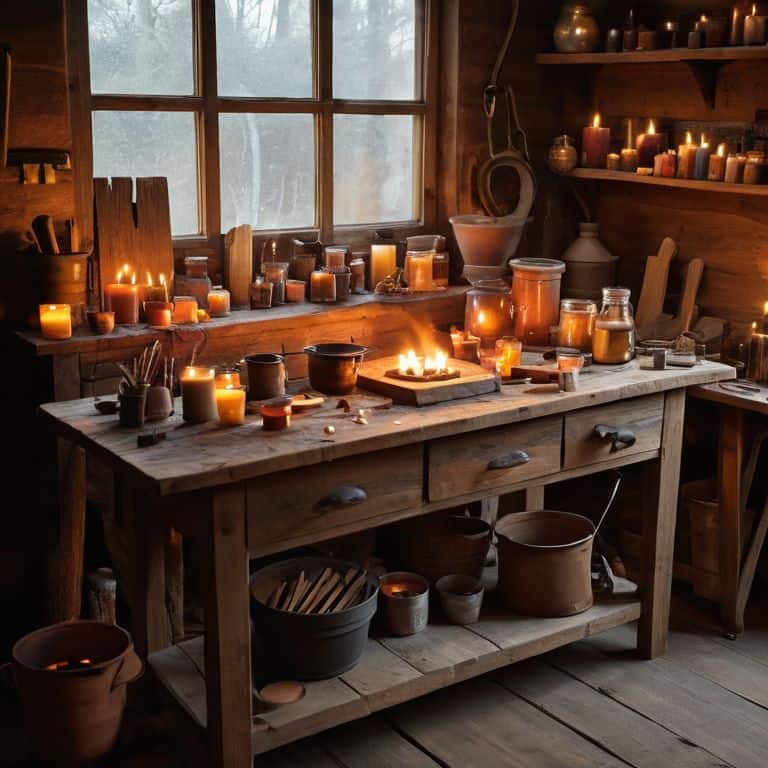
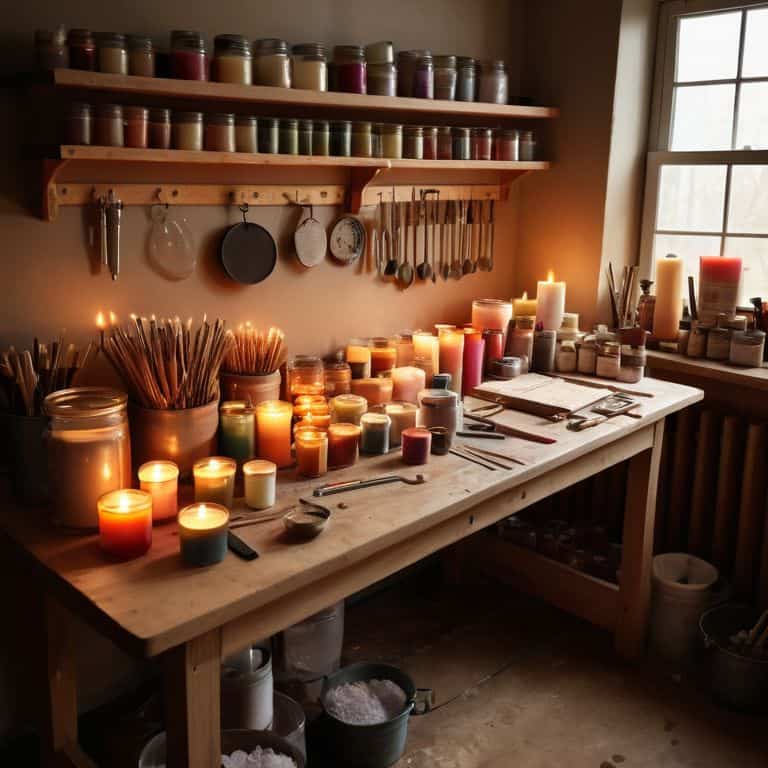
- 1. First, let’s start by preparing our workspace. I like to think of my DIY area as my own little sanctuary, where I can let my creativity shine. Before we begin, make sure your workspace is clean and clear of any clutter. My trusty sidekick, a vintage workbench named “Bertha,” is always ready for a new project. I introduce her to all my readers as the backbone of my DIY team.
- 2. Next, we need to select the perfect wax for our DIY candles. I’m obsessed with finding the right consistency and texture, as it can make all the difference in the final product. For a rustic, homemade feel, I recommend using soy wax or beeswax. My tool, “Waxy,” a temperature gun, helps me ensure the wax reaches the ideal melting point.
- 3. Now, it’s time to melt the wax. This is where things can get a bit tricky, but don’t worry, my DIY team and I have got you covered. Place the wax in a double boiler or a dedicated wax melter, and heat it until it reaches the melting point. I like to use my “Heatwave” heat gun to speed up the process, but be careful not to overheat the wax.
- 4. While the wax is melting, let’s prepare the colorants and fragrances. If you want to add a pop of color or a soothing scent to your candle, now is the time to do it. I love experimenting with different essential oils and pigments to create unique and captivating aromas. My “Scent-sation” scale helps me measure the perfect amount of fragrance to add to the melted wax.
- 5. Once the wax is fully melted and the colorants and fragrances are added, it’s time to create the candle’s texture. You can use various techniques, such as layering or swirling, to achieve a one-of-a-kind design. I enjoy using my “Swirly” spoon to create intricate patterns and add visual interest to the candle.
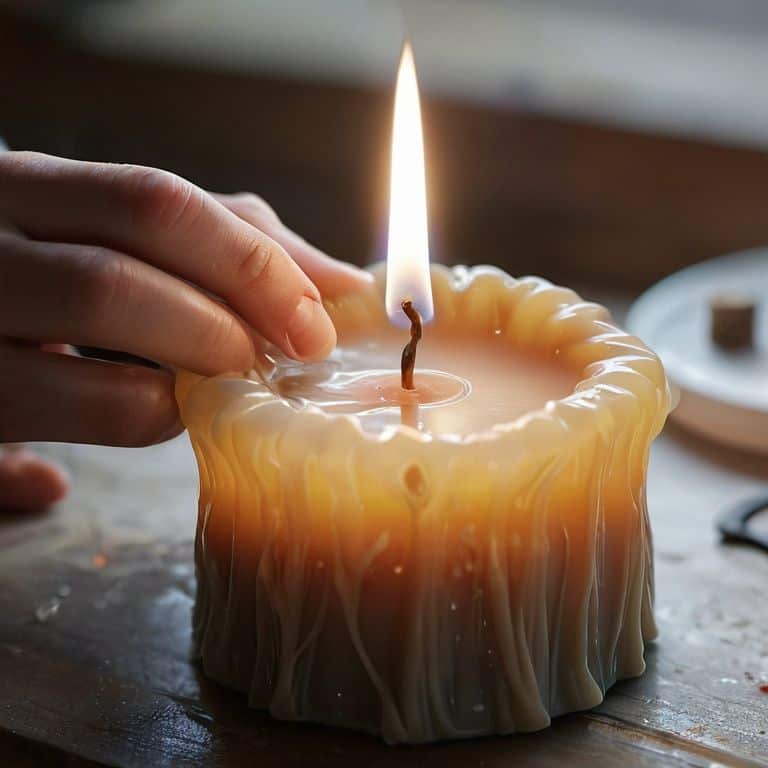
- 6. Now, let’s add the wick to our candle. This is a crucial step, as the wick will determine the burn time and overall performance of the candle. I recommend using a high-quality cotton or paper wick, and my “Wick-ed” wick trimmer helps me achieve the perfect length.
- 7. Finally, it’s time to pour the wax mixture into the desired mold. Make sure the mold is clean and dry, and that the wax is at the right temperature. I like to use my “Pour-fect” pouring pot to ensure a smooth and even flow. As the wax cools and solidifies, you’ll start to see your beautiful DIY candle take shape.
Best Wax for Diy Candles
As I delve into the world of DIY candle-making, I’ve come to realize that the type of wax used can make all the difference. Natural wax blends for candles are my go-to choice, as they provide a unique, earthy scent and a cleaner burn. I’ve experimented with various blends, and I’m excited to share my findings with you. When it comes to melting the wax, I’ve found that candle wax melting techniques can be just as important as the wax itself.
To add an extra touch to my candles, I love using coloring DIY candles with herbs. This technique not only gives my candles a beautiful, natural hue but also infuses them with the subtle scent of the herbs. I’ve tried using everything from lavender to chamomile, and the results are always stunning. When it comes to fragrance, I opt for candle fragrance oils for homemade candles that are made from natural ingredients.
As I continue to explore the world of DIY candle-making, I’m becoming increasingly interested in sustainable candle wick options. I believe that it’s essential to consider the environmental impact of our crafting habits, and using eco-friendly materials is a great way to do so. By combining natural wax blends, unique coloring techniques, and sustainable wicks, we can create truly one-of-a-kind candles that not only look and smell amazing but also promote a more environmentally friendly approach to crafting.
Natural Wax Blends for Radiant Glow
I’m excited to share my favorite natural wax blends that add a radiant glow to my DIY candles. My trusty sidekick, a heat gun I’ve named “Blazer,” helps me mix and match different waxes to create unique textures and colors. I’ve found that combining soy wax with a touch of beeswax produces a warm, inviting ambiance that’s perfect for cozy nights in. This blend also has a cleaner burn, making it a great option for those who want to minimize their environmental impact. By experimenting with natural wax blends, you can create one-of-a-kind candles that not only illuminate your space but also reflect your personal style.
Sustainable Melting Techniques for Homemade Candles
When it comes to melting wax for my DIY candles, I’m all about finding sustainable techniques that not only reduce waste but also bring out the best in my materials. My trusty sidekick, “Meltie” – my temperature-controlled double boiler – helps me achieve a smooth, even melt every time. I’ve also experimented with solar melting, using the sun’s natural heat to gently melt my wax, which not only saves energy but also adds a touch of organic charm to the process.
By adopting these eco-friendly methods, I’ve been able to reduce my carbon footprint while creating unique, handmade candles that truly reflect my passion for upcycling and sustainable living. Whether I’m working with natural wax blends or repurposing vintage containers, every step of the process is a chance to get creative and make a positive impact on the environment.
Illuminate Your Space: 5 Essential Tips for Choosing the Best Wax for DIY Candles
- I always say, the right wax can make all the difference – for a warm, inviting glow, opt for a high-quality soy wax or beeswax blend
- My trusty sidekick, ‘Meltie’ the thermometer, reminds me to never overheat the wax, as this can affect the burn time and overall quality of the candle
- When experimenting with different wax types, I introduce my ‘DIY team’ – ‘Stirry’ the spoon, ‘Pourry’ the pouring pot, and ‘Colorio’ the dye – to ensure a smooth, consistent finish
- Avoid using wax with a low melting point, as this can cause the candle to become misshapen or develop an uneven texture – my ‘Wax Wizard’ tool helps me gauge the perfect melting point
- For a unique, rustic touch, try blending different wax types, such as soy and palm wax, and adding a few drops of your favorite essential oil – it’s all about embracing the beauty of imperfection and creating something truly one-of-a-kind
Key Takeaways for DIY Candle Enthusiasts
I’ve found that using high-quality, natural wax blends can make all the difference in creating a radiant glow in my DIY candles – it’s all about experimenting with different ratios of soy, beeswax, and coconut wax to find the perfect blend
Melting techniques can greatly impact the final result of your homemade candles, which is why I always recommend using sustainable methods like double-boiler melting or solar melting to ensure a smooth, even texture
By combining the right wax with the perfect melting technique, you can unlock a world of creative possibilities for your DIY candles – from unique color combinations to custom fragrances, the options are endless, and I’m excited to see what you’ll create with these tips
Illuminating the Path to Perfection
The right wax is not just a material, it’s a catalyst for creativity – it’s what transforms a simple DIY project into a warm, inviting masterpiece that tells a story of its own.
Ryan Bennett
Embracing the Art of DIY Candle Making
As I reflect on our journey to find the best wax for DIY candles, I’m reminded of the importance of experimentation and patience. We’ve explored various types of wax, from natural wax blends to sustainable melting techniques, and I hope you’ve gained a deeper understanding of what makes a great DIY candle. Whether you’re a seasoned crafter or just starting out, it’s essential to remember that practice makes perfect, and don’t be afraid to try new things and make mistakes. My trusty DIY team, including my favorite tool, Bertha the Melting Pot, has been instrumental in helping me achieve the perfect glow.
As you embark on your own DIY candle-making adventures, I encourage you to think outside the box and push the boundaries of creativity. Don’t just settle for a ordinary candle – aim to create something truly unique and special. With the right wax, a little patience, and a lot of love, you can transform a simple material into a warm, cozy ambiance that makes your home feel truly special. So go ahead, get creative, and remember to have fun – the world of DIY candle making is full of endless possibilities!
Frequently Asked Questions
What are the benefits of using natural wax blends versus synthetic waxes for DIY candles?
I’m a huge fan of natural wax blends for my DIY candles – they offer a cleaner burn, a more authentic glow, and a reduced carbon footprint compared to synthetic waxes. My trusty tool, Melty, loves working with soy wax and beeswax blends, which provide a smoother, more even melt.
How do I determine the right melting point for my DIY candle wax to ensure a smooth and even burn?
For a smooth burn, I always recommend checking the melting point of your wax. My trusty thermometer, Bertha, helps me get it just right. Typically, you’re looking for a melting point between 120°F to 180°F, but it varies depending on the wax type. I like to experiment with small batches to find the sweet spot for each unique blend.
Can I mix different types of wax to create a unique blend for my DIY candles, and if so, what are some popular combinations?
I love experimenting with unique wax blends in my DIY candle projects. Yes, you can definitely mix different types of wax to create something special. I’ve had great results combining soy wax with beeswax for a sustainable, eco-friendly glow, or blending paraffin with gel wax for a modern, sleek look – my trusty tool, “Meltie,” always helps me get the mix just right!