


Creating Insulated Window Covers With Recycled Materials
 February 21, 2026
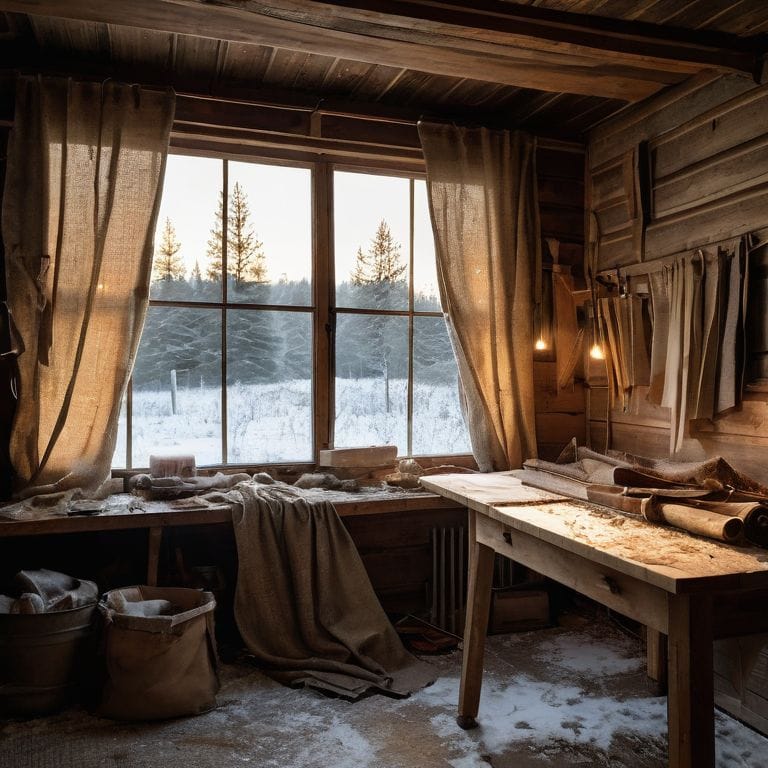
I still remember the first time I stumbled upon insulated window covers in my parents’ workshop. I was amazed by how such a simple solution could make a huge difference in keeping our workshop cozy during the harsh winters. As someone who’s passionate about upcycling and DIY projects, I’ve always been fascinated by the potential of transforming old, drafty windows into warm and inviting spaces. However, I’ve noticed that many people are under the impression that insulated window covers are only for energy efficiency, which isn’t entirely true. In reality, they can be a game-changer for anyone looking to add a touch of warmth and character to their homes.
In this article, I’ll share my personal experience and expertise on how to create your own insulated window covers. You’ll get honest, no-hype advice on the best materials to use, step-by-step instructions on how to measure and install them, and tips on how to maintain them for optimal performance. Whether you’re a seasoned DIY enthusiast or a beginner looking to try your hand at upcycling, this guide is designed to help you breathe new life into your windows and create a cozy, inviting atmosphere in your home. So, let’s get started and explore the world of insulated window covers together!
Table of Contents
- Guide Overview: What You'll Need
- Step-by-Step Instructions
- Insulated Window Covers Magic
- Sealing the Deal: 5 Essential Tips for Mastering Insulated Window Covers
- Key Takeaways to Keep Your Home Cozy
- A Window to Energy Efficiency
- Wrapping Up: Bringing Warmth and Efficiency to Your Space
- Frequently Asked Questions
Guide Overview: What You'll Need
Total Time: 2 hours 30 minutes
Estimated Cost: $20 – $40
Difficulty Level: Intermediate
Tools Required
- Scissors (sharp, dedicated to cutting fabric)
- Staple Gun (with staples)
- Tape Measure (for accurate measurements)
- Square (for ensuring corners are square)
- Pencil (for marking fabric and frames)
- Ruler (for straight cuts)
- Utility Knife (for cutting insulation and other materials)
Supplies & Materials
- Thermal Insulation Material (e.g., foam board, 1/4 inch thick)
- Fabric (breathable, e.g., cotton or polyester, 54 inches wide)
- Batt Insulation (optional, for extra thermal performance)
- Wooden Dowels or 1 inch x 2 inch Lumber (for creating a frame)
- Staples (for securing fabric and insulation)
- Double-Sided Tape (for temporary hold during assembly)
- Velcro Strips (optional, for easy removal and reinstallation)
Step-by-Step Instructions
- 1. First, gather all the necessary materials for your DIY insulated window covers, including thermal insulation, a staple gun, scissors, and a measuring tape. I like to call my trusty measuring tape “Mae” – she’s been with me through countless projects and never fails to deliver accurate measurements.
- 2. Next, measure your windows to determine the size of your insulated covers. This is a crucial step, as you want to ensure a snug fit to maximize energy efficiency. My drill, “Daisy,” is always ready to help with any drilling tasks, but for this step, we’ll focus on measuring.
- 3. Cut your thermal insulation to the measured size, leaving a little extra around the edges for a comfortable fit. I use my favorite utility knife, “Katy,” for this task – she’s sharp and reliable. When cutting, make sure to work on a flat surface and use a ruler or straightedge to guide your knife.
- 4. Now it’s time to cut a piece of fabric to cover the insulation. Choose a fabric that’s durable and breathable, as this will help regulate moisture and prevent condensation. My sewing machine, “Sally,” is always ready to help with stitching, but for this project, we’ll focus on simple cutting and assembly.
- 5. Place the insulation in the center of the fabric, and then fold the fabric over the insulation, securing it with staples. Make sure to apply even pressure to avoid any wrinkles or air pockets. My staple gun, “Stan,” is perfect for this task – he’s quick and efficient.
- 6. Once you’ve secured the fabric, use your measuring tape (Mae, in my case) to ensure the cover fits your window perfectly. If needed, make any adjustments to the size or fit. This is also a good time to add any additional features, such as a Velcro strip for easy removal.
- 7. Finally, install your insulated window covers and enjoy the energy-efficient benefits. You can use a few strips of adhesive or a mild adhesive spray to keep the covers in place. As you step back to admire your handiwork, remember that you’ve not only created something functional but also reduced your carbon footprint. My level, “Lily,” helps me ensure everything is perfectly aligned, and with that, your DIY insulated window covers are complete.
Insulated Window Covers Magic
As I worked on my latest upcycling project, I realized that thermal window curtains can make a huge difference in maintaining a cozy atmosphere. Not only do they add a touch of rustic charm to my workshop, but they also help reduce heat transfer. I’ve also experimented with window insulation kits, which provide a more comprehensive solution for colder climates. My trusty sidekick, a utility knife I’ve named “Slice,” helped me cut the insulation materials to size.
When it comes to maximizing the benefits of insulated windows, I’ve found that reflective window film benefits are often overlooked. This simple, yet effective solution can help reflect heat back into the room, keeping it warm and snug. I’ve applied it to my workshop windows, and the results are noticeable. My DIY team, including my drill, “Drilliam,” and my hammer, “Hammie,” have been instrumental in helping me implement these solutions.
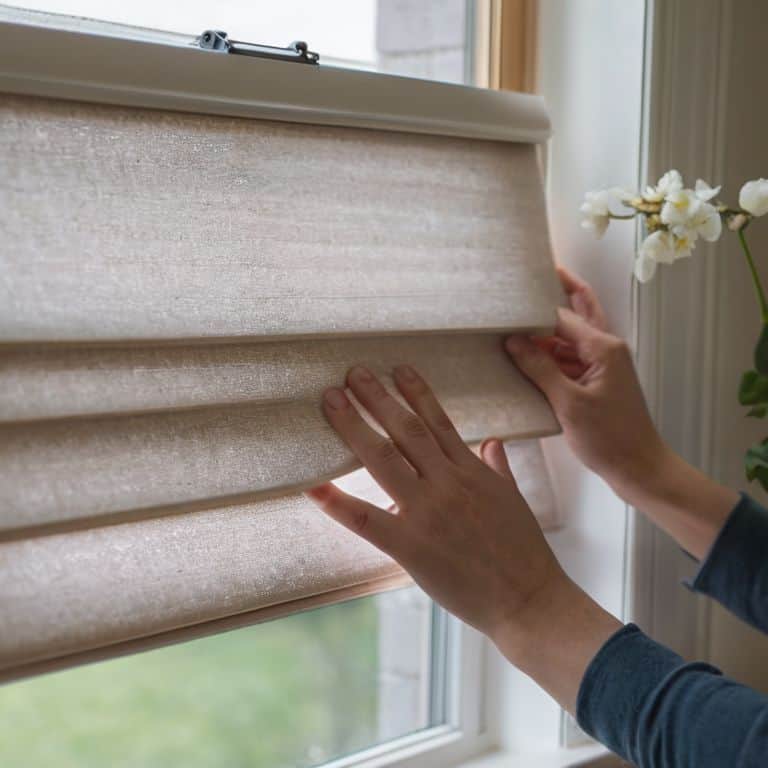
For those looking to take their window insulation to the next level, I recommend exploring cellular shades for insulation. These innovative shades provide excellent thermal insulation and can be customized to fit various window sizes. As someone who appreciates passive house window design, I’m excited to see how these shades can contribute to a more energy-efficient workspace. With a little creativity and the right tools, you can transform your windows into a haven of warmth and comfort.
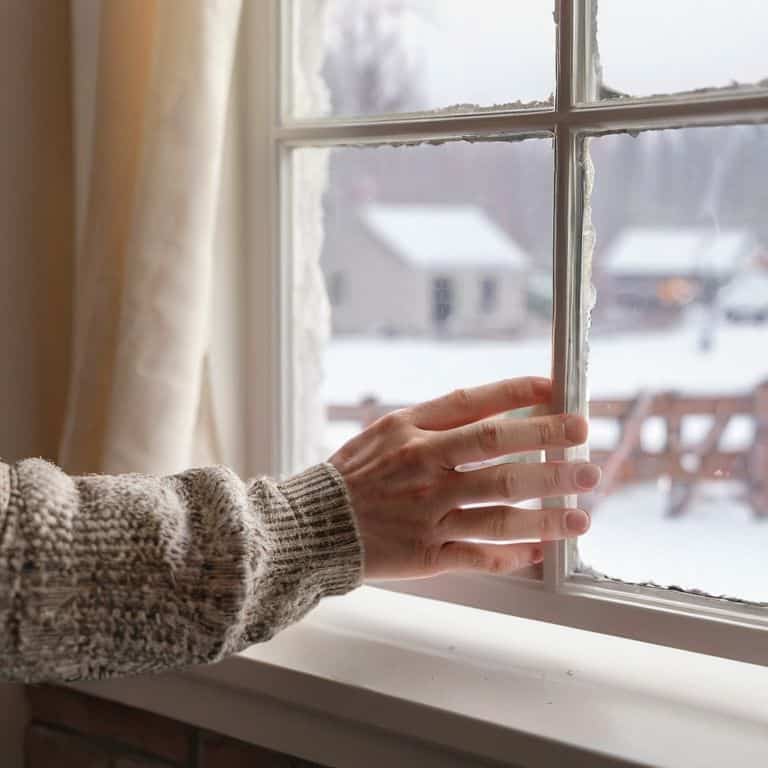
Reflective Film Benefits for Winter
As I delved deeper into the world of insulated window covers, I discovered the incredible benefits of reflective film, especially during the winter months. My trusty sidekick, a heat gun I’ve lovingly named “Blazer,” helped me apply this innovative material to my workshop windows. The results were astonishing – the reflective film not only kept the chill out but also retained the warmth, making my workspace cozy and inviting.
With reflective film, I’ve noticed a significant reduction in heat loss, and my DIY team, including “Sawyer” the circular saw and “Drilliam” the drill, can now work efficiently without the distraction of a cold environment. This simple yet effective solution has become a staple in my winterizing routine, and I highly recommend it to fellow DIY enthusiasts looking to breathe new life into their windows and workshops.
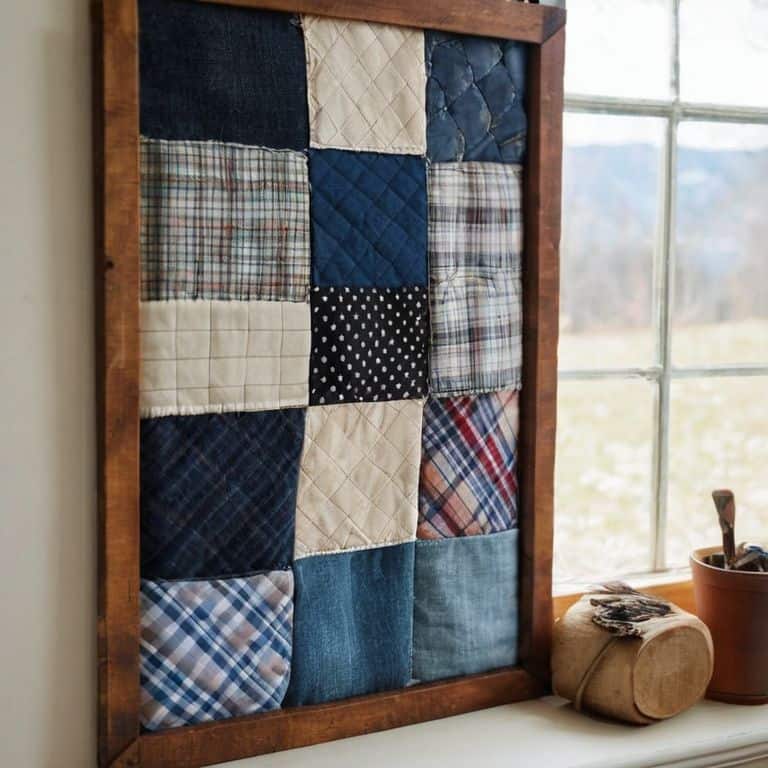
Thermal Window Curtains for Cozy Homes
As I continued to explore the world of insulated window covers, I stumbled upon thermal window curtains that have taken my workshop’s coziness to the next level. These ingenious curtains are designed to retain warmth and keep the chill out, making them a perfect addition to my rustic-themed space. My trusty DIY team, including my drill, Bertha, and my sewing machine, Maude, helped me bring this project to life.
With thermal window curtains, I’ve noticed a significant reduction in heat loss, keeping my workshop warm and snug even on the chilliest of days. It’s amazing how such a simple solution can make a huge difference in the overall ambiance of a room. I’m excited to share more about this discovery and how it can be incorporated into your own DIY projects to create a cozier, more inviting space.
Sealing the Deal: 5 Essential Tips for Mastering Insulated Window Covers
- Measure Twice, Cut Once: Ensure a snug fit by precisely measuring your windows before cutting your insulated window covers to size
- Choose the Right Materials: Select materials that are durable, easy to clean, and provide optimal insulation, such as thick fabrics or reflective films
- Layer It Up: Consider using multiple layers, including a thermal curtain, a reflective film, and a clear plastic cover, to maximize energy efficiency and minimize heat transfer
- Mind the Gaps: Seal any gaps or cracks around your windows to prevent cold air from seeping in and warm air from escaping, making your insulated window covers even more effective
- Get Creative with DIY Designs: Don’t be afraid to experiment with different patterns, colors, and textures to create unique and functional insulated window covers that reflect your personal style and complement your home decor
Key Takeaways to Keep Your Home Cozy
I’ve learned that insulated window covers can be a total game-changer for reducing energy consumption and keeping my workshop warm, and I’m excited to share that with you
By using thermal window curtains and reflective film, you can create a cozy atmosphere in your home while also minimizing heat transfer, which is perfect for the cold winter months
With a little creativity and some DIY magic, you can breathe new life into your windows and turn your home into a warm and inviting space that’s perfect for relaxing and getting creative with my trusty DIY team, including my favorite tools, Bertha the drill and Sammy the sandpaper
A Window to Energy Efficiency
Insulated window covers are not just a practical solution, but a gateway to unlocking the hidden potential of our homes – where every saved degree of heat is a testament to the magic of transformation and the beauty of a cozier, more sustainable living space.
Ryan Bennett
Wrapping Up: Bringing Warmth and Efficiency to Your Space
As I conclude this guide on insulated window covers, I want to emphasize the importance of taking small steps towards making your home more energy-efficient. From the step-by-step instructions provided earlier to the exploration of thermal window curtains and reflective film benefits, it’s clear that there are numerous ways to breathe new life into your windows. Whether you’re a seasoned DIY enthusiast or just starting out, I hope this journey has inspired you to see the potential in transforming your space with insulated window covers. By applying these simple yet effective solutions, you can significantly reduce heat transfer, minimize energy consumption, and create a cozy haven that’s perfect for relaxing and recharging.
As you embark on your own DIY adventures with insulated window covers, remember that the true magic lies not just in the end result, but in the process of creation itself. It’s about embracing the rustic charm of upcycled materials, combining them with modern design elements, and watching your vision come to life. So, don’t be afraid to experiment, to try new things, and to push the boundaries of what’s possible. With a little creativity and the right tools by your side – including my trusty DIY team, of course – you can turn even the most mundane spaces into warm and inviting sanctuaries that reflect your unique style and personality. Happy crafting, and I look forward to seeing the amazing things you’ll create!
Frequently Asked Questions
How do I measure my windows to ensure a proper fit for insulated window covers?
Measuring your windows is a breeze. I use my trusty ‘Measurella’ tape measure to get the job done. Simply measure the width and length of your window, taking note of any obstructions like handles or locks. My DIY team and I always double-check our measurements to ensure a snug fit for our insulated window covers.
Can I make my own insulated window covers or is it better to buy pre-made ones?
I’m a huge fan of DIY, and making your own insulated window covers can be a fun project. With some basic materials like foam board, fabric, and a staple gun, you can create custom covers that fit your windows perfectly. My trusty sidekick, a staple gun I call ‘Staples McGee,’ can help you get the job done. However, if you’re short on time, pre-made ones can be a convenient option.
Will insulated window covers interfere with my existing window treatments or decor?
Don’t worry, my DIY friends! Insulated window covers can actually complement your existing window treatments and decor. I like to think of them as a bonus layer of coziness. Just introduce my trusty sidekick, “Tapey” the tape measure, to ensure a snug fit, and you’re all set to enjoy the benefits without compromising your style.