


Cost-effective Diy Insulation Tips for Drafty Windows
 September 23, 2025
I still remember the chilly winters I spent in my family’s old workshop, where drafty windows seemed to be the norm. But as I grew older and developed a passion for DIY projects, I realized that insulating drafty windows wasn’t just about energy efficiency – it was about transforming a space into a cozy retreat. I’ve found that breathing new life into old homes often starts with the simplest fixes, like sealing those pesky gaps and cracks. And that’s exactly what this article is about: insulating drafty windows to create a warmer, more inviting atmosphere.
In this guide, I’ll share my hands-on experience and practical advice on how to tackle drafty windows like a pro. You’ll learn how to identify the sources of those pesky drafts, choose the right materials for the job, and get the work done with minimal fuss. My goal is to empower you with the knowledge and confidence to take on this project yourself, without breaking the bank or sacrificing style. By the end of this article, you’ll be well on your way to wrapping your windows in warmth and character, and enjoying the cozy benefits of a well-insulated home.
Table of Contents
Guide Overview: What You'll Need
Total Time: 2 hours 30 minutes
Estimated Cost: $20 – $50
Difficulty Level: Intermediate
Tools Required
- Utility Knife (with extra blades)
- Scissors
- Pencil
- Putty Knife (for applying sealant)
- Ruler or Straightedge (for measuring and cutting)
- Ladder (for reaching high windows)
Supplies & Materials
- Window Insulation Kit
- Weatherstripping (various widths)
- Clear Plastic Window Film (for added insulation)
- Spray Adhesive (for applying film)
- Foam Tape (for sealing gaps around windows)
- Caulk (for sealing larger gaps)
Step-by-Step Instructions
- 1. First, let’s get started by gathering our materials, which include a trusty caulk gun (I’ve named mine Bertha, by the way), some weatherstripping, a putty knife, and a few other essentials from my DIY team. I like to think of them as my partners in crime when it comes to giving old homes a new lease on life.
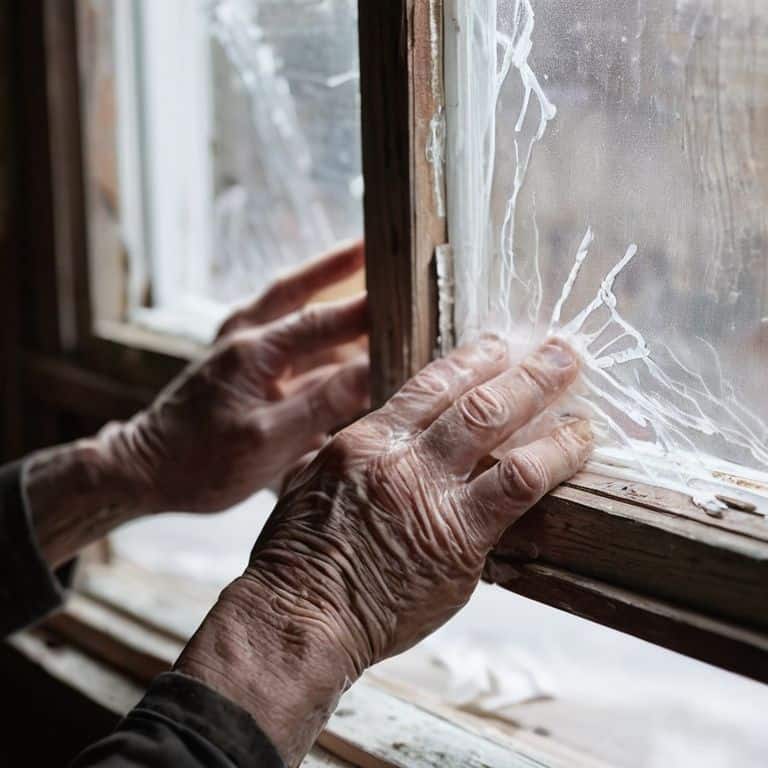
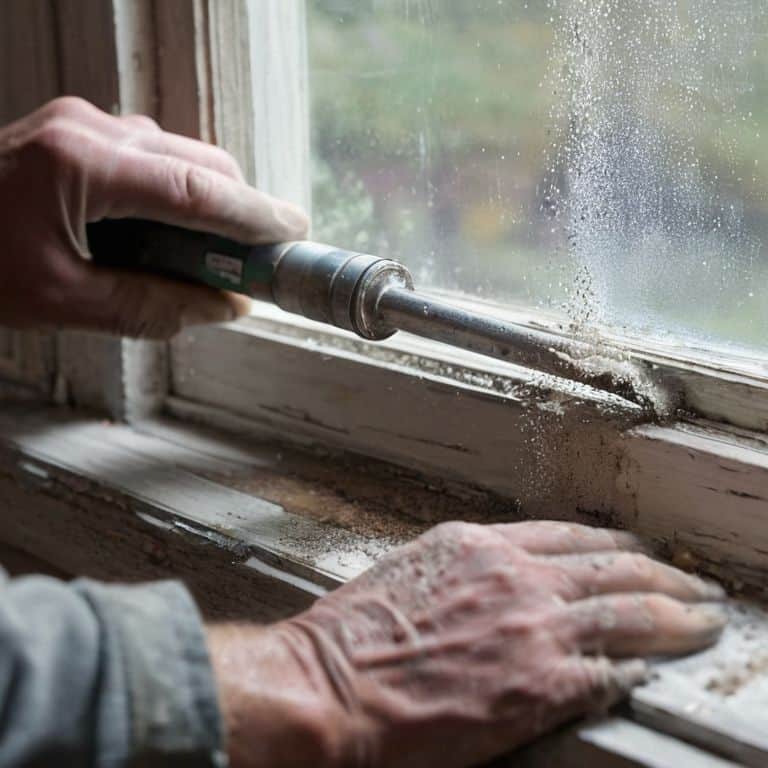
- 2. Next, we need to prepare the area around the windows by removing any debris, dust, or old caulk that might be lurking. This is where my putty knife, which I’ve affectionately named Scrap, comes in handy. Scrap is great at scraping away old, worn-out materials, making way for the new insulation.
- 3. Now it’s time to inspect the windows for any gaps or cracks that might be letting in the cold air. I use a candle or a stick of incense to help me detect even the slightest drafts. This simple trick can save you a lot of time and energy in the long run, and it’s a technique I’ve learned from my parents, who were masters at finding creative solutions to common problems.
- 4. With our trusty DIY team by our side, we can start applying the weatherstripping around the windows. I find that using a high-quality weatherstripping material makes all the difference in keeping the cold air out and the warm air in. My team member, a utility knife named Slice, is perfect for cutting the weatherstripping to the right size.
- 5. After applying the weatherstripping, it’s time to seal any gaps or cracks around the windows using caulk. Bertha, my caulk gun, is a pro at this job, and with a steady hand, we can fill in those gaps in no time. Remember to smooth out the caulk with a damp finger or a caulk tool to get a nice, even finish.
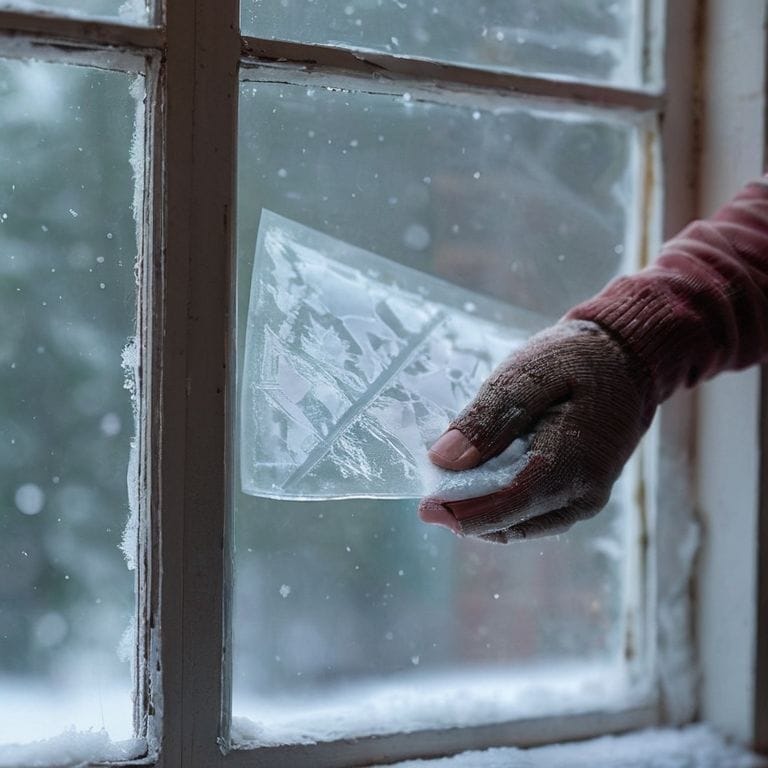
- 6. Next up, we need to add some extra insulation to our windows, especially if they’re old and single-paned. I like to use a clear plastic window insulation kit, which can be easily applied using double-sided tape. This not only keeps the cold air out but also reduces heat loss, making our home cozy and energy-efficient.
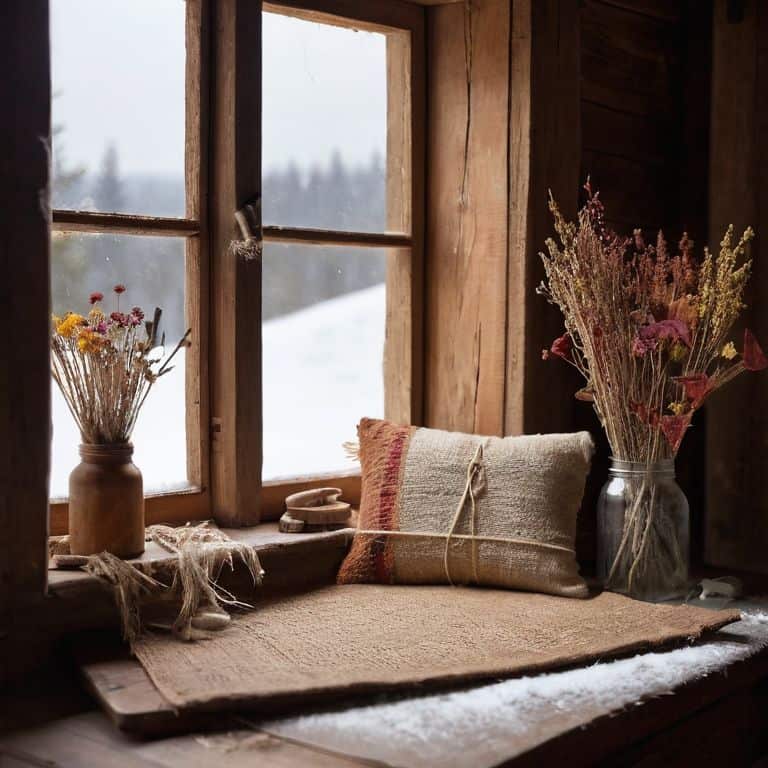
- 7. Finally, let’s not forget to add some decorative touches to our newly insulated windows. A fresh coat of paint or some new curtains can work wonders in giving our home a warm and inviting atmosphere. And, as a finishing touch, I like to add some rustic, upcycled decorations, like old wooden shutters or vintage window frames, to give our home a unique, personalized touch.
Insulating Drafty Windows
As I work on insulating my own drafty windows, I’ve come to realize the importance of choosing the right window insulation materials. It’s not just about slapping on some sealant and calling it a day – it’s about creating a cozy and energy-efficient space that feels like home. I’ve experimented with various DIY window insulation kits, and I must say, some of them are truly game-changers. My trusty sidekick, a caulking gun I’ve named “Bertha,” has been instrumental in helping me apply the perfect amount of sealant to keep the chill out.
When it comes to thermal window treatments, there are plenty of options to explore. From thick, plush curtains to sleek, modern shades, the key is to find a balance between style and functionality. I’ve found that combining these treatments with a good window draft stopper can make all the difference in keeping the cold air at bay. My DIY team, including my beloved drill, “Drilly,” and sanding block, “Sandy,” have been working overtime to help me create the perfect window insulation solution.
As I continue to work on my window insulation project, I’m reminded that sometimes, the best solution is to consider energy efficient window replacement options. While it may seem like a drastic measure, replacing old, drafty windows with new, energy-efficient ones can be a cost-effective solution in the long run. My tool, “Tappy,” a trusty old hammer, has been helping me tap into the world of window replacement, and I must say, it’s been an eye-opening experience.
Draft Stoppers for Cold Weather
I just love getting creative with DIY solutions, and draft stoppers are one of my favorites. My trusty sidekick, a sewing machine I’ve named “Stitch,” helps me bring these cozy gems to life. Essentially, a draft stopper is a tube of fabric filled with insulating material, placed at the bottom of a door or window to keep the chill out. I like to use repurposed vintage fabric and fill them with rice, beans, or even recycled denim for a rustic touch.
By placing these charming stoppers in front of drafty windows, you can significantly reduce heat loss and keep your space snug. Plus, they add a touch of homespun charm to any room. My DIY team, including “Hammerin’ Harry” and “Sawyer,” always get a kick out of helping me craft these simple yet effective solutions. With a draft stopper in place, you’ll be amazed at how much cozier your home feels, even on the chilliest of nights.
Wrapping Windows in Thermal Treatments
Now that we’ve covered the basics of insulating drafty windows, let’s talk about taking it to the next level with thermal treatments. I like to think of it as giving my windows a cozy hug. My trusty sidekick, a heat gun I’ve lovingly named “Bertha,” helps me apply thermal window films or inserts that keep the chill out and the warmth in. It’s amazing how a simple layer of thermal treatment can make a world of difference in the comfort of a room.
I’ve found that thermal treatments are especially useful for windows that can’t be replaced or are historic, and you want to maintain their original charm. My DIY team, including “Sandy” the sanding block, helps me prepare the surface for a smooth application. With the right tools and a bit of patience, you can wrap your windows in warmth and character, making your home a haven from the outside elements.
Sealing the Deal: 5 Essential Tips for Insulating Drafty Windows
- Get to know your windows: Before you start insulating, take some time to understand where the drafts are coming from – is it the window frame, the glass, or the gaps around the edges?
- Choose the right materials: From thermal curtains to window insulation film, there are plenty of options to keep the chill out – experiment to find what works best for your windows and your style
- Draft stoppers are your friends: These nifty little blockers can be made from old sweaters, socks, or even vintage fabric – get creative and keep the cold air from sneaking in
- Caulk is your buddy: A fresh bead of caulk around the window frame can work wonders for keeping drafts at bay – just be sure to remove the old stuff first for a clean seal
- Mind the gaps: Don’t forget to check for gaps around the window sash and the surrounding walls – a little bit of weatherstripping or spray foam can make a big difference in keeping your home cozy
Key Takeaways to Keep Your Home Cozy
Insulating drafty windows is a simple yet effective way to reduce energy bills and add warmth to your home, and it can be as easy as adding a thermal treatment or DIY draft stopper
By wrapping your windows in thermal treatments or using draft stoppers, you can keep the chill out and the coziness in, all while adding a touch of personality to your space
Remember, it’s all about breathing new life into old spaces and finding creative solutions to common problems – with a little imagination, you can turn drafty windows into a charming and inviting feature of your home
Sealing the Gap
Insulating drafty windows is more than just a practical fix – it’s an invitation to reimagine the warmth and character of your home, one carefully crafted detail at a time.
Ryan Bennett
Bringing Warmth and Character to Your Home
As we’ve explored the world of insulating drafty windows, we’ve covered some essential steps to breathe new life into your home. From the main step-by-step instructions to the specific techniques like wrapping windows in thermal treatments and using draft stoppers for cold weather, each method offers a unique approach to tackling those chilly spots. By implementing these strategies, you’ll not only be reducing heat loss and saving on energy bills, but also adding a touch of rustic charm to your living space. My trusty DIY team, including my favorite tool, Bernie the brush, and Samantha the scraper, have been instrumental in helping me bring these projects to life.
As you embark on your own journey to insulate and embellish your windows, remember that it’s all about seeing the potential in the everyday, ordinary items. Don’t be afraid to think outside the box, get creative, and reimagine the world around you. With a little patience, some elbow grease, and the right tools by your side, you can transform your home into a cozy, character-filled haven that reflects your unique style and personality. So go ahead, grab your tools, and let the magic of transformation begin!
Frequently Asked Questions
What are the most effective materials to use for insulating drafty windows?
For insulating drafty windows, I swear by my trusty DIY team, including Bertha the brush and Sammy the sealant gun. Effective materials include thermal curtains, window films, and draft stoppers made from repurposed fabrics or vintage wool. My personal favorite is upcycled wool blankets – they add a cozy touch and keep the chill out!
How do I determine which windows in my home are the draftiest and need the most attention?
Determining the draftiest windows in your home is easier than you think! Simply hold a lit candle or incense stick near each window on a windy day. If the flame flickers or the smoke blows inward, you’ve found a drafty spot. My trusty sidekick, ‘Bernie the Blowtorch,’ always helps me detect those sneaky air leaks.
Can I make my own draft stoppers or are store-bought options more effective?
I’m a big fan of DIY draft stoppers, and I think they can be just as effective as store-bought ones. In fact, my trusty sidekick, a sewing machine I’ve named ‘Stitch,’ and I have whipped up some fantastic draft stoppers using old sweaters and fabric scraps. With a little creativity, you can create your own unique draft stoppers that not only keep the chill out but also add a touch of personality to your space.