


Step-by-step Guide to Creating No-sew Window Insulation Film
 March 22, 2026
I still remember the first time I applied no-sew window insulation film to my workshop windows – it was like a revelation. The cold drafts that used to make my space feel like an icebox were suddenly gone, and the warmth from my DIY projects could actually be felt. What struck me most was how this simple, often overlooked solution could make such a huge difference in comfort and energy efficiency. I’ve since become a bit of a evangelist for this miracle worker, and I’m excited to share my experience with you.
In this article, I’ll walk you through the step-by-step process of applying no-sew window insulation film like a pro. You’ll learn how to choose the right type of film for your windows, prepare the surface for application, and avoid common mistakes that can lead to bubbles or peeling. My goal is to give you the practical advice you need to transform your windows and make your space cozier, without breaking the bank or compromising on style. By the end of this guide, you’ll be equipped with the knowledge to tackle this simple yet impactful DIY project and start enjoying the benefits of a warmer, more energy-efficient home.
Table of Contents
Guide Overview: What You'll Need

Total Time: 1 hour 30 minutes
Estimated Cost: $15 – $30
Difficulty Level: Easy
Tools Required
- Utility Knife (with extra blades)
- Ruler
- Cutting mat or old table (for protecting work surface)
- Squeegee or credit card (for removing air bubbles)
Supplies & Materials
- No-sew window insulation film (available in various sizes)
- Double-sided tape (for securing film to window frame)
- Measuring tape (for measuring window dimensions)
- Pencil or marker (for marking film and window frame)
Step-by-Step Instructions
- 1. To start, make sure you have all the necessary materials, including the no-sew window insulation film, a pair of scissors or a craft knife, a credit card or similar tool for smoothing out air bubbles, and a measuring tape. I like to introduce my trusty sidekicks, like my scissors, Bertha, and my craft knife, Stanley, who always help me get the job done.
- 2. Next, clean the window thoroughly to remove any dirt, grime, or old adhesive that might interfere with the film’s performance. This is a crucial step, as a clean surface ensures a strong bond between the film and the window. My DIY team, including my vacuum cleaner, Vera, helps me keep the workspace tidy and free of debris.
- 3. Measure the window to determine how much film you’ll need, leaving a little extra around the edges for easy trimming. I use my trusty measuring tape, Maude, to get accurate measurements. It’s essential to have a bit of extra film to ensure a snug fit and to prevent any air leaks.
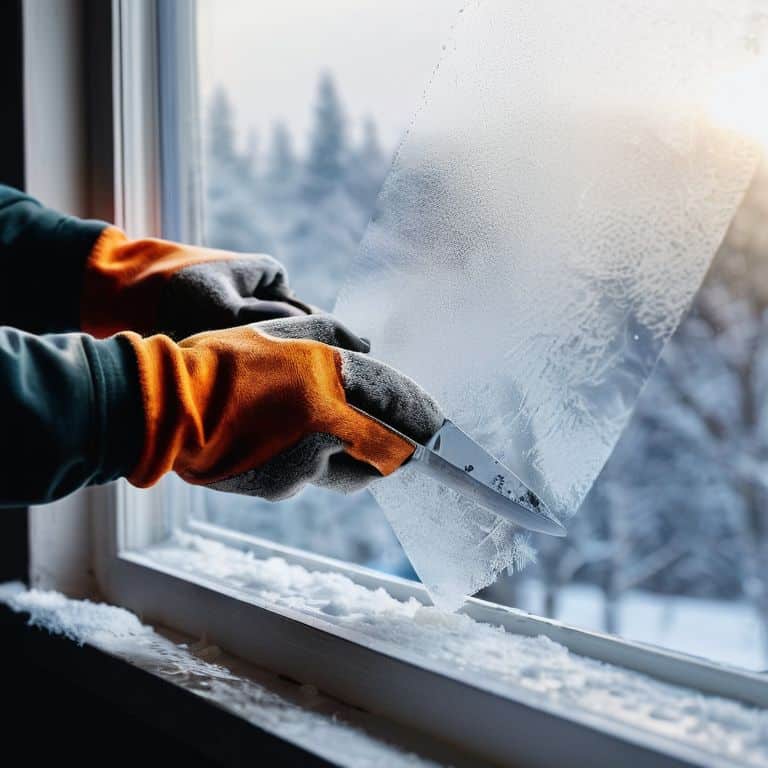
- 4. Cut the no-sew window insulation film to the desired size using Bertha or Stanley, depending on the type of cut you need. For a straight edge, Bertha is my go-to, while Stanley is perfect for more intricate cuts. Handle the film by the edges to avoid touching the adhesive side, which can leave fingerprints and affect its performance.
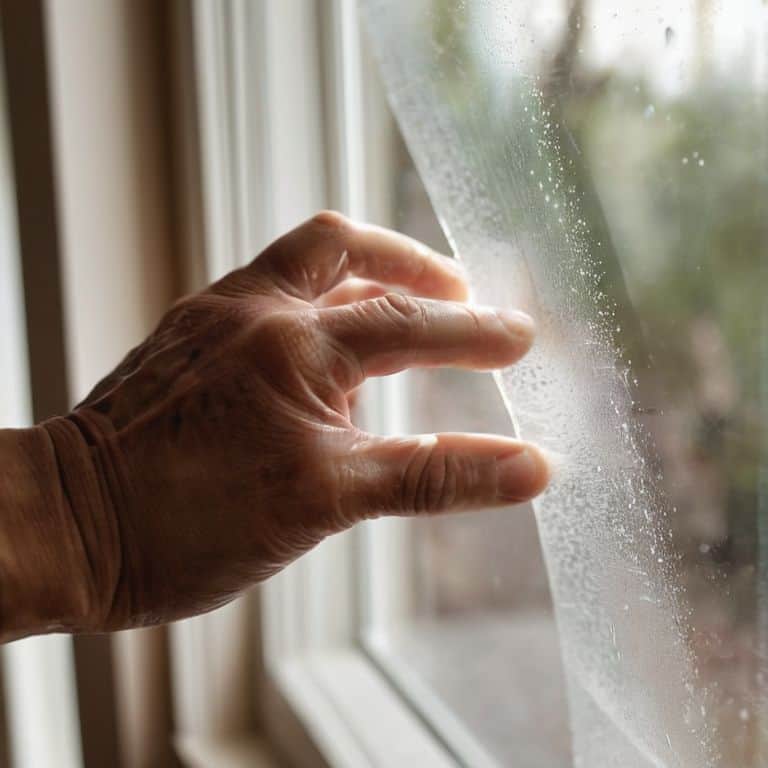
- 5. Peel off the backing paper and apply the film to the window, starting from the center and working your way outwards. Use a credit card or a similar tool to smooth out any air bubbles that may form. This step can be a bit tricky, but with a little patience and the help of my trusty credit card, Camilla, you’ll get the hang of it.
- 6. Use a ruler or a straightedge to guide your cuts around the window frame, ensuring a precise fit. My DIY team, including my ruler, Rocky, helps me achieve professional-looking results. Cut the excess film carefully, and use a gentle touch to avoid scratching the window.
- 7. Inspect the window to ensure the film is applied correctly and there are no air leaks or bubbles. If necessary, use Camilla to re-smooth the film and remove any remaining air bubbles. Finally, step back and admire your handiwork, knowing that you’ve just transformed your window into a cozy and energy-efficient haven.
No Sew Window Insulation Film Magic
As I continue to explore the world of energy efficient window treatments, I’ve found that using a clear window insulation film can make a significant difference in reducing heat transfer. This is especially true for those living in cold climates, where a good window film for cold climates can be a lifesaver. My trusty DIY team, including my favorite tool, Bernie the utility knife, and I have been experimenting with different types of films to find the best solution.
One of the benefits of using a window insulation film is that it’s a great option for renters, as it’s easy to install and remove without damaging the windows. I’ve also discovered that diy window insulation kits can be a cost-effective way to get started with this project. When it comes to installation, I’ve learned that it’s all about the details – making sure the film is applied smoothly and evenly can make a big difference in its effectiveness.
By following these tips and using the right materials, you can create a cozy and energy efficient space that’s perfect for relaxing. Whether you’re a seasoned DIYer or just starting out, I encourage you to give window film installation a try and see the magic for yourself. With a little patience and practice, you’ll be enjoying the benefits of a well-insulated home in no time.
Clear Film for Energy Efficiency
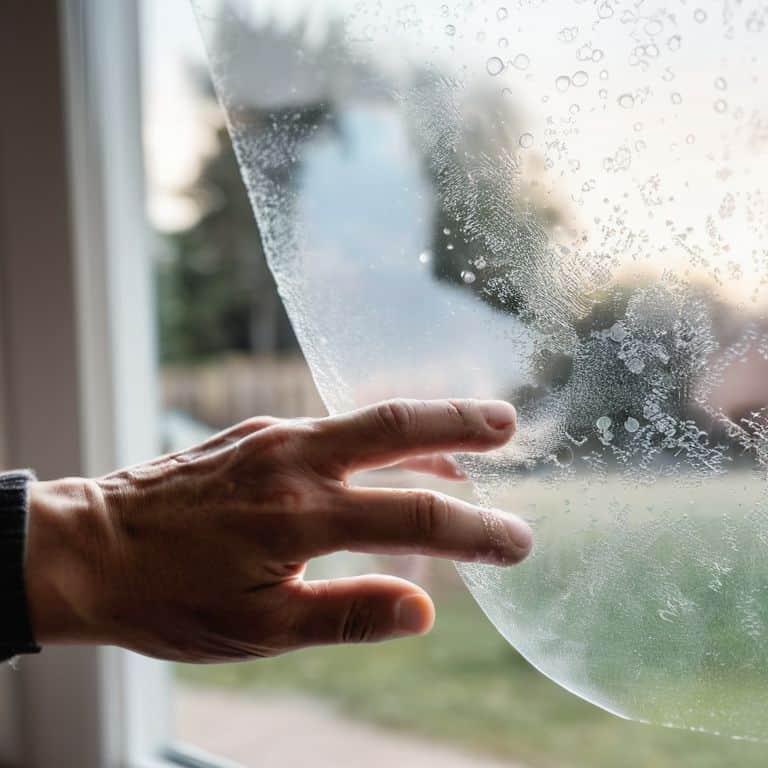
I’m excited to share with you one of my favorite aspects of no-sew window insulation film – its clear film for energy efficiency. This transparent film is a total rockstar when it comes to keeping the warmth in and the chill out, all while maintaining the natural light and views you love. My trusty sidekick, a utility knife I’ve named “Slice,” helped me apply it to my own windows, and the results were astounding. With this clear film, you can say goodbye to drafty windows and hello to a cozier, more energy-efficient home. It’s a simple yet powerful solution that’s perfect for any DIY enthusiast looking to make a big impact with minimal fuss.
Diy Window Film for Cold Climates
As someone who’s worked with a variety of materials, I can attest that no-sew window insulation film is a lifesaver for cold climates. My trusty sidekick, a utility knife I’ve named “Slice,” helps me cut the film to size with ease. I’ve found that this film provides an extra layer of insulation, keeping the chill out and the warmth in. It’s perfect for drafty windows that let the cold air seep in.
In my experience, the film is incredibly easy to apply, and it makes a huge difference in maintaining a cozy temperature indoors. I’ve used it in my own workshop, and it’s been a game-changer for keeping the space warm and toasty, even on the coldest of days. With the help of my “DIY team,” including my tape measure, “Measurella,” and my scraper, “Scrapey,” I can get the job done quickly and efficiently.
Sealing the Deal: 5 Essential Tips for No-Sew Window Insulation Film
- Measure Twice, Cut Once: Double-check your window measurements to ensure a precise fit for the insulation film, avoiding air leaks and wasting material
- Clean Slate: Make sure your windows are spotless before applying the film, as dirt and grime can interfere with adhesion and reduce effectiveness
- Teamwork Makes the Dream Work: Introducing my trusty DIY team – meet ‘Stan the Scraper’ and ‘Sally the Squeegee’, who help me remove air bubbles and excess moisture for a flawless finish
- Seasonal Switch-Up: Consider the climate and time of year when choosing your no-sew window insulation film, as some products are designed specifically for colder or warmer months
- Maintain the Magic: Regularly inspect and clean your insulated windows to keep them working efficiently and extend the lifespan of the no-sew film, ensuring your home stays cozy and energy-efficient all year round
My Top 3 Takeaways for a Cozy Home
I’ve learned that no-sew window insulation film is a total game-changer for reducing heat transfer and saving energy, and it’s ridiculously easy to apply – even my DIY newbie friends can do it!
By using this magical film, I’ve discovered that I can keep my home cozy and warm during the cold months without breaking the bank on energy bills, and it’s also a great way to reduce noise pollution from outside
With the right no-sew window insulation film, you can say goodbye to drafty windows and hello to a more energy-efficient home – plus, it’s a great DIY project to tackle over a weekend, and my trusty tools, Bertha the brush and Sammy the scraper, can’t wait to help you get started!
A Window to Energy Efficiency
With no-sew window insulation film, the ordinary becomes extraordinary – it’s not just a layer of protection, but a bridge between comfort and sustainability, proving that even the smallest changes can warmly rewrite the story of our homes.
Ryan Bennett
Wrapping Up the Cozy Transformation
As I look back on our journey with no-sew window insulation film, I’m reminded of the magic that happens when we combine simple, eco-friendly solutions with a dash of creativity. We’ve covered the basics of applying this incredible film, explored its energy efficiency benefits, and even dived into specialized applications like DIY window film for cold climates and the advantages of clear film. Whether you’re a seasoned DIY enthusiast or just starting to dip your toes into the world of home improvement, this no-sew window insulation film is an excellent addition to your toolkit.
So, as you embark on your own DIY adventures, remember that the true beauty of projects like these lies not just in their functionality, but in the transformative power of imagination and elbow grease. Don’t be afraid to see the potential in discarded items, to reimagine, and to create something truly unique out of the ordinary. With every project, you’re not only making your space more beautiful and efficient, you’re also contributing to a more sustainable future. Keep creating, and let’s make our mark, one upcycled piece at a time!
Frequently Asked Questions
How long does no-sew window insulation film typically last before it needs to be replaced?
Honestly, the lifespan of no-sew window insulation film can vary, but I’ve found it typically lasts around 5-7 years before it starts to lose its insulating magic. Of course, that depends on factors like weather conditions and how well you maintain it. My trusty tool, “Scraper Sam,” helps me remove old film, making replacement a breeze!
Can I use no-sew window insulation film on all types of windows, including skylights and sliding glass doors?
While no-sew window insulation film is super versatile, it’s not suitable for all types of windows. I’ve found it works great on single-pane and double-pane windows, but for skylights and sliding glass doors, you might need a more specialized solution – my trusty sidekick, ‘Tapey’ the tape measure, and I are still experimenting with those!
Does the no-sew window insulation film come in different sizes or do I need to cut it to fit my specific window dimensions?
One of the best things about no-sew window insulation film is that it comes in various sizes, but I also love that it can be easily trimmed to fit any window. My trusty sidekick, ‘Snippy’ the scissors, always helps me get a perfect fit – just measure your window, cut the film to size, and you’re good to go!