


Diy Candle Safety Tips: Ensuring a Safe and Cozy Experience
 February 18, 2026
I still remember the first time I attempted to make my own candles – it was a disaster. I had heard that DIY candle safety tips were overrated, that it was all about having fun and being creative. But let me tell you, nothing is more frustrating than watching your beautifully crafted candle go up in flames because you didn’t take the necessary precautions. As someone who’s passionate about upcycling and DIY projects, I’ve learned that safety always comes first, especially when working with open flames and flammable materials.
In this article, I’ll be sharing my honest and practical advice on how to stay safe while making your own candles. You’ll learn how to choose the right materials, prepare your workspace, and avoid common mistakes that can lead to accidents. My trusty team of tools, including my favorite heat gun, Bertha, and my precision thermometer, Thermy, will also be making an appearance. By the end of this guide, you’ll be equipped with the knowledge and confidence to create your own unique and safe candles, and you’ll be well on your way to becoming a DIY candle-making pro.
Table of Contents
- Guide Overview: What You'll Need
- Step-by-Step Instructions
- Diy Candle Safety Tips
- Flickering with Caution: 5 Essential DIY Candle Safety Tips
- Key Takeaways for a Safe and Successful DIY Candle-Making Experience
- Shining a Light on Safety
- Embracing DIY Candle Safety with Confidence
- Frequently Asked Questions
Guide Overview: What You'll Need
Total Time: 30 minutes to 1 hour
Estimated Cost: $10 – $20
Difficulty Level: Easy
Tools Required
- Candle snuffer for safely extinguishing candles
- Match or lighter for lighting candles
- Fire extinguisher in case of emergency
Supplies & Materials
- Candles made from safe, stable materials
- Candle holders stable and heat-resistant
- Wick trimmer to maintain wick length at 1/4 inch
Step-by-Step Instructions
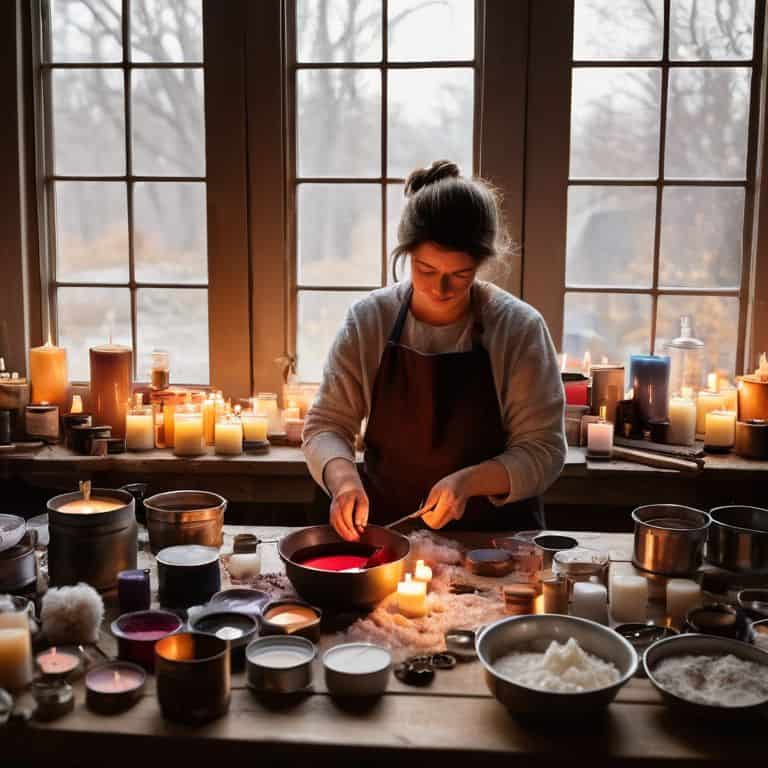
- 1. First, let’s get prepared by gathering all the necessary materials and tools for our DIY candle-making adventure. This includes wax, wicks, melting pots, thermometers, and colorants or fragrances, if desired. I like to introduce my trusty DIY team, which includes my thermometer, Bertha, and my melting pot, Melly, to ensure we’re working with precise temperatures and a safe environment.
- 2. Next, we need to create a safe workspace by covering our work surface with newspaper, a drop cloth, or a heat-resistant mat. This will protect our surfaces from any potential spills or splatters. It’s also essential to ensure good ventilation in our workspace to prevent inhaling any fumes from the wax or fragrances.
- 3. Now, let’s melt the wax in our melting pot, Melly, until it reaches the ideal temperature for our specific type of wax. It’s crucial to monitor the temperature closely with Bertha’s help to avoid overheating, which can lead to a fire hazard or affect the quality of our candle. I usually aim for a temperature between 180°F to 200°F, depending on the wax type.
- 4. While our wax is melting, we can prepare the wicks by cutting them to the desired length and shaping them if necessary. It’s essential to use a wick that’s suitable for the size and type of candle we’re making to ensure a clean, even burn. My wick trimmer, Wicky, is a vital member of my DIY team, helping me achieve the perfect wick size every time.
- 5. Once our wax has reached the ideal temperature, we can add the colorants or fragrances. It’s vital to use high-quality, candle-specific colorants and fragrances to ensure they’re safe and won’t affect the burn quality of our candle. I always mix these in well and test the scent or color before pouring the wax into our candle molds.
- 6. Now, it’s time to pour the wax mixture into our candle molds. We need to work carefully to avoid splashing or spilling the wax, as it can be dangerous and make a mess. My pouring pot, Polly, is designed for safe and easy pouring, making this step a breeze. Ensure the molds are level and on a stable surface to prevent them from tipping over.
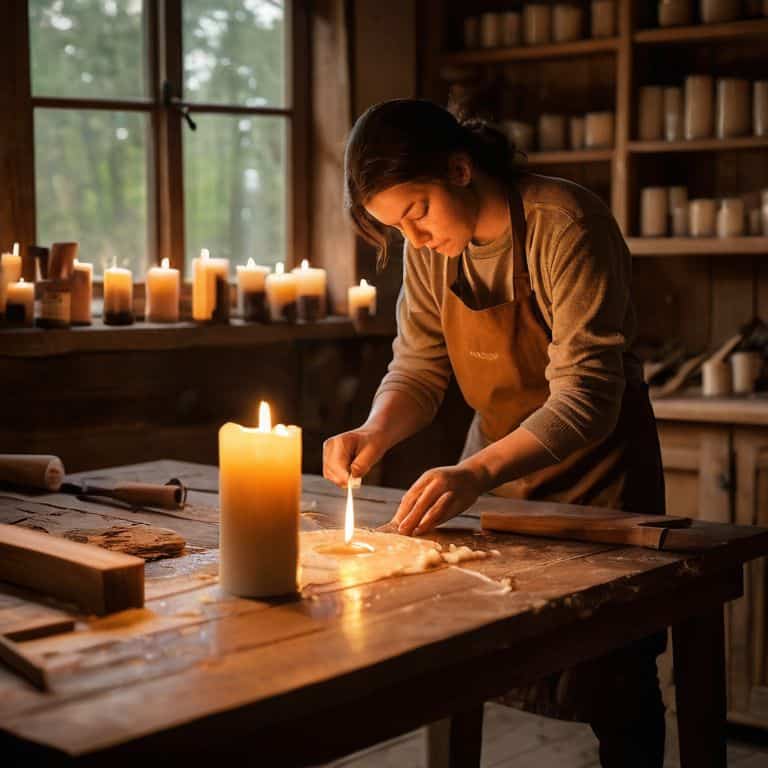
- 7. After pouring the wax, we need to allow it to cool and solidify completely. This can take several hours, depending on the size of our candle. It’s essential to be patient and not rush this process, as it can affect the quality and appearance of our finished candle. Once solidified, we can remove the candle from the mold and trim the wick to the desired length, readying our handmade candle for use.
Diy Candle Safety Tips
When it comes to creating a warm and inviting ambiance with your handmade candles, it’s essential to consider candle flame height adjustment to ensure a safe and enjoyable experience. I’ve learned this the hard way, and my trusty tool, Bernice the wax melter, can attest to the importance of getting it just right. To achieve the perfect flame, make sure to trim the wick to the recommended length, and never leave a burning candle unattended.
As you experiment with different wax types and fragrances, remember to prioritize wax melt safety precautions. This includes using a thermometer to monitor the temperature of the melted wax and avoiding overheating, which can lead to a messy and potentially hazardous situation. My DIY team, including my faithful sidekick, a heat-resistant spatula named Spike, always reminds me to stay vigilant when working with wax.
To take your candle-making skills to the next level, consider burn time optimization techniques, such as using the right wax-to-fragrance ratio and selecting the perfect wick size. By mastering these techniques, you’ll be able to create candles that not only provide a warm glow but also fill your space with a beautifully balanced scent. My experience has taught me that with a little practice and patience, you can achieve scented candle safety considerations that will make your handmade creations truly special.
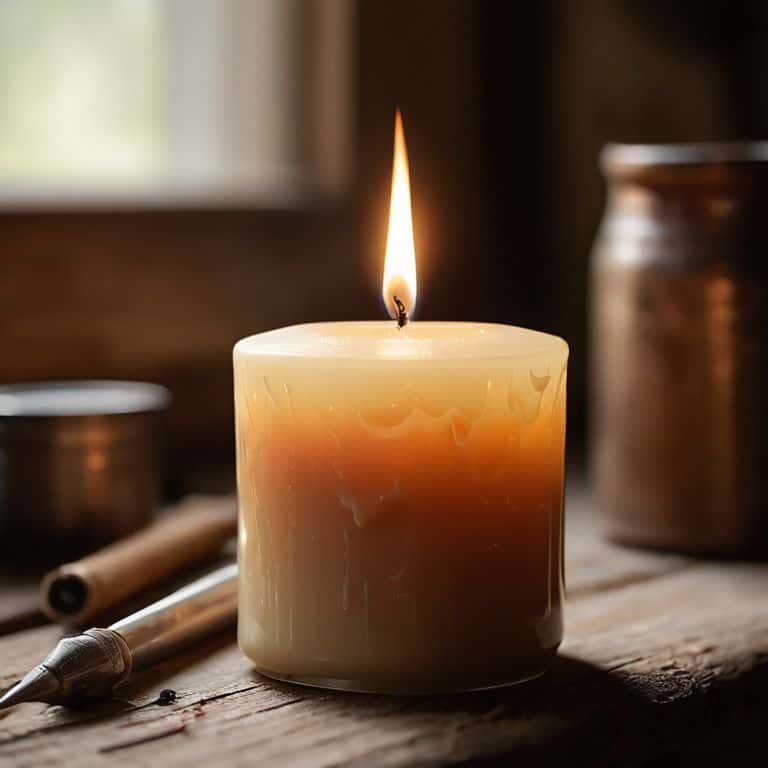
Candle Flame Height Adjustment Secrets
Now that we’ve covered the basics of DIY candle safety, let’s dive into one of my favorite topics: adjusting the flame height for optimal ambiance and safety. I like to think of it as the secret sauce to creating a warm and inviting atmosphere. My trusty tool, Bertha the wick trimmer, always comes in handy for this step. By tweaking the wick length, you can achieve the perfect flame size, reducing the risk of overheating or uneven burning.
To get it just right, I recommend trimming the wick to about 1/4 inch before each use. This simple trick, along with monitoring the flame’s height, will help you enjoy your handmade candles while minimizing potential hazards.
Wax Melt Safety Precautions Uncovered
When working with wax melts, it’s essential to consider the temperature and potential splatters. My trusty thermometer, “Tempy,” always helps me monitor the heat. I’ve learned that keeping the melting point below 200°F (93°C) is crucial to avoid any accidents. Also, using a well-ventilated area and a splatter guard can save you from a messy cleanup – my “Splat Squad” of cleaning tools can attest to that! By taking these precautions, you’ll be able to enjoy the process of creating your own unique wax melts without any worries.
I always introduce my DIY team, including “Meltie” the melting pot, to ensure everyone knows who’s helping me get the job done. With the right tools and precautions, you’ll be crafting beautiful, safe wax melts in no time.
Flickering with Caution: 5 Essential DIY Candle Safety Tips
- Never leave a burning candle unattended, and keep it away from flammable materials like curtains, bedding, or paper products
- Use my trusty sidekick, ‘Snippy’ the scissors, to trim the wick to 1/4 inch before each use to prevent excessive flame height
- Keep the melting pot away from children and pets, and always use ‘Melter’, my heat-resistant spoon, to handle hot wax
- Ensure good ventilation in the room when burning candles, and avoid placing them near air vents or drafty windows
- Always let the wax cool and solidify before handling the candle, and never use ‘Sander’, my power sander, near open flames or sparks
Key Takeaways for a Safe and Successful DIY Candle-Making Experience
I’ve learned that having the right tools, like my trusty sidekick ‘Meltie’ the thermometer, can make all the difference in achieving the perfect wax melt and avoiding accidents
Proper ventilation is crucial – I always make sure to open a window or use a fan when working with wax and fragrances, and I introduce my ‘DIY team’ to the importance of airflow in our workshop
By following simple safety precautions, such as keeping the candle flame at a safe height and using protective gear like gloves and goggles, you can create beautiful, unique candles that bring warmth and light to any space, just like my ‘Rustic Charm’ series
Shining a Light on Safety
As I always say, a flicker of caution is worth a flame of wisdom – when it comes to DIY candle safety, it’s the little sparks of knowledge that can make all the difference between a warm glow and a burning hazard.
Ryan Bennett
Embracing DIY Candle Safety with Confidence
As we conclude our journey through the world of DIY candle safety, it’s essential to recap the key takeaways that will help you create a warm and inviting atmosphere without compromising on safety. From adjusting the candle flame height to taking necessary wax melt safety precautions, each step is crucial in ensuring a pleasant and secure experience. By following these guidelines and being mindful of potential hazards, you’ll be well on your way to becoming a skilled DIY candle maker, capable of crafting beautiful, unique pieces that bring joy to your home and loved ones.
As you embark on your DIY candle-making adventures, remember that safety and creativity go hand in hand. Don’t be afraid to experiment with new techniques and designs, but always do so with a critical eye for safety. With practice, patience, and the right mindset, you’ll unlock the full potential of DIY candle making and discover a world of possibilities where beauty and safety blend together in perfect harmony. So, go ahead, get creative, and let your DIY spirit shine bright!
Frequently Asked Questions
What are some common mistakes to avoid when working with flammable materials in DIY candle-making?
Hey friends, let me tell you, I’ve had my fair share of close calls when working with flammable materials. Common mistakes to avoid include leaving melting wax unattended, not using a thermometer, and ignoring proper ventilation – trust me, my DIY team, led by Bernie the blowtorch, can attest to the importance of caution!
How can I ensure my DIY candles are stable and won't tip over, causing a fire hazard?
To keep my DIY candles stable, I make sure to use a sturdy base or centerpiece, and I always test their balance before lighting. My trusty level tool, ‘Lily’, helps me get the surface just right. By taking these extra steps, you can enjoy your handmade candles with peace of mind, knowing they won’t tip over and cause a fire hazard.
What are the best practices for storing and disposing of leftover wax and other materials after a DIY candle-making project?
When wrapping up a DIY candle project, I like to think of it as a chance to get creative with leftovers. I store excess wax in airtight containers, labeled and dated, for future melts. My trusty tool, ‘Meltie,’ helps me scrape out every last bit. As for disposal, I recycle or repurpose materials whenever possible, and responsibly discard the rest, making sure to keep my workshop tidy and eco-friendly.