


How to Make Your Own Natural Beeswax Candles for a Cozy Ambience
 March 8, 2026
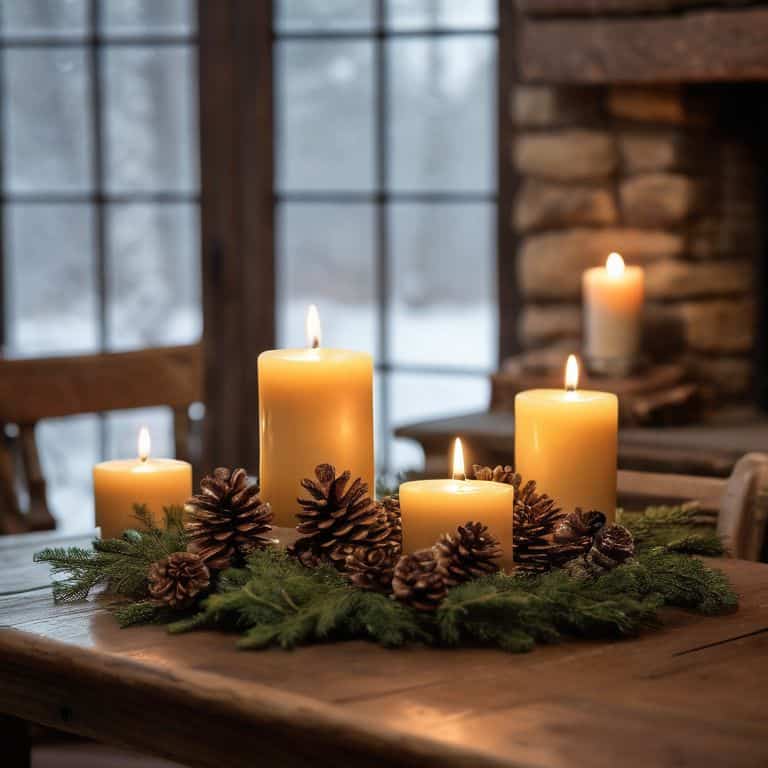
I still remember the first time I lit a natural beeswax candle in my workshop – the warm, golden glow it cast on the wooden furniture I was upcycling was nothing short of magical. It was as if the soft light had brought out the hidden beauty in the old, worn-out pieces, and I was hooked. I’ve since learned that many people believe natural beeswax candles are too expensive or difficult to make, but I’m here to tell you that’s just not true. With the right guidance, you can create your own rustic charm at home, and it’s easier than you think.
In this article, I’ll share my personal experience and practical tips on how to make your own natural beeswax candles. I’ll walk you through the process, from selecting the right materials to troubleshooting common issues, so you can enjoy the warm ambiance of these beautiful candles in your own home. Whether you’re a seasoned DIY enthusiast or just starting out, I promise you’ll find my advice honest, straightforward, and easy to follow. So, let’s get started on this creative journey together, and discover the joy of crafting something truly special with natural beeswax candles.
Table of Contents
- Guide Overview: What You'll Need
- Step-by-Step Instructions
- Crafting Natural Beeswax Candles
- Brightening Up Your Space: 5 Key Tips for Working with Natural Beeswax Candles
- Key Takeaways for a Warm, Rustic Glow
- Embracing the Warmth of Nature
- Embracing the Warmth of Natural Beeswax Candles
- Frequently Asked Questions
Guide Overview: What You'll Need
Total Time: 2 hours 30 minutes
Estimated Cost: $20 – $40
Difficulty Level: Easy
Tools Required
- Double Boiler (or a heat-resistant glass bowl)
- Thermometer (for monitoring temperature)
- Colorant (optional, for dyeing the candle)
- Fragrance Oils (optional, for scenting the candle)
- Wick Trimmer (for trimming the wick to 1/4 inch)
- Melting Pot (for melting the wax, approximately 6 inches in diameter)
Supplies & Materials
- Beeswax (available in pellets or blocks, approximately 1 pound)
- Cotton Wick (approximately 10 inches long and 1/4 inch in diameter)
- Melting Pot Liner (for easy cleanup)
- Rubber Spatula (for stirring and pouring the wax mixture)
- Candle Mold (made of silicone or plastic, approximately 3 inches in diameter and 6 inches tall)
Step-by-Step Instructions
- 1. To start creating your own natural beeswax candles, gather all the necessary materials, including beeswax pellets, a melting pot, a thermometer, a colorant (if desired), and a mold to shape your candle. I like to introduce my DIY team, led by “Meltie” the melting pot and “Tempy” the thermometer, to ensure we get the perfect temperature for melting the wax.
- 2. Next, prepare your workspace by covering it with a protective cloth or old sheets to prevent any spills or messes. This is a crucial step, as it will save you time and effort in the long run. My trusty sidekick, “Sweepy” the broom, always helps me clean up any debris before we begin.
- 3. Now, melt the beeswax pellets in your melting pot, stirring occasionally, until they reach a temperature of around 180-190°F (82-88°C). It’s essential to monitor the temperature closely, as excessive heat can damage the wax. I always keep “Stirry” the spoon handy for this step.
- 4. Once the wax is fully melted, add your colorant (if using) and stir well to combine. Be cautious not to add too much colorant, as this can affect the burning quality of the candle. My “Color Mixer” tool, which I’ve named “Mixy,” helps me achieve the perfect hue.
- 5. Prepare your mold by ensuring it’s clean and dry. If you’re using a silicone mold, you can lightly spray it with cooking spray to ensure the candle will release easily once it’s set. My “Mold Master” tool, aka “Sprayy,” makes this step a breeze.
- 6. Pour the melted wax mixture into the prepared mold, making sure to fill it to the top. Use “Poury” the pouring spout to prevent spills and achieve a smooth, even pour.
- 7. Allow the wax to cool and solidify completely. This can take several hours, depending on the size of your candle. Once it’s set, remove the candle from the mold and trim the wick to the desired length. My “Wick Whittler” tool, affectionately known as “Whitty,” helps me get the perfect wick size every time.
- 8. Finally, inspect your candle for any imperfections or blemishes. If necessary, use a hair dryer or heat gun to smooth out any rough spots. With your natural beeswax candle now complete, you can enjoy the warm, soft glow it provides, knowing you’ve created something truly unique and special. My “Finishing Touch” tool, “Smoothy,” helps me add the perfect finishing touches to my candles.
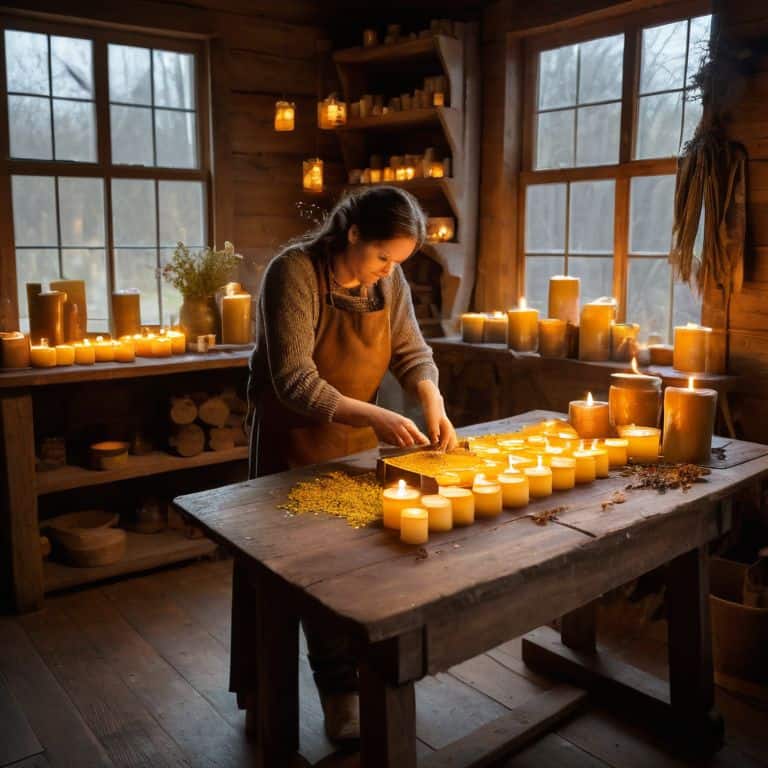
Crafting Natural Beeswax Candles
As I work on my latest project, I’m reminded of the beeswax candle benefits that make them a staple in my home. Not only do they provide a warm, cozy ambiance, but they also have a unique, natural scent that’s hard to replicate with synthetic materials. When it comes to candle making supplies, I’m a firm believer in keeping it simple and using high-quality ingredients. My trusty DIY team, including my favorite tool, “Melty,” helps me get the job done.
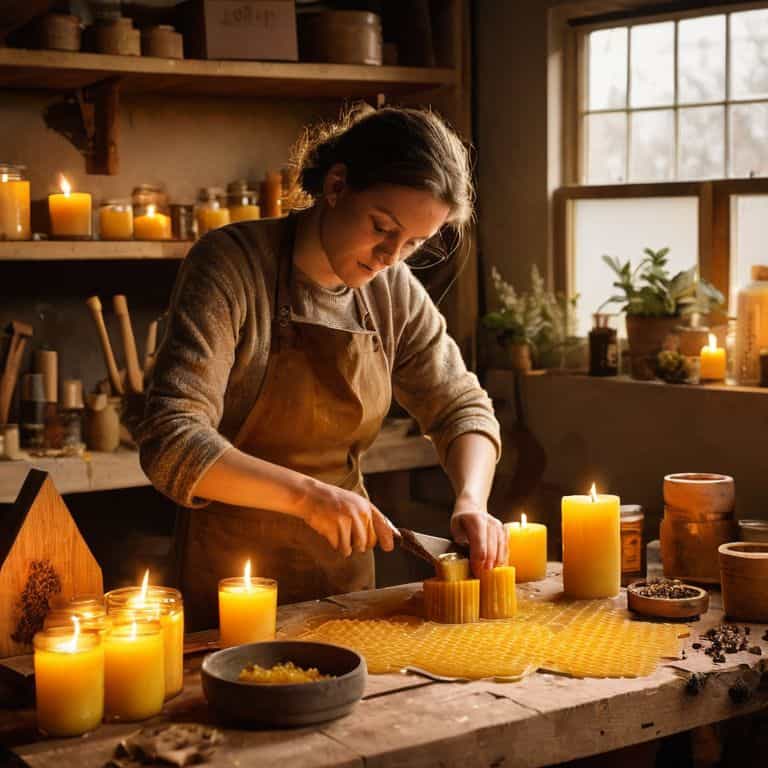
One of the most common questions I get from readers is about the difference between soy wax vs beeswax. While both have their own advantages, I prefer working with beeswax for its unique texture and scent. When it comes to adding a little extra something to my candles, I love experimenting with essential oils for candles. From lavender to eucalyptus, there are countless options to create unique candle fragrance recipes.
As I pour the melted wax into the mold, I’m always excited to see the final result. Hand poured candle techniques require a bit of patience and practice, but the end result is well worth it. With a little creativity and the right materials, you can create beautiful, one-of-a-kind candles that add a touch of warmth and personality to any room. Whether you’re a seasoned DIY enthusiast or just starting out, I encourage you to give candle making a try and experience the joy of creating something truly special.
Essential Oils for Unique Fragrances
When it comes to giving my natural beeswax candles a personal touch, I love experimenting with essential oils. My trusty sidekick, a tool I’ve named “Drippy,” helps me measure out just the right amount of oil to add a unique fragrance to each candle. I’ve found that lavender and eucalyptus are two of my favorite scents to work with – they add a subtle, rustic charm to the warm glow of the candlelight.
I’ve also been known to get creative with blending different oils to create one-of-a-kind fragrances. My “DIY team,” which includes my faithful dropper, “Daisy,” and my mixing spoon, “Stirry,” help me bring these custom scents to life. Whether I’m making a candle for my own home or as a gift for friends and family, using essential oils allows me to put a personal touch on each and every one.
Unlocking Beeswax Candle Benefits
As I work with natural beeswax, I’m constantly amazed by its unique benefits. Not only do beeswax candles provide a warm, soft light, but they also purify the air and create a cozy atmosphere. My trusty tool, “Meltie” – my temperature-controlled melting pot – helps me precision-craft each candle to bring out the best in the wax. I’ve found that the natural scent of beeswax has a calming effect, making it perfect for relaxing spaces.
By crafting my own beeswax candles, I’ve noticed a significant reduction in dust and allergens in my home. It’s incredible to think that something as simple as a candle can have such a positive impact on indoor air quality. With each candle I create, I feel like I’m not only adding a touch of rustic charm to my space, but also promoting a healthier environment.
Brightening Up Your Space: 5 Key Tips for Working with Natural Beeswax Candles
- I always make sure to trim the wick to about 1/4 inch before lighting my beeswax candles to ensure a clean, steady burn – my trusty wick trimmer, ‘Whiskers’, is a part of my DIY team that helps me achieve this
- Experimenting with different melting temperatures can significantly affect the texture and appearance of your handmade beeswax candles, so don’t be afraid to get creative and find what works best for you
- Natural beeswax candles can be a bit more temperamental than their paraffin counterparts, so it’s essential to keep them away from drafts to prevent flickering and uneven burning – a lesson I learned the hard way, but now I make sure to place them strategically
- To add an extra layer of rustic charm to your space, consider pairing your natural beeswax candles with vintage or upcycled holders, like old mason jars or wooden lanterns – it’s all about mixing the old with the new
- I like to infuse my beeswax candles with unique, seasonal scents using high-quality essential oils – for example, a blend of cinnamon, orange, and clove for a warm winter ambiance, which I achieve with the help of my ‘Scent Master’, a precision oil dropper that helps me get just the right balance of fragrances
Key Takeaways for a Warm, Rustic Glow
I’ve found that crafting my own natural beeswax candles allows me to bring a touch of rustic charm into my home, while also enjoying the numerous health benefits they provide, from air purification to mood enhancement.
By experimenting with different essential oils, I’ve discovered that unique fragrances can be created to match any mood or atmosphere, from the calming scent of lavender to the invigorating aroma of citrus, which my trusty DIY team – including my favorite tool, ‘Sandy the Scraper’ – helps me achieve with precision and ease.
Whether you’re a seasoned DIY enthusiast or just starting out, I believe that making your own natural beeswax candles is an incredibly rewarding experience, allowing you to unleash your creativity, reduce waste, and create something truly special that reflects your personal style, which for me is all about blending rustic elements with modern twists.
Embracing the Warmth of Nature
As I light a natural beeswax candle, I’m reminded that sometimes the simplest pleasures can ignite the greatest sense of comfort and tranquility – it’s a gentle reminder to slow down and appreciate the beauty in the everyday.
Ryan Bennett
Embracing the Warmth of Natural Beeswax Candles
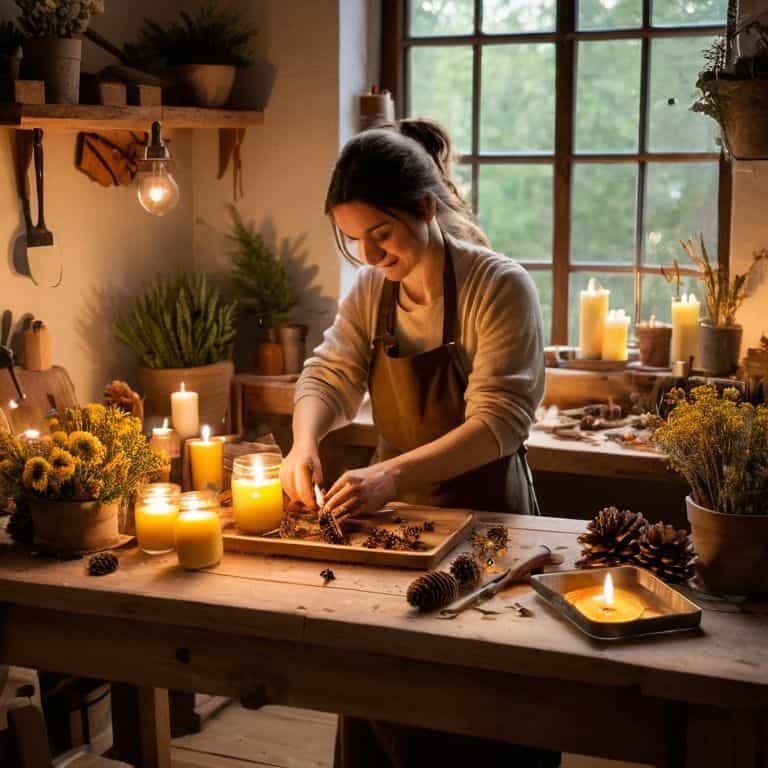
As I reflect on our journey through the world of natural beeswax candles, I’m reminded of the transformative power of DIY projects. From the initial steps of crafting our own candles to exploring the benefits of beeswax and experimenting with unique fragrances using essential oils, we’ve uncovered the potential to create something truly special. It’s not just about the end product, but the process itself – the joy of working with natural materials, the satisfaction of seeing our creations come to life, and the knowledge that we’re contributing to a more sustainable lifestyle. By embracing this craft, we’re not only enhancing our living spaces with warm, rustic ambiance but also nurturing our connection with the natural world.
As we conclude this journey, I want to leave you with a final thought: the true beauty of natural beeswax candles lies not just in their warm glow, but in the stories they tell. Each candle is a testament to our creativity, our passion for sustainability, and our willingness to slow down and appreciate the simple things in life. So, let’s continue to ignite our spaces with the warmth of natural beeswax candles, and let’s inspire others to do the same, one beautifully crafted candle at a time.
Frequently Asked Questions
What are the benefits of using natural beeswax candles over traditional paraffin wax candles?
I’m a huge fan of natural beeswax candles, and for good reason – they’re a game-changer compared to traditional paraffin wax candles. Not only do they burn cleaner and longer, but they also release a soothing, natural glow that’s simply irresistible. Plus, they’re better for the environment and can even help purify the air, making them a wonderful choice for my own home and the homes of my DIY community.
How do I properly care for and maintain my natural beeswax candles to ensure they last a long time?
To keep my natural beeswax candles burning brightly for a long time, I make sure to trim the wick to about 1/4 inch before each use, and avoid placing them near drafts. My trusty tool, ‘Snippy’ the wick trimmer, helps me get the job done. By doing so, I can enjoy the warm, rustic ambiance they bring to my space for months to come.
Can I add colorants or dyes to my natural beeswax candles, or will that affect their natural benefits?
I love experimenting with colors, but when it comes to natural beeswax candles, I recommend keeping them dye-free to preserve their natural benefits. Adding colorants can alter the candle’s burn time and even release toxins when lit. Instead, I suggest embracing the warm, golden glow of pure beeswax – it’s a rustic charm that’s hard to replicate!