


Diy Heating Solutions: Keeping Your Home Warm on a Budget
 June 19, 2025
I still remember the winter morning I woke up to find my old radiator had given up on me, leaving my small apartment freezing cold. As I sat there, shivering and sipping on a lukewarm coffee, I realized that DIY heating solutions didn’t have to be a daunting task. In fact, with the right mindset and a few trusty tools – like my favorite drill, Bertha, and my reliable sanding block, Sandy – I could create something not only functional but also beautiful. The common myth that DIY projects are time-consuming and expensive is exactly that – a myth. With a little creativity, you can breathe new life into old, discarded materials and create your own unique heating solutions.
In this article, I’ll share my personal favorite DIY heating solutions that have kept my home warm and cozy without breaking the bank. From upcycling old radiators to creating your own heating pads, I’ll guide you through the process with honest and practical advice, so you can avoid common pitfalls and achieve professional-looking results. Whether you’re a seasoned DIY enthusiast or a beginner looking to dip your toes into the world of DIY, this guide is designed to inspire and empower you to take control of your heating needs and create something truly special. So, let’s get started and explore the world of DIY heating solutions together!
Table of Contents
- Guide Overview: What You'll Need
- Step-by-Step Instructions
- Enchanting Diy Heating Solutions
- Unlocking Cozy Inexpensive Insulation and Radiant Floor Heating
- Weaving Magic With Passive Solar Heating Designs
- Cozying Up with DIY Delights: 5 Essential Tips for Heating Your Home
- Cozying Up to Savings: 3 Key Takeaways
- Warming the Heart of Your Home
- Embracing the Art of DIY Heating Solutions
- Frequently Asked Questions
Guide Overview: What You'll Need

Total Time: 2 hours 30 minutes
Estimated Cost: $50 – $100
Difficulty Level: Intermediate
Tools Required
- Drill (with screwdriver and drill bits)
- Tape Measure (for accurate measurements)
- Pliers (for gripping small objects)
- Saw (for cutting 2-in x 4-in lumber)
- Soldering Iron (for electrical connections)
Supplies & Materials
- 2-in x 4-in lumber (for building a frame)
- Insulation Materials (e.g., foam board, fiberglass)
- Electric Space Heater (with a thermostat)
- Thermal Paste (for improving heat transfer)
- Wiring and Connectors (for safe electrical connections)
Step-by-Step Instructions
- 1. First, let’s start by gathering our materials, which include an old radiator, some copper pipes, a thermostat, and my trusty DIY team – meet Bertha the blowtorch, Sammy the soldering iron, and Max the multitool. We’ll be using these to create a unique and functional DIY heating solution.
- 2. Next, we need to assess the space where our heating solution will be installed. Take note of the dimensions, the type of flooring, and the location of any electrical outlets or water sources. This will help us determine the best placement for our radiator and ensure that it’s both efficient and safe.
- 3. Now, it’s time to get creative and upcycle our radiator. We’ll be giving it a fresh coat of paint and attaching some decorative copper pipes to create a one-of-a-kind design. Make sure to sand down any rough edges and apply a primer before painting to ensure a smooth finish.
- 4. With our radiator looking brand new, it’s time to install the thermostat. This will allow us to control the temperature and ensure that our heating solution is working efficiently. Be careful when connecting the wires, and make sure to follow the manufacturer’s instructions for a safe and successful installation.
- 5. The next step is to connect the copper pipes to our radiator and thermostat. This will require some soldering, so make sure to put on your safety goggles and use a well-ventilated area. My buddy Sammy the soldering iron will come in handy here, as we carefully join the pipes together to create a seamless connection.
- 6. Once our pipes are connected, it’s time to test our heating solution. Turn on the thermostat and check for any leaks or issues with the pipes. If everything is working smoothly, you should start to feel the warmth emanating from our upcycled radiator.
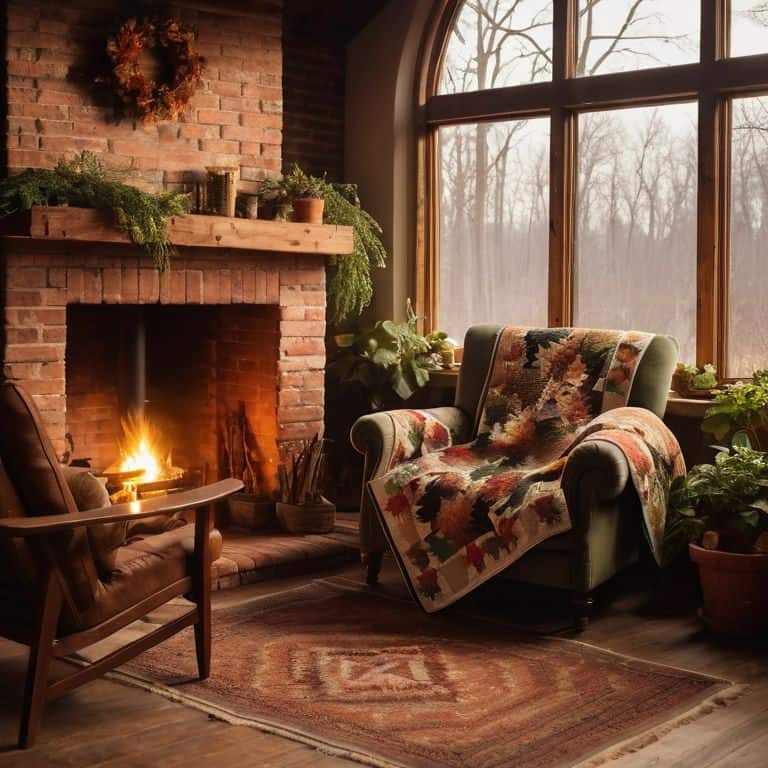
- 7. Finally, let’s add some rustic charm to our heating solution by surrounding it with natural materials like wood or stone. This will not only enhance the aesthetic appeal but also help to retain the heat and create a cozy atmosphere in the room. With our DIY heating solution complete, we can now sit back and enjoy the warm, fuzzy feeling of a job well done.
Enchanting Diy Heating Solutions

As I delve into the world of passive solar heating designs, I’m reminded of the importance of harnessing natural energy to warm our homes. By incorporating inexpensive insulation methods, such as recycled denim or spray foam, we can significantly reduce heat loss and create a cozier living space. My trusty DIY team, including my favorite hammer, Bertha, and my drill, Django, have been instrumental in helping me bring these designs to life.
When it comes to optimizing our heating systems, thermostat optimization techniques play a crucial role. By programming our thermostats to adjust the temperature at specific times of the day, we can save energy and reduce our carbon footprint. I’ve also experimented with radiant floor heating systems, which have proven to be an effective and efficient way to warm our homes. My DIY heating pad projects have also been a game-changer, providing a cozy and eco-friendly way to stay warm on chilly evenings.
As I continue to explore the world of DIY heating, I’m excited to share more tips and tricks with you. From energy efficient window treatments to creative ways to repurpose materials, there are countless ways to reduce our energy consumption and create a more sustainable living space. By working together and sharing our ideas, we can create a warmer, more welcoming home without breaking the bank.
Unlocking Cozy Inexpensive Insulation and Radiant Floor Heating
As I delve into the world of enchanting DIY heating solutions, my trusty sidekick, a vintage drill named Daisy, and I explore the realm of inexpensive insulation and radiant floor heating. We’re talking about wrapping your home in a warm hug, without breaking the bank. By using recycled materials like denim insulation or repurposed fiberglass, you can keep the chill off and the coziness on.
My DIY team, including my loyal hammer, Hank, and tape measure, Tess, help me bring this vision to life. We’ll show you how to install radiant floor heating using cost-effective solutions like solar-powered mats or reclaimed wood radiant panels. It’s all about infusing your space with a touch of rustic charm and modern functionality, while keeping your wallet happy and your toes toasty.
Weaving Magic With Passive Solar Heating Designs
As I share my DIY team’s favorite projects, I’m excited to dive into the realm of passive solar heating designs. My trusty sidekick, a vintage level named Vera, helps me ensure that every window and mirror is perfectly angled to capture the sun’s warm rays. By strategically placing these reflective surfaces, we can weave a magical spell of warmth and coziness throughout our homes.
With a little creativity and some rustic charm, we can turn any room into a snug retreat, all while harnessing the power of natural light and heat. My drill, Daisy, and I love experimenting with different materials and designs to create unique passive solar heating solutions that not only warm our spaces but also add a touch of personality to each room.
Cozying Up with DIY Delights: 5 Essential Tips for Heating Your Home
- Meet Bertha, my trusty heat gun, and the rest of my DIY team – they’ll help you breathe new life into old materials and create cozy heating solutions
- Repurpose vintage radiators or heaters to add a touch of rustic charm to your home, blending the old with the new for a unique heating system
- Insulate, insulate, insulate – my drill, Daisy, will be your best friend when it comes to sealing gaps and cracks to keep the warmth in and the cold out
- Get creative with passive solar heating by using thermal curtains, awnings, or overhangs to regulate the temperature in your home, all while adding a modern twist to your decor
- Harness the power of DIY underfloor heating with the help of my buddy, a trusty multimeter named Max – it’s easier than you think, and will keep your toes toasty on even the chilliest of nights
Cozying Up to Savings: 3 Key Takeaways
Embracing the art of upcycling and repurposing vintage materials can lead to unique, eco-friendly, and cost-effective DIY heating solutions that not only warm your home but also tell a story
By incorporating passive solar heating designs and inexpensive insulation methods, you can significantly reduce your energy bills while infusing your space with a touch of rustic charm and modern functionality
Whether it’s through radiant floor heating or other creative approaches, the possibilities for enchanting DIY heating projects are endless, waiting to be discovered and crafted with the help of my trusty DIY team, including my beloved tools, Bertha the drill and Sammy the sander
Warming the Heart of Your Home
By embracing DIY heating solutions, we not only warm our spaces, but also ignite a sense of pride and connection to the world around us, reminding us that even the simplest transformations can hold the greatest magic.
Ryan Bennett
Embracing the Art of DIY Heating Solutions
As we conclude our journey through the world of DIY heating solutions, it’s essential to reflect on the key takeaways. We’ve explored various methods to warm our homes, from passive solar heating designs to inexpensive insulation and radiant floor heating. These approaches not only help reduce energy costs but also allow us to breathe new life into old, discarded materials. By embracing the art of upcycling and creative problem-solving, we can transform our living spaces into cozy retreats that exude warmth and character.
As you embark on your own DIY heating projects, remember that the true magic lies in the process of creation. Don’t be afraid to experiment, to try new things, and to push the boundaries of what’s possible. With every project, you’ll not only be warming your home but also nurturing your imagination and sense of self-expression. So, let’s get creative, let’s get cozy, and let’s make our homes a reflection of our unique personalities and styles.
Frequently Asked Questions
What are some creative ways to repurpose old materials for DIY heating solutions?
I just love breathing new life into old materials. For DIY heating solutions, consider repurposing vintage radiators, transforming old brick fireplaces, or even upcycling wooden pallets into cozy heating nooks. My trusty DIY team, including my favorite hammer, Bertha, and drill, Daisy, can’t wait to help you get creative and warm up your space.
How can I ensure that my DIY heating project is both energy-efficient and safe for my home?
To ensure your DIY heating project is both energy-efficient and safe, I always say, ‘measure twice, build once’! My trusty tool, Bernie the level, helps me get it just right. Double-check your materials, insulation, and electrical connections. Consult local building codes and safety guidelines, and don’t hesitate to consult a pro if you’re unsure – safety always comes first in my book!
Are there any specific DIY heating solutions that are well-suited for small or rented spaces with limited installation possibilities?
For small or rented spaces, I recommend my ‘Mini Marvels’ – portable, plug-in heaters made from upcycled materials like old radiators or brick ovens. My trusty tool, ‘Sandy the Sander,’ helps me refinish these hidden gems. They’re perfect for adding a cozy touch without major installations, and can be easily taken with you when you move.