


Diy Family Game Night: Creating a Warm and Inviting Space
 August 14, 2025
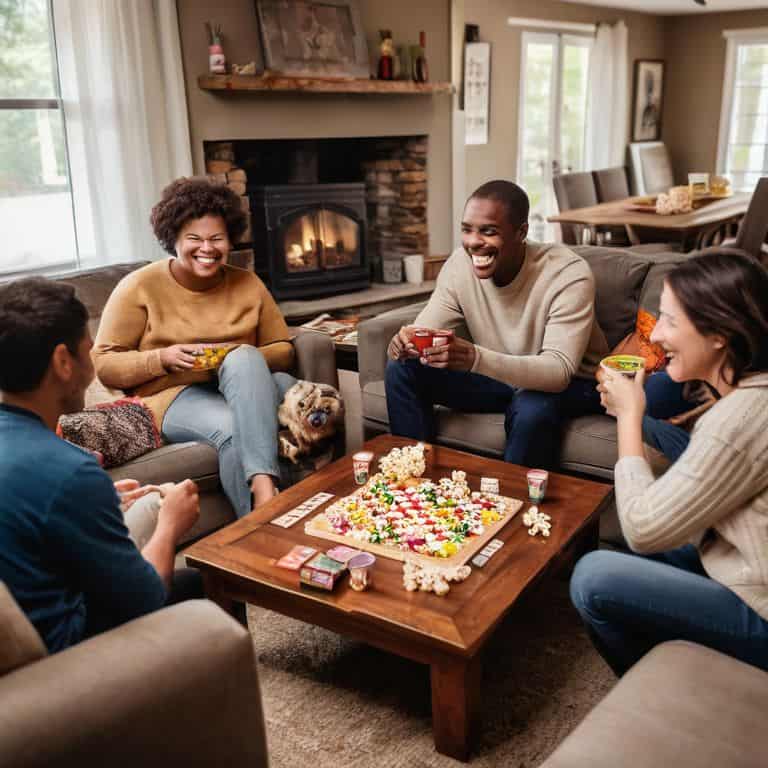
I still remember the night my family and I had our first DIY family game night. We were all stuck inside on a rainy evening, and my parents, being the crafty folks they are, decided to whip up a few homemade board games using old cardboard boxes and scraps of wood. It was a blast! We spent hours laughing, competing, and bonding over our makeshift creations. As I grew older, I realized that this experience wasn’t just a fun night in – it was a lesson in the power of creativity and togetherness. Now, as a DIY blogger, I’m excited to share my own take on DIY family game night, and show you how to turn ordinary nights into extraordinary memories with just a few simple tools and a dash of imagination.
In this article, I’ll be sharing my top tips and tricks for hosting an unforgettable DIY family game night. You’ll learn how to create your own unique games using everyday items, how to set up a cozy and inviting atmosphere, and how to make the most of your time together as a family. I’ll be introducing you to my trusty DIY team, including my favorite tools, Betsy the drill and Sammy the sandpaper, which will help you bring your game night visions to life. From start to finish, I’ll guide you through the process of creating a night that’s both fun and meaningful, with plenty of opportunities for quality time and creative expression. So, grab some snacks, gather your loved ones, and get ready to transform your ordinary nights into extraordinary DIY family game nights!
Table of Contents
- Guide Overview: What You'll Need
- Step-by-Step Instructions
- Diy Family Game Night Magic
- Sparking Joy: 5 Essential Tips for a Memorable DIY Family Game Night
- Bringing it All Together: 3 Key Takeaways for a Memorable DIY Family Game Night
- Embracing the Joy of Creation
- Wrapping Up the Fun: A Lasting DIY Family Game Night Impression
- Frequently Asked Questions
Guide Overview: What You'll Need
Total Time: 1 hour 30 minutes
Estimated Cost: $20 – $50
Difficulty Level: Easy
Tools Required
- Scissors (for cutting paper or cardboard)
- Glue (for bonding materials)
- Markers or Colored Pencils (for decorating game boards or cards)
Supplies & Materials
- Cardboard or Cardstock (for creating game boards)
- Printable Game Templates (available online)
- Snacks and Beverages (for a fun game night experience)
Step-by-Step Instructions
- 1. First, let’s start by gathering our materials, which include old board games, cards, and any other games you might have lying around the house. I like to think of this step as a treasure hunt, where you get to dig through your attic, basement, or storage room to find those old favorites that have been collecting dust. My trusty sidekick, a hammer I’ve named “Hank,” always seems to get excited when we’re about to start a new project, and I’m sure he’ll be eager to help us get started.
- 2. Next, we need to prep our game space, which can be your living room, basement, or even a backyard. The key is to create a cozy and inviting atmosphere that encourages everyone to have fun. I like to use old lanterns, blankets, and pillows to create a warm and welcoming ambiance. My drill, “Daisy,” is always up for the task of hanging some string lights or fixing up any old furniture we might need for our game night.
- 3. Now it’s time to get creative and upcycle some old games. Take an old board game and turn it into something new and exciting. For example, you can turn an old Scrabble board into a unique coaster or a old chess board into a decorative wall hanging. My sandpaper, “Sandy,” is always ready to help smooth out any rough edges and give our creations a nice finish.
- 4. The next step is to set up our game stations, which can include a card table for poker or a large table for board games. Make sure each station has everything needed to play the game, including instructions, pieces, and scorecards. I like to use old mason jars to hold game pieces and my level, “Lily,” to ensure everything is perfectly aligned.
- 5. Once our game stations are set up, it’s time to add some snacks and drinks to keep everyone energized throughout the night. You can set up a small bar with old mason jars filled with homemade snacks, such as popcorn or trail mix. My tape measure, “Terry,” is always handy when it comes to measuring out the perfect amount of snacks for each station.
- 6. Now it’s time to get the games going, and the best way to do this is to have a tournament-style competition. You can set up a bracket with different games and have each player compete against each other. I like to use an old chalkboard to keep track of the scores and my pencil, “Penny,” to mark down the winners.
- 7. Finally, the last step is to have fun and be flexible. Remember, the goal of DIY family game night is to spend quality time together and have fun. Don’t be afraid to try new things and make mistakes – it’s all part of the fun. My trusty toolbox, which I’ve named “The Crew,” is always by my side, reminding me to be creative and think outside the box.
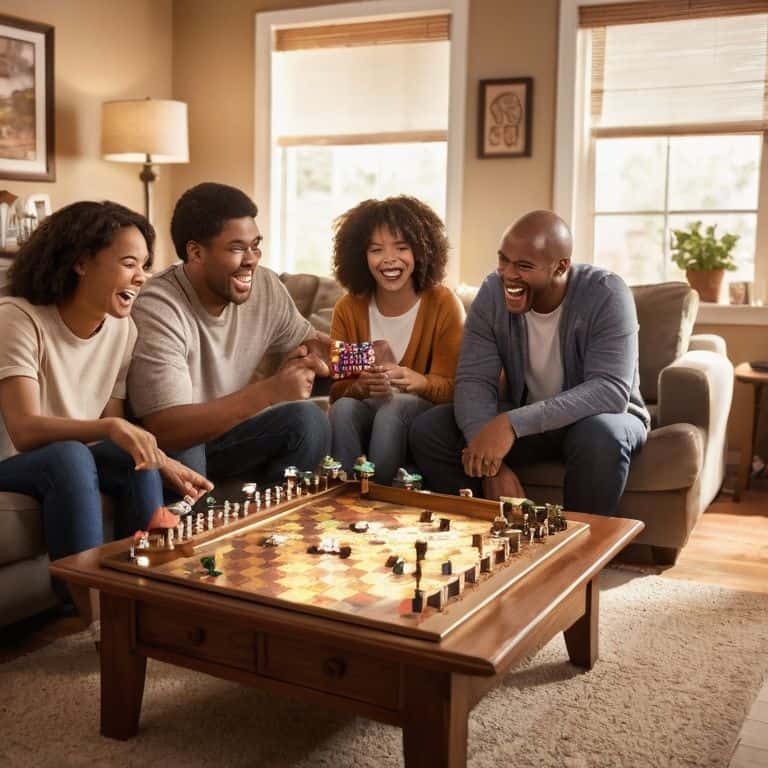
Diy Family Game Night Magic
As I always say, the real magic happens when we bring people together with a shared sense of creativity and fun. That’s why I love setting up a few indoor games for kids in a cozy corner, complete with handmade game boards and quirky pieces crafted from upcycled materials. My trusty DIY team, including my drill, Bertha, and my saw, Sammy, always help me create something special.
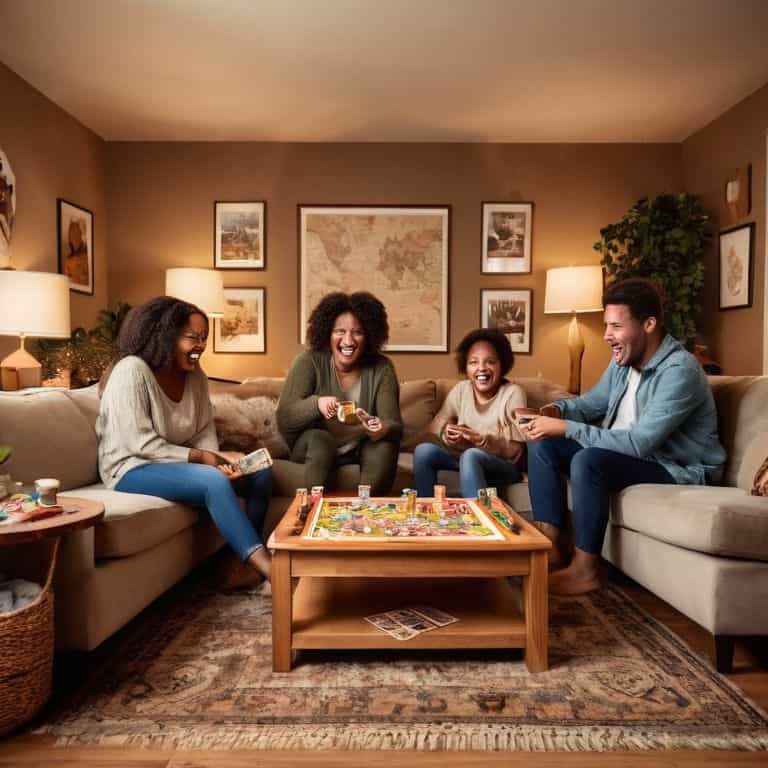
To make the evening even more enchanting, consider implementing some board game storage ideas that double as decorative pieces. I’ve found that old trunks and wooden crates can be transformed into beautiful storage units that add a touch of rustic charm to the room. Plus, they keep all the games and snacks within easy reach, making it simple to switch between activities or grab a quick snack.
When it comes to snacks, I’m a big fan of cheap game night snacks that are easy to prepare and fun to eat. Think popcorn, homemade cookies, or even a DIY trail mix bar with all sorts of nuts and dried fruits. And, of course, no game night is complete without some friendly competition, so be sure to have a few family friendly party games on hand to keep everyone entertained.
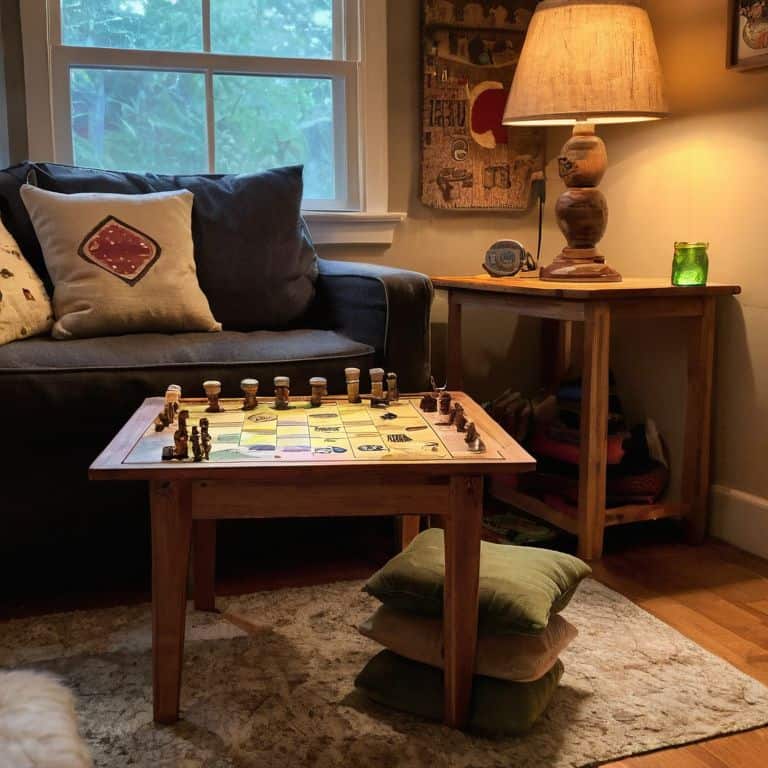
Crafting Board Game Storage Delights
To keep our game nights organized and clutter-free, I like to get creative with storage solutions. My trusty sidekicks, a vintage drill named Daisy and a sanding block named Sammy, help me upcycle old crates and wooden boxes into charming board game storage units. With a fresh coat of paint and some decorative hardware, these one-of-a-kind containers add a touch of rustic charm to our game room.
By repurposing old furniture and materials, we can keep our games and accessories tidy, while also showcasing our personal style. My DIY team and I love experimenting with different designs and materials, from reclaimed wood to vintage suitcases, to craft unique storage delights that reflect our family’s personality.
Transforming Indoor Games for Kids
As I always say, with a little creativity and my trusty DIY team by my side – including my favorite hammer, Bertha, and my drill, Daisy – we can turn any ordinary game into an extraordinary experience. For indoor games, consider upcycling old furniture to create game stations or storage for boards and pieces. My DIY team and I recently transformed an old door into a giant chessboard, and it’s been a huge hit with the kids.
By thinking outside the box, you can create immersive experiences that bring games to life. For example, set up a “mystery room” for clue-based games or create a “mini golf course” using cardboard boxes and paper towel rolls. With a dash of imagination and some elbow grease, you can turn your living room into a playground that’s both fun and educational.
Sparking Joy: 5 Essential Tips for a Memorable DIY Family Game Night
- Get Creative with Game Night Themes: Think beyond the usual board games and incorporate themes that spark imagination, like a murder mystery or a treasure hunt, to keep kids and adults alike engaged and excited
- Repurpose Household Items into Game Night Delights: From turning old jars into DIY dice shakers to creating a game board out of a vintage door, the possibilities are endless when you think outside the box and get crafty
- Lighting Sets the Mood: Experiment with string lights, lanterns, or even just dimming the lights to create a cozy ambiance that makes your DIY family game night feel like a special event
- Make it a Team Effort: Involve the whole family in the preparation process, from decorating to snack preparation, to ensure everyone feels invested and excited about the game night
- Embrace the Imperfections: Remember, the goal of a DIY family game night is to have fun and make memories, not to create a perfect, Pinterest-worthy setting – so don’t stress if things don’t turn out exactly as planned, and enjoy the ride
Bringing it All Together: 3 Key Takeaways for a Memorable DIY Family Game Night
By repurposing everyday items and adding a personal touch, you can create unique and engaging games that foster quality time with your loved ones
Transforming indoor spaces into game zones and crafting clever storage solutions can help keep the fun organized and within reach, encouraging spontaneous play and creativity
With a little imagination and some DIY magic, ordinary nights can be turned into extraordinary memories, making family game nights a cherished tradition that combines rustic charm with modern entertainment
Embracing the Joy of Creation
As we gather around the table, surrounded by the warmth of loved ones and the thrill of handmade games, we’re reminded that the true magic of DIY family game night lies not in the winning, but in the making – in the laughter, the tears, and the unforgettable moments crafted with our own two hands.
Ryan Bennett
Wrapping Up the Fun: A Lasting DIY Family Game Night Impression
As we conclude our DIY family game night adventure, let’s reflect on the journey we’ve shared, from transforming ordinary nights into extraordinary ones, to crafting our own unique board game storage delights. We’ve discovered how to breathe new life into indoor games for kids, making them not just entertaining, but also educational and bonding experiences. The essence of DIY lies in its ability to turn the mundane into the magical, and our game nights are no exception. By embracing this spirit, we’ve not only created memorable nights but also instilled a sense of creativity and resourcefulness in our families.
As you embark on your own DIY family game night escapades, remember that the true magic lies not in the end result, but in the process of creation itself. It’s about laughter, love, and the joy of turning something old into something new and wonderful. So, let’s keep on crafting, building, and imagining together, because in the world of DIY, every night can be a game night, and every moment can be a masterpiece in the making.
Frequently Asked Questions
What are some creative ways to repurpose old furniture or materials to create a unique game night setup?
I love upcycling old furniture to create unique game night setups. Try repurposing an old door into a game table, or transforming a vintage dresser into a storage unit for board games. My trusty DIY team, including my drill, Bertha, and my sander, Sandy, can help bring these creative ideas to life.
How can I involve my kids in the DIY process of creating game night decorations and activities?
Get the kiddos involved by letting them help with decoration ideas or picking out materials for our DIY projects – my little helpers love assisting me and my trusty tool team, including Bernie the brush and Sammy the sandpaper, to bring our game night visions to life!
What are some budget-friendly DIY projects that can be completed in under an hour to add a personal touch to our family game nights?
I’ve got just the thing! My DIY team, led by trusty ‘Sawyer’ the jigsaw, can help you whip up some quick and easy projects. Try upcycling old jars into game piece holders or transforming a vintage crate into a board game shelf. These budget-friendly projects can be completed in under an hour and add a personal touch to your family game nights.